Introduction
Rakuten is an Online Travel Agency (OTA) channel that can be integrated with the Channel Manager. Through this integration, you can manage your property listings, synchronize room availability, rates, and restrictions, and receive bookings directly within the system.
Once the integration is fully configured, all reservations from Rakuten will appear in the Booking List, allowing you to manage them efficiently in one place.
To view the latest version of this documentation, please refer to Rakuten V2.
Accessing Rakuten Setting
Here’s how you can access Rakuten setting:
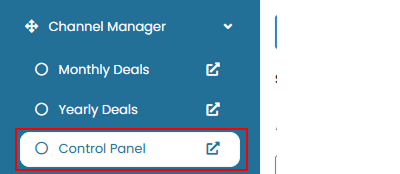
- On the Channelku, navigate to the Channel Manager menu, then click Control Panel.
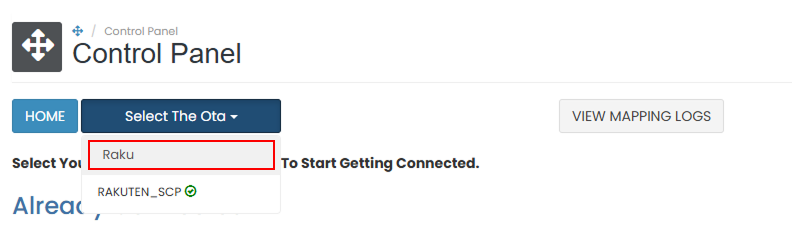
- Select Rakuten from the channel list, or you can search from the list by type the OTA name.
Rakuten Information
This section provides general guidance for connecting your property to Rakuten. However, specific connection instructions are not shown within the system.
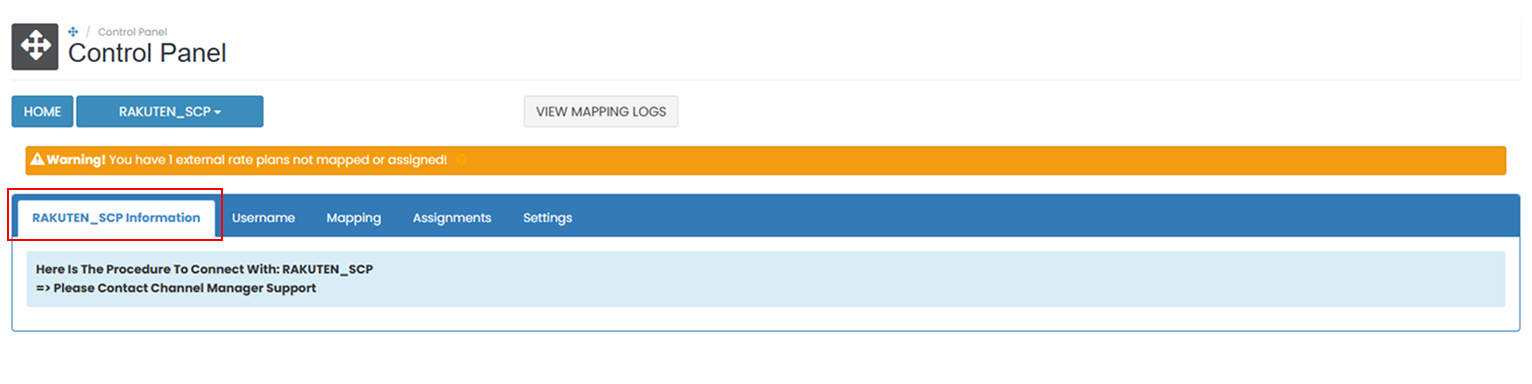 To proceed with the integration, please contact your Channel Manager Support team. They will assist you with the required credentials and activation process.
Username
This section is used to enter or update the credentials required to connect to Rakuten.
How to Update Credential
- Navigate to the Username tab.
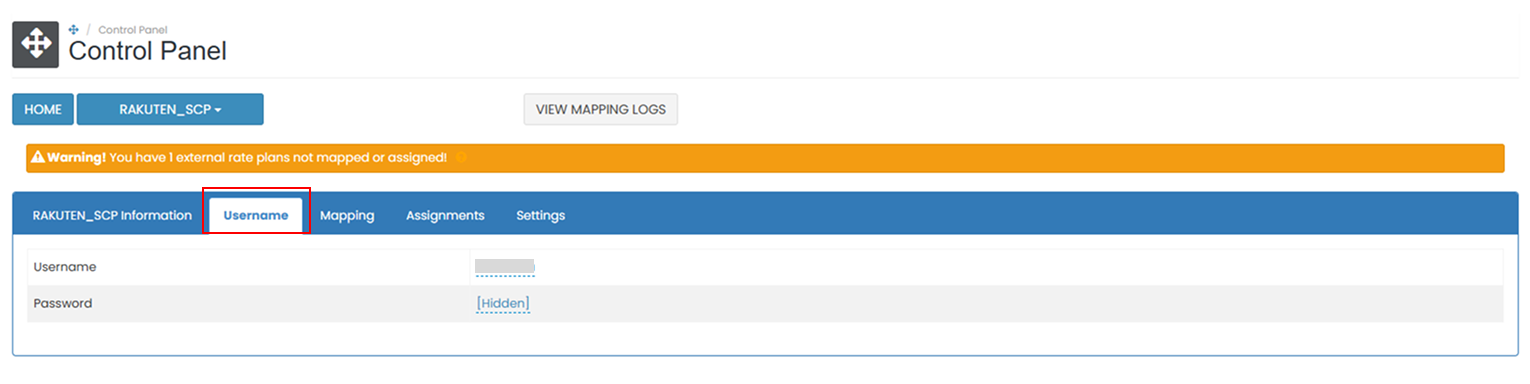
- Enter the username or password assigned to your property by Rakuten.
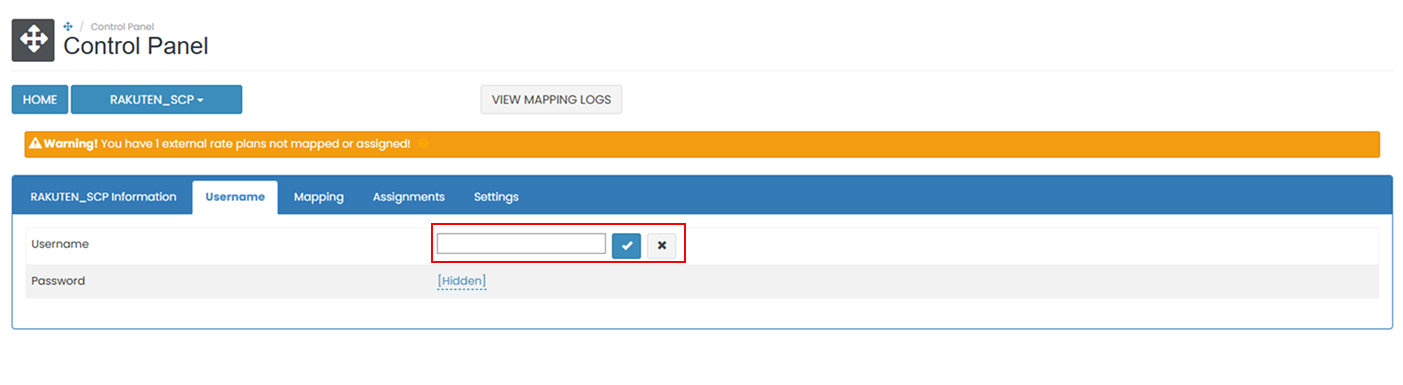
- Click the save (✓) button to apply the change. If you don’t want to save the change, click cancel (x).
[!NOTE]
Troubleshooting Credential Update
Failed to Save Hotel ID
- Make sure all the fields (Username, Password) is valid and correctly copied from Rakuten.
- Check your internet connection and try again.
Changes Not Reflected After Saving
- Refresh the page to confirm if the changes have been applied.
- If not saved, re-enter the Property ID and click the save (✓) button
Mapping
The Mapping feature is used to link your internal rooms and rate plans with the corresponding rooms and rate plans from Rakuten. To create room mapping, please follow the steps in Mapping OTA and IBE.
Settings
The Settings tab controls how your system interacts with Rakuten, including data synchronization and reservation handling.
How to Configure Setting
To modify Rakuten parameters, navigate to the Settings tab. This section contains several configurable option:
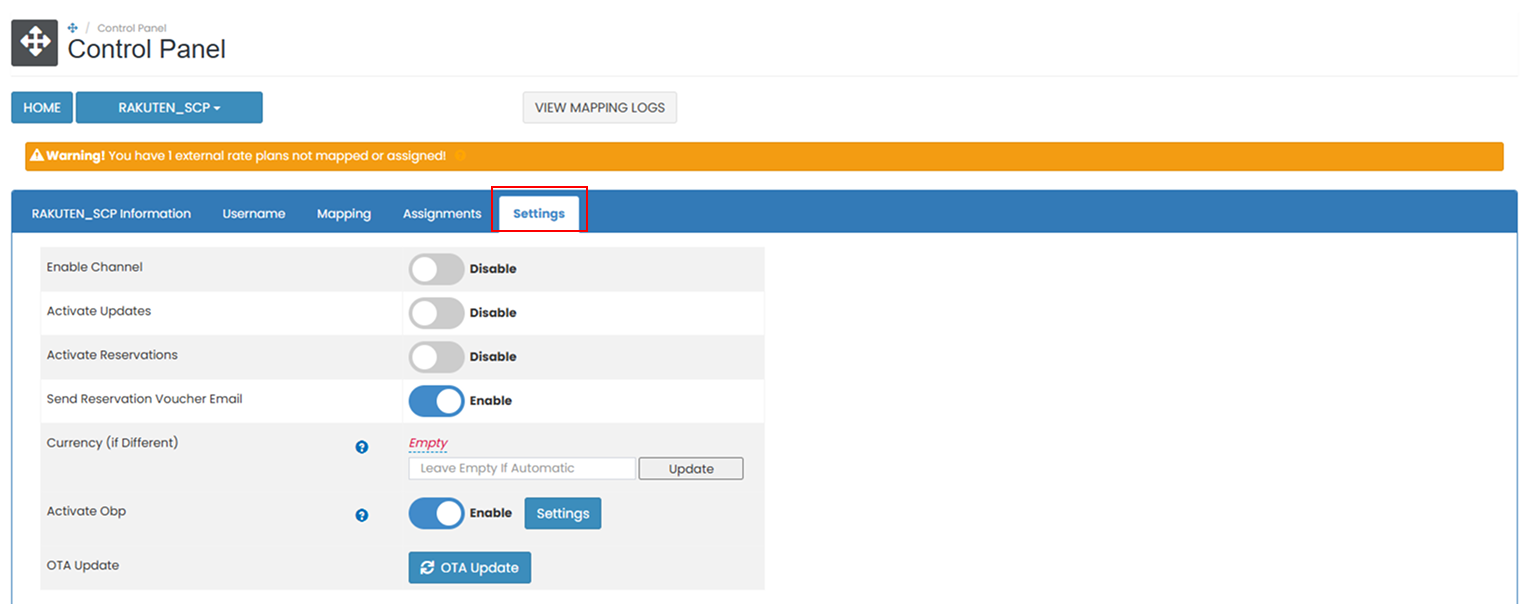
- Enable Channel: Enable this option to activate the connection between the property and Rakuten.
- Activate Updates: Turn on this option to allow the system to push rate, availability, and restriction updates to Rakuten.
- Activate Reservations: Enable this option to receive bookings from Rakuten.
- Send Reservation Voucher Email: Enable this option to trigger the automated delivery of a reservation voucher upon receipt of a new booking.
- Currency (if Different) section: Choose the currency if it differs from the system’s default. You can enter the conversion rate or select from available option and click Update.

- Activate OBP: Enable this option to reveal additional configuration fields. For detailed instructions, refer to the How to Configure OBP Setting.
- Manual OTA Update: To synchronizes rates, availability, minimum stay requirements, and "Stop Sell" statuses across all connected channels. Data can be synchronized up to the maximum date range permitted by each individual OTA (typically between 12 and 24 months in advance).
How to Configure OBP Setting
If the property utilizes Occupancy-Based Pricing (OBP) on Rakuten, you can activate the OBP option. Once you have enabled it, the specific configuration settings will become available for you to adjust.
- Click the Settings button next to OBP.

- You will be taken to the OBP configuration screen where you can define detailed pricing adjustments based on occupancy.
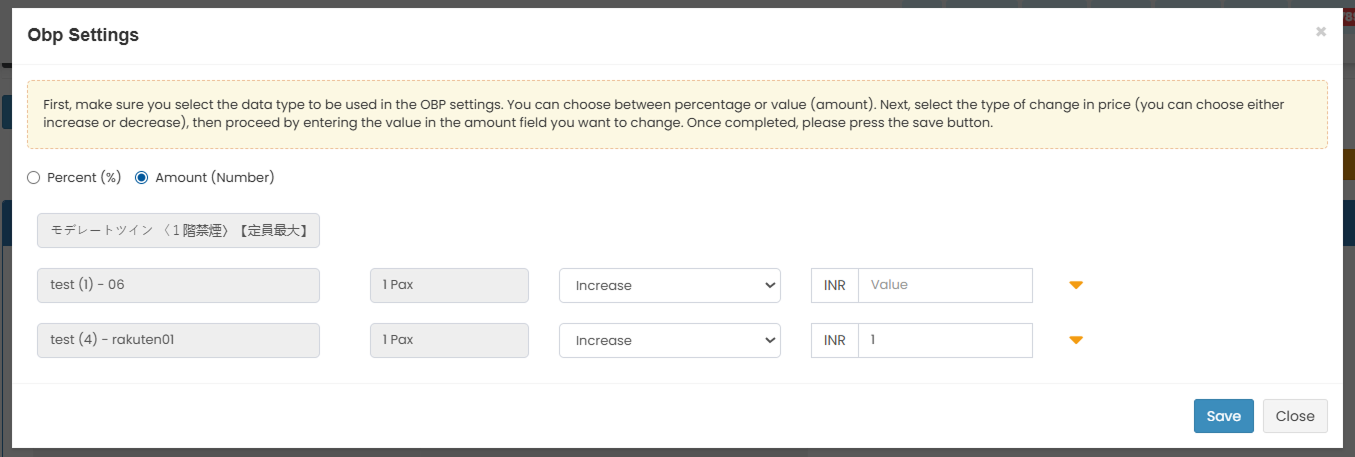
- Choose the adjustment type: either Percent (%) or Amount (number).
- For each bedroom type listed, you will see the Default Pax column, the Increase/Decrease selector, and a Value field.
- You can click the down arrow next to each bedroom to expand a list of pax levels (from 1 up to 9 pax).
- For each pax level, enter the value adjustment to be applied (e.g., increase by 10%, decrease by 50, etc.).
- After filling in the necessary values, click Save to apply the OBP settings.
How to Configure Manual OTA
Use this feature to manually push updates to Rakuten.
- Scroll down to the OTA Update section.
- Click the OTA Update button to open the pop up window.

- Complete the required fields:
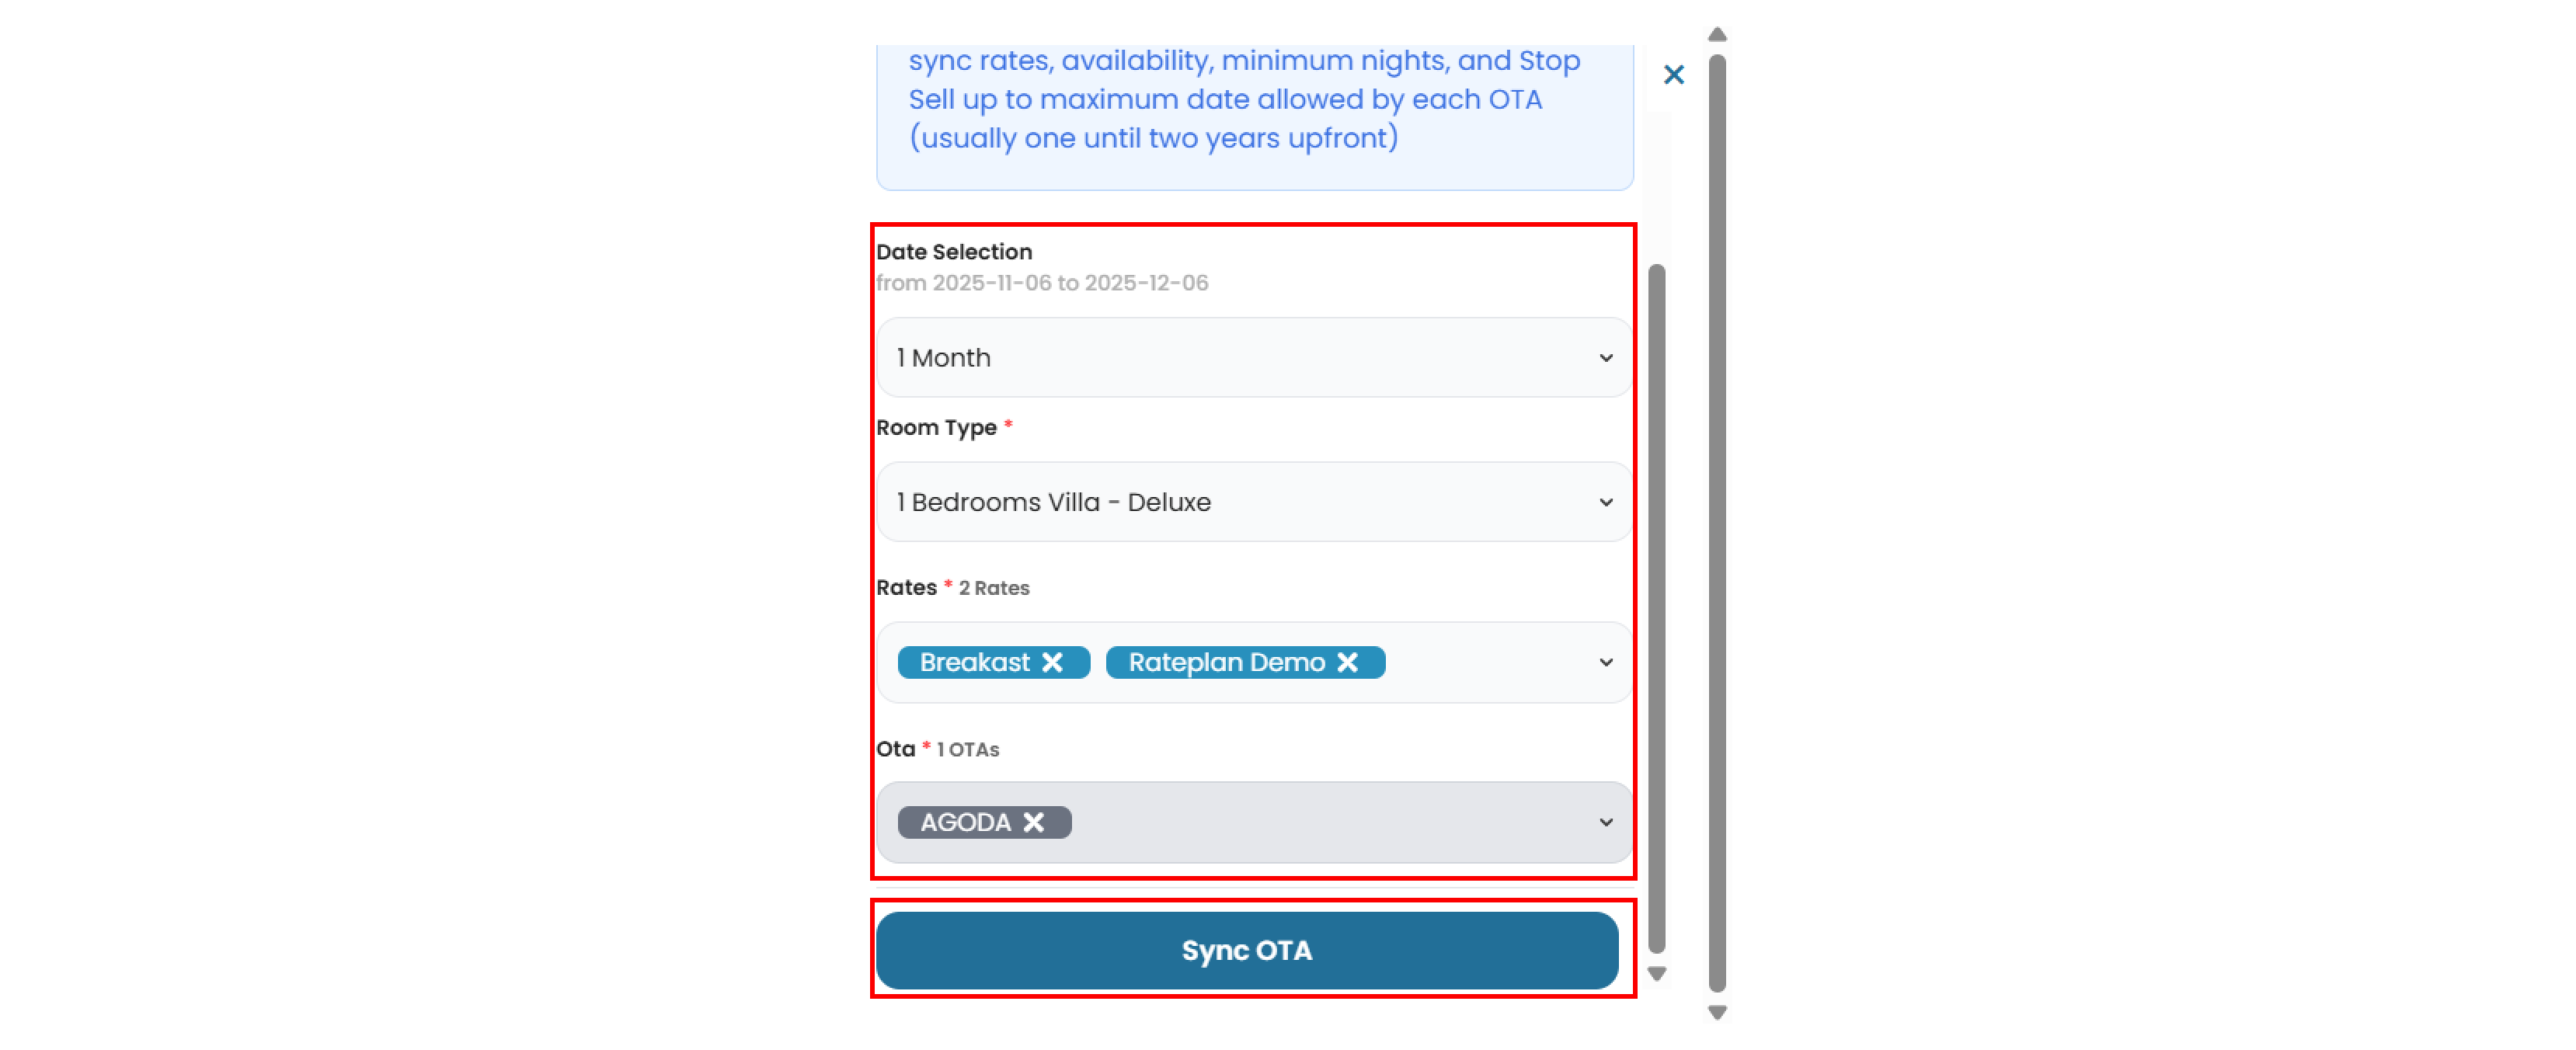
- Date Selection : Choose the duration of the OTA update (e.g 1 month, 3 months, etc)
- Room Type : Select the room type from the list.
- Rate : Choose one or more rate plans. You can also select all rate plan if needed.
- Click Sync OTA to save and apply the changes.
[!NOTE]
Troubleshooting Settings
Enable Channel or Activate Updates not working
- Make sure the checkbox is selected and click the Update button afterward.
- If the changes do not apply, refresh the page and try again.
Not receiving reservations from Rakuten
- Confirm that Activate Reservations is turned on.
- Make sure rate plans are mapped and active on both Rakuten and the system.
Reservation voucher email not received
- Ensure Send Reservation Voucher Email is enabled.
- Check your spam or junk folder, or confirm your email address in the notification settings.
OBP not applying to rates
- Enable Activate New OBP Model to allow pricing based on guest count.
- Contact Rakuten support to verify OBP is enabled for your property.
Import Future Rakuten Reservations not working
- Refresh the page and click again.
- If no reservations are imported, check with Rakuten if new bookings exist and are confirmed.
Currency field not saving properly
- Click to clear, then re-select the currency code.
- If left empty, the system will auto-detect the correct currency at the time of booking.
OTA Update not sending changes
- Select at least one room or choose All Room Types before clicking OTA Update.
- Wait a few minutes and review the Last 10 Updates section to confirm if it was logged.
Update marked as failed
- Hover over the failed update entry to view the error message.
- Confirm that the rate plan and room are still active in Rakuten extranet.
- Retry sending the update using the OTA Update button.