Introduction
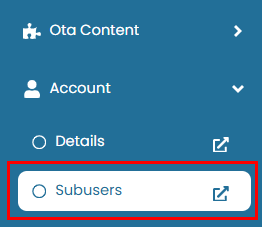
This feature allows you to create and manage sub-users under your main account. You can control their access, manage their permissions, and toggle their active or inactive status as needed. To access this page, navigate to Account > Subusers.
Add New Subusers
To add a new sub-user to your account, follow the steps below:
- Click the Add A New Sub User button.

- A pop up window will appear. Fill in the following field
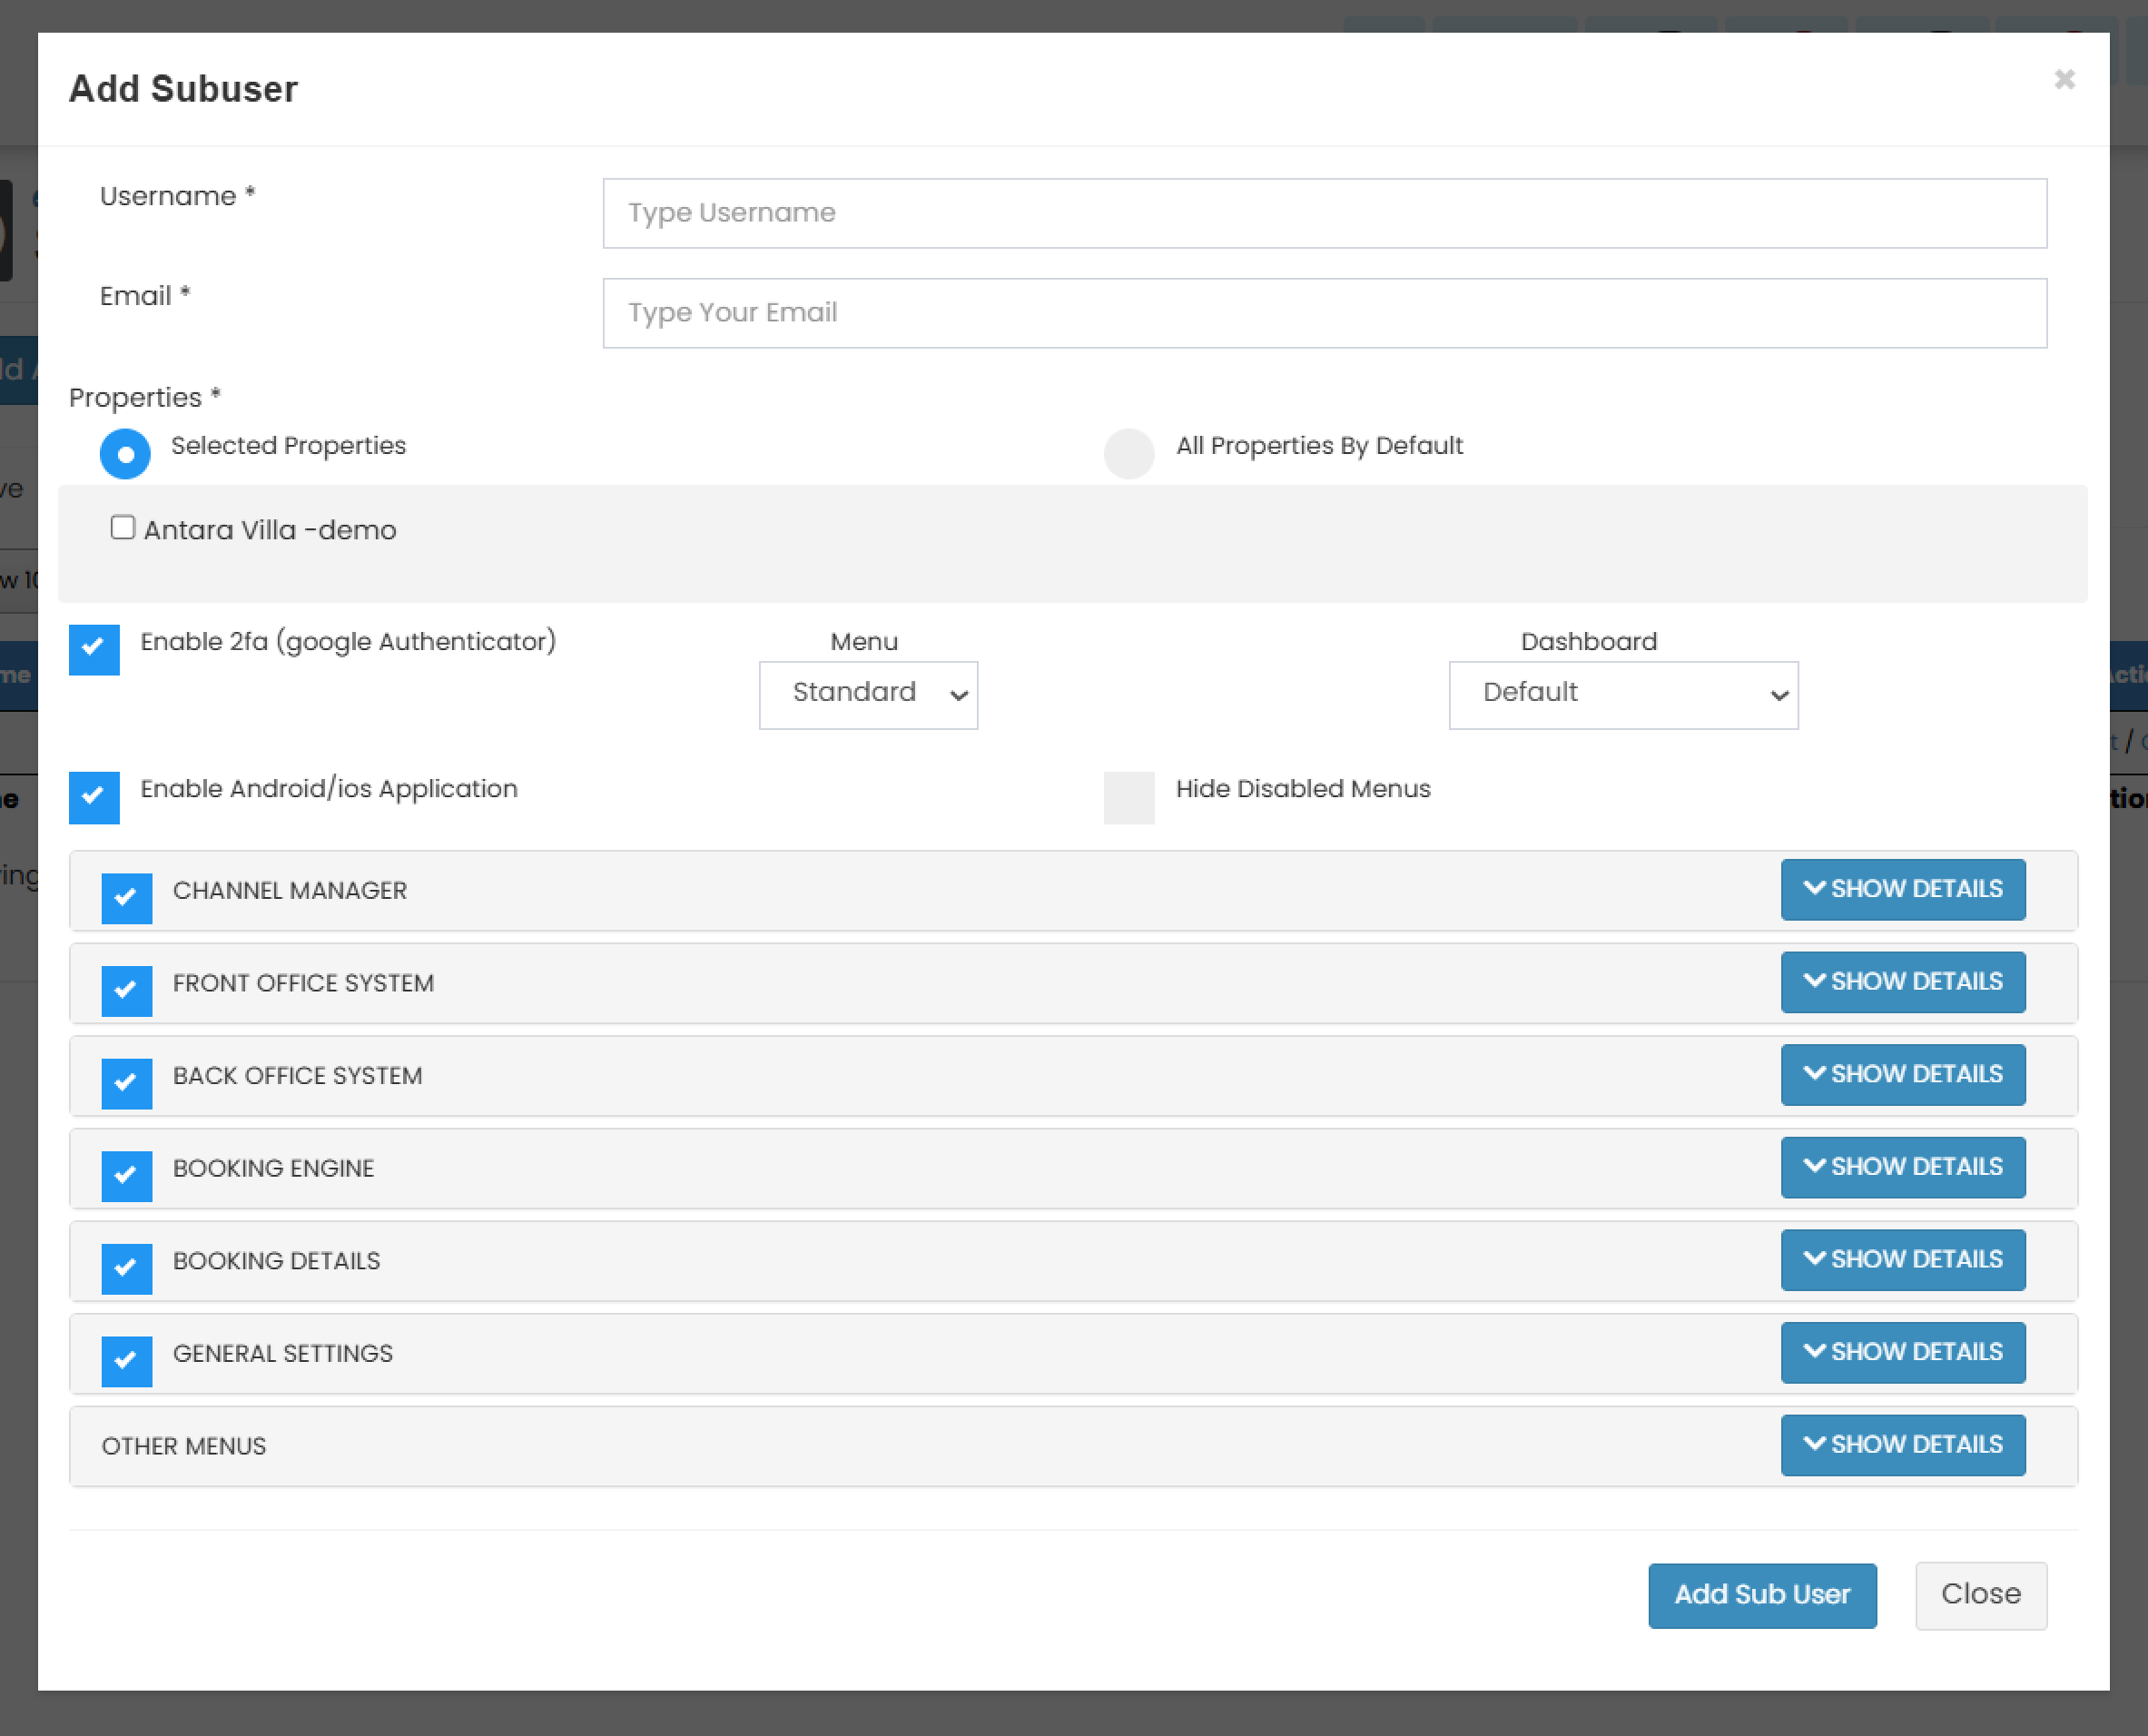
- Username

- Email

- Properties
Select one or multiple properties from the available list.

- Enable 2FA
Tick the box to enable two-factor google authentication for the sub-user.

- Enable Android/iOS application
Tick the box to grant access for the mobile application.

- Menu
Choose between Standard or Owner menu types.

- Dashboard
Choose between the default dashboard or a customized one with selected content.
- Hide Disabled Menu
Tick the box to choose whether disabled menus should be shown or hidden in the sub-user’s view.

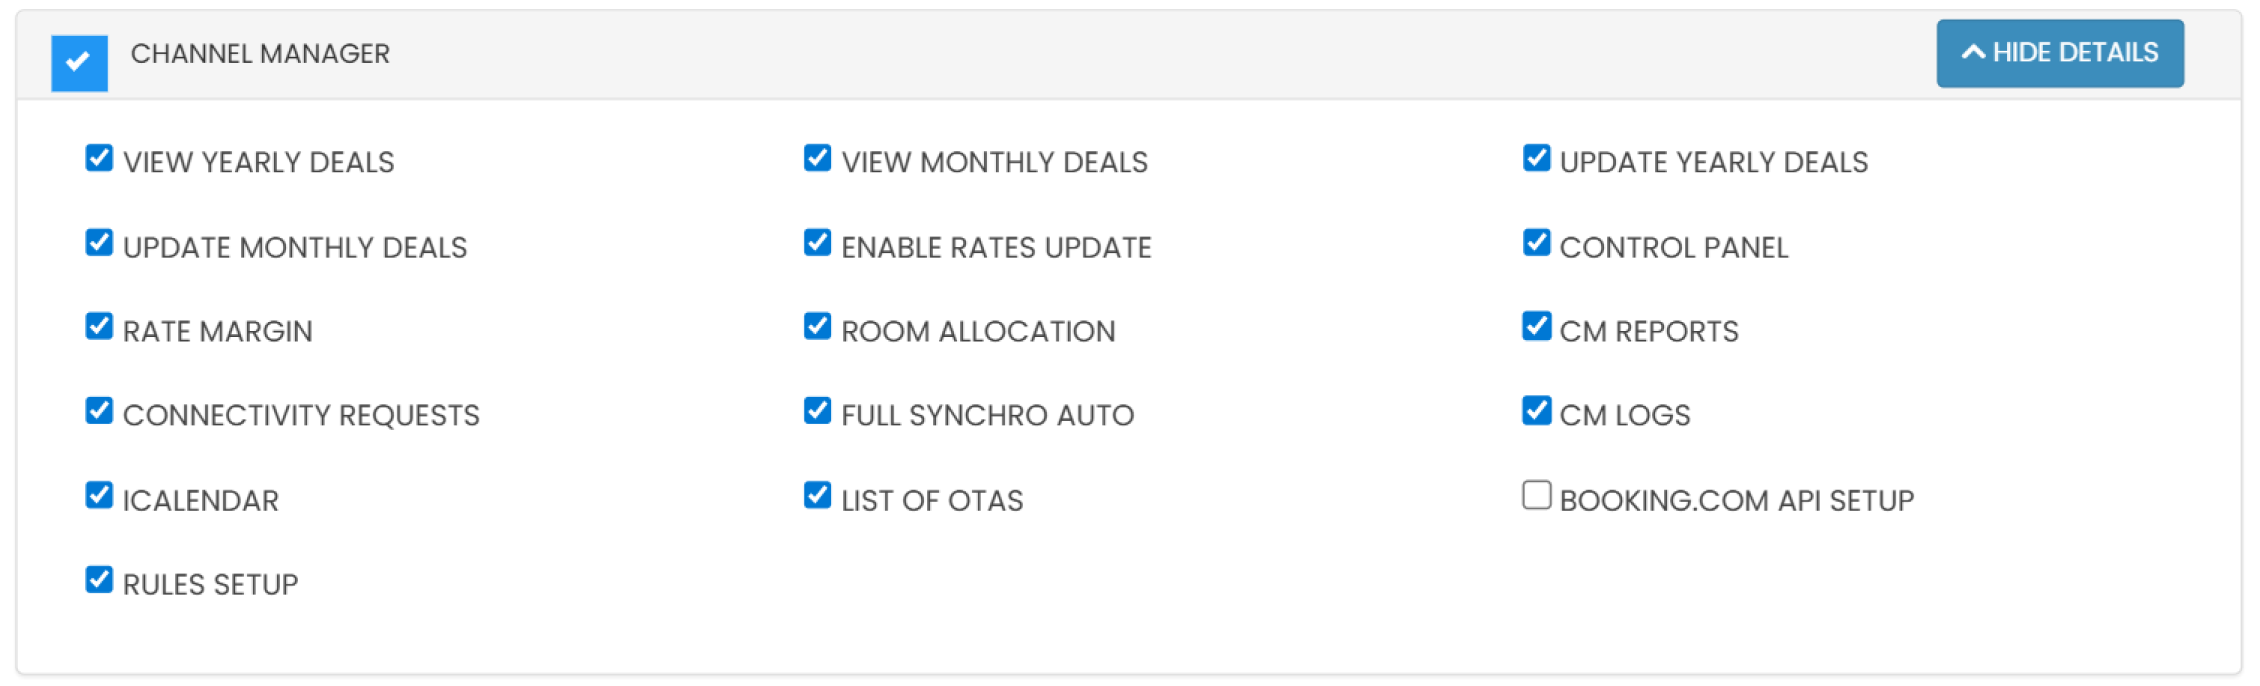
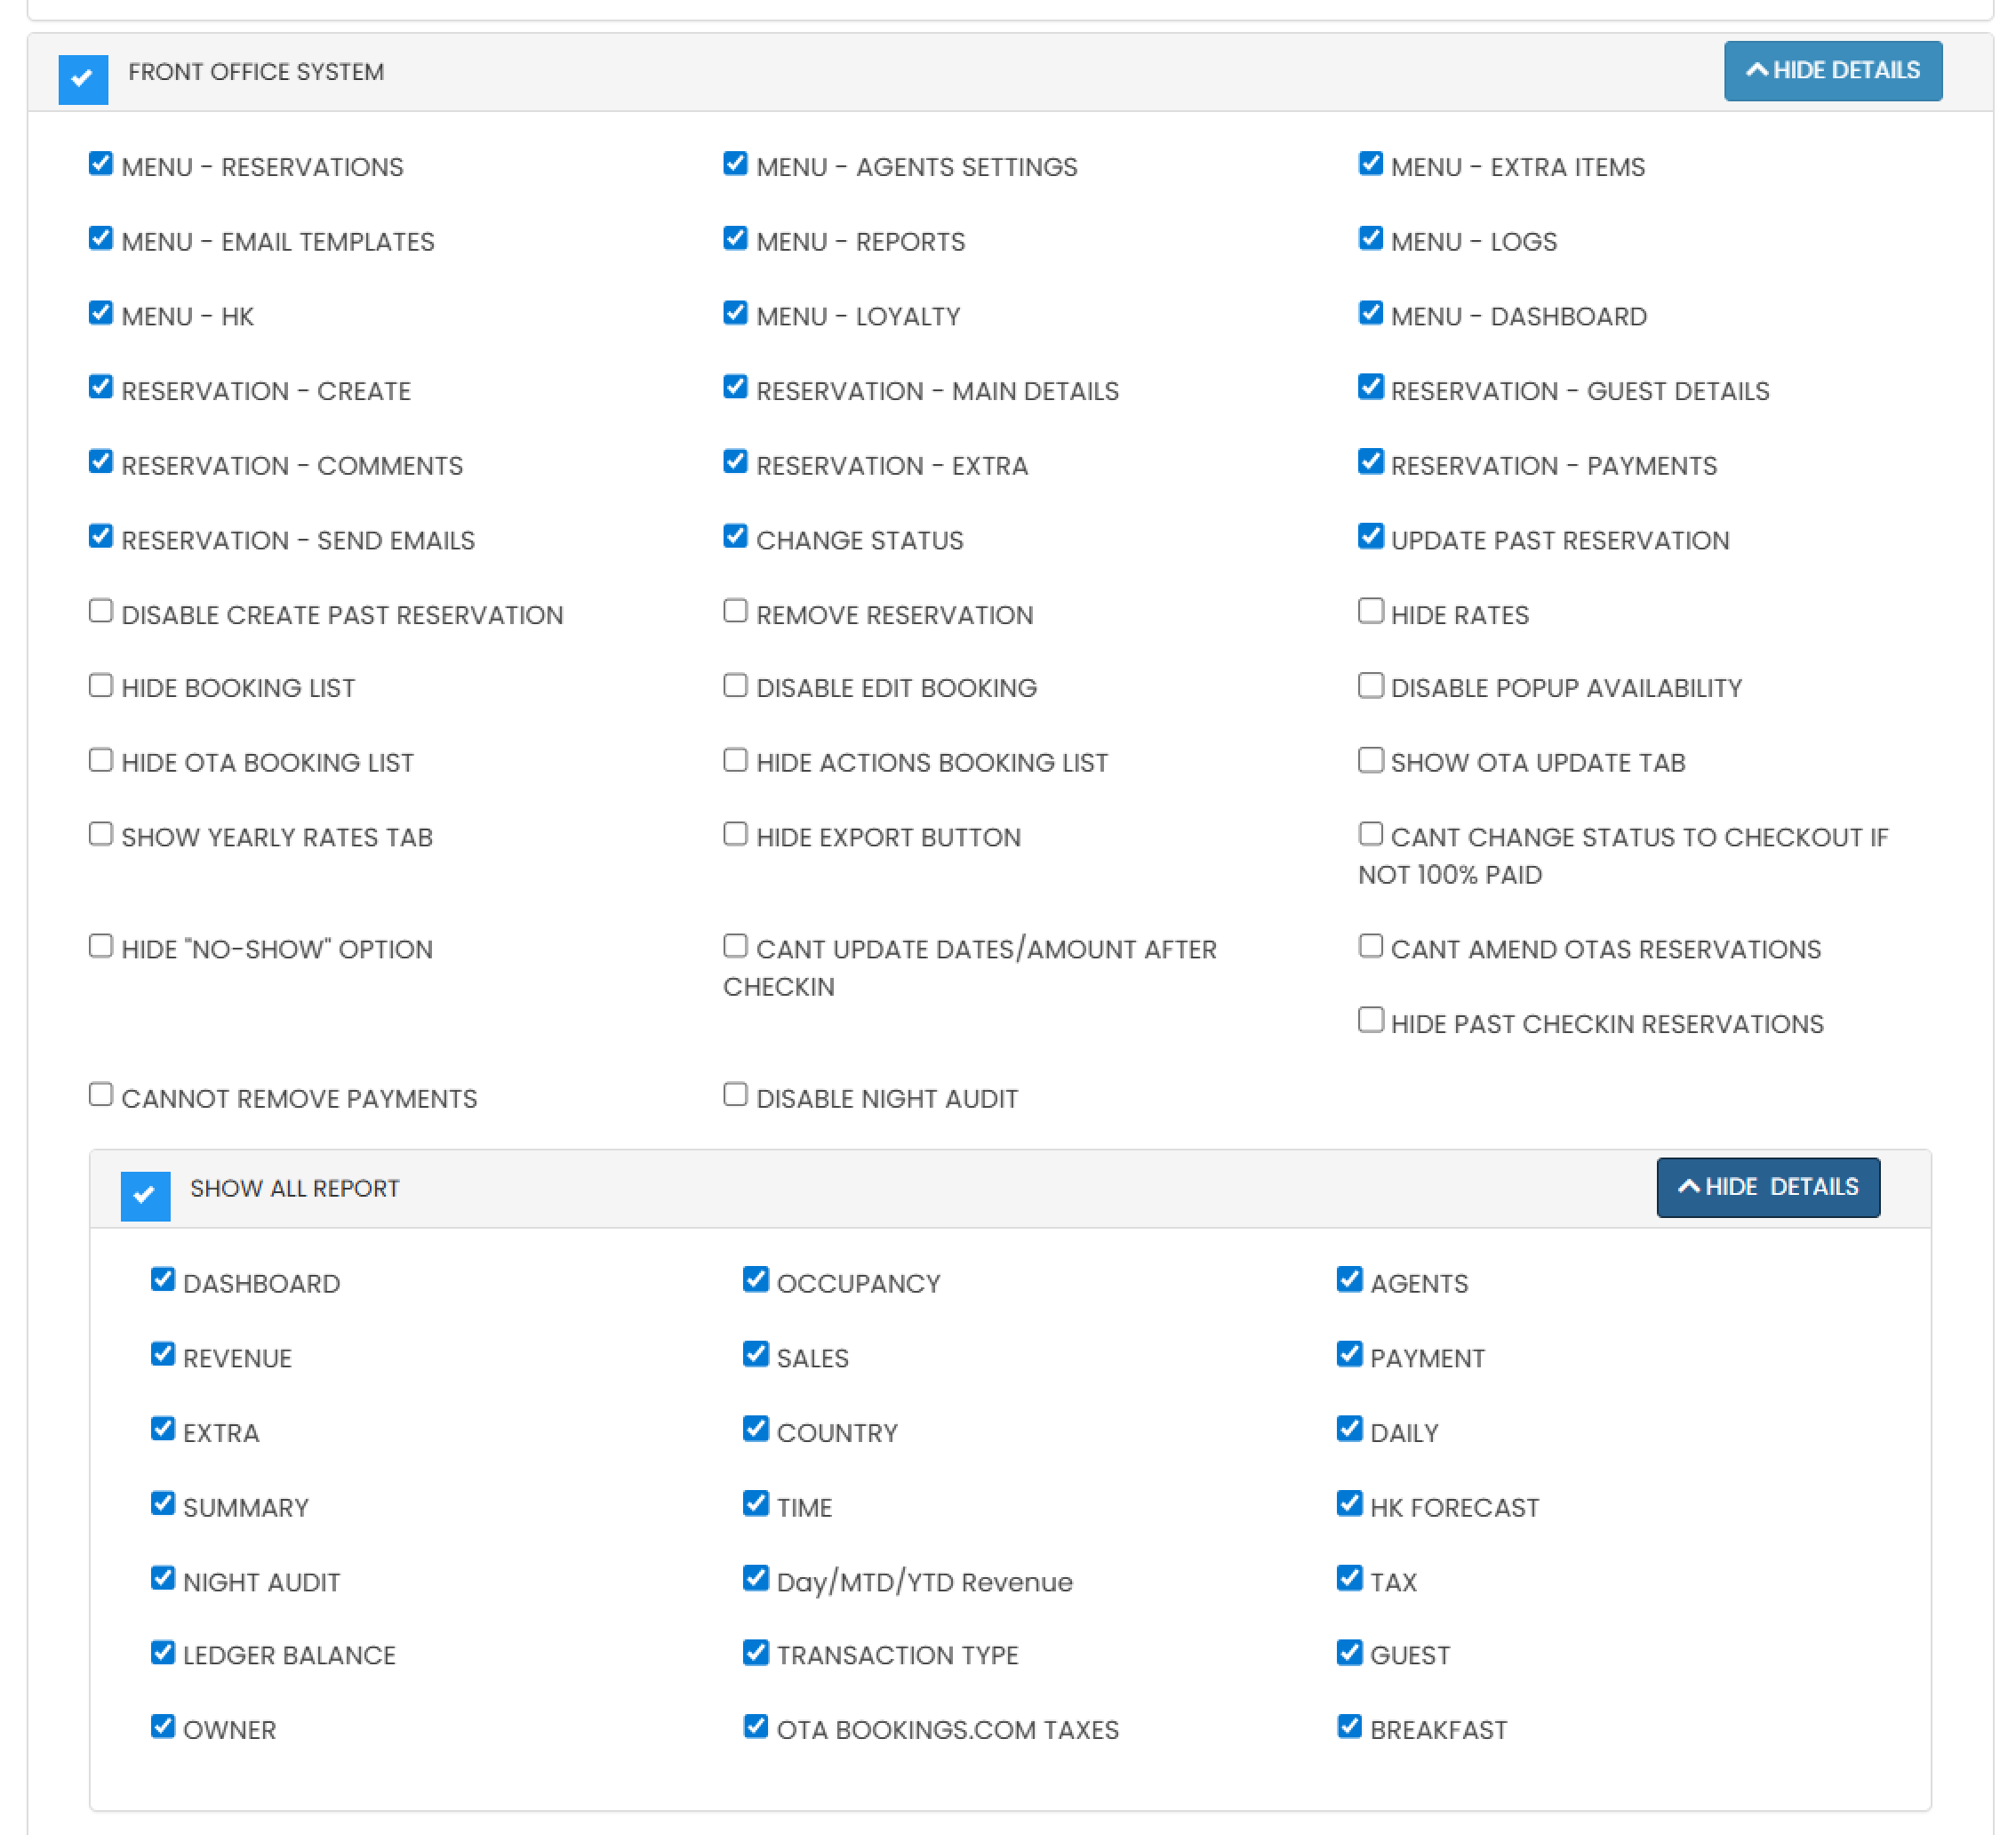
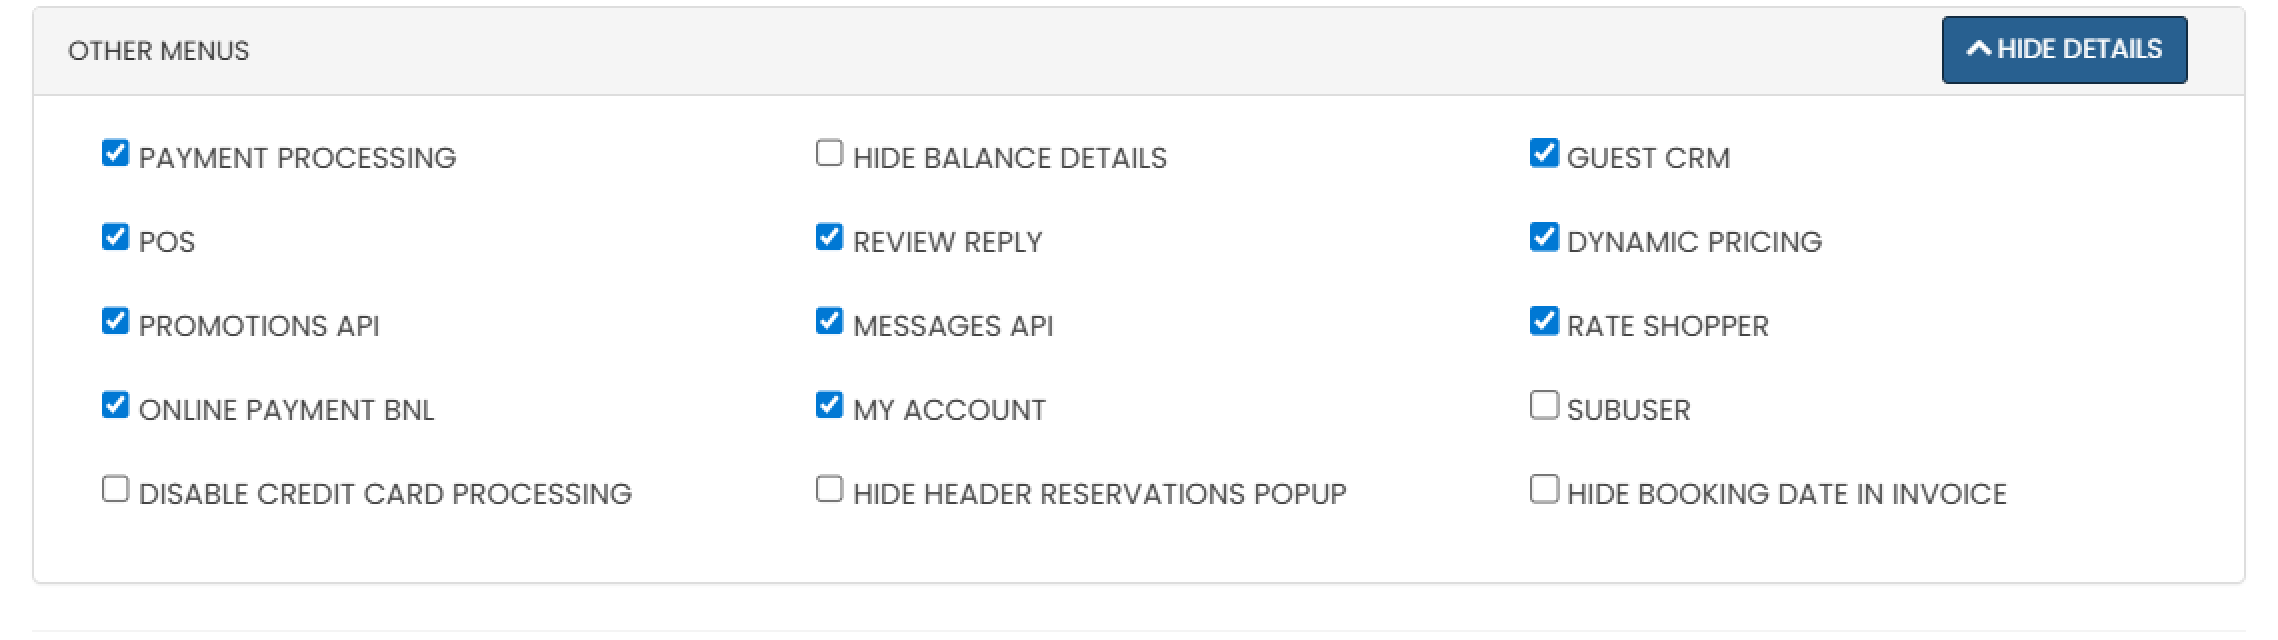
- Choose the menu
Select the menus and features accessible to the sub-user. Use the Show/Hide button to show/ hide the detailed menu then select the specific items you want to grant access to. If needed, you can unselect all features in a menu group by tick the checkbox in the group header:
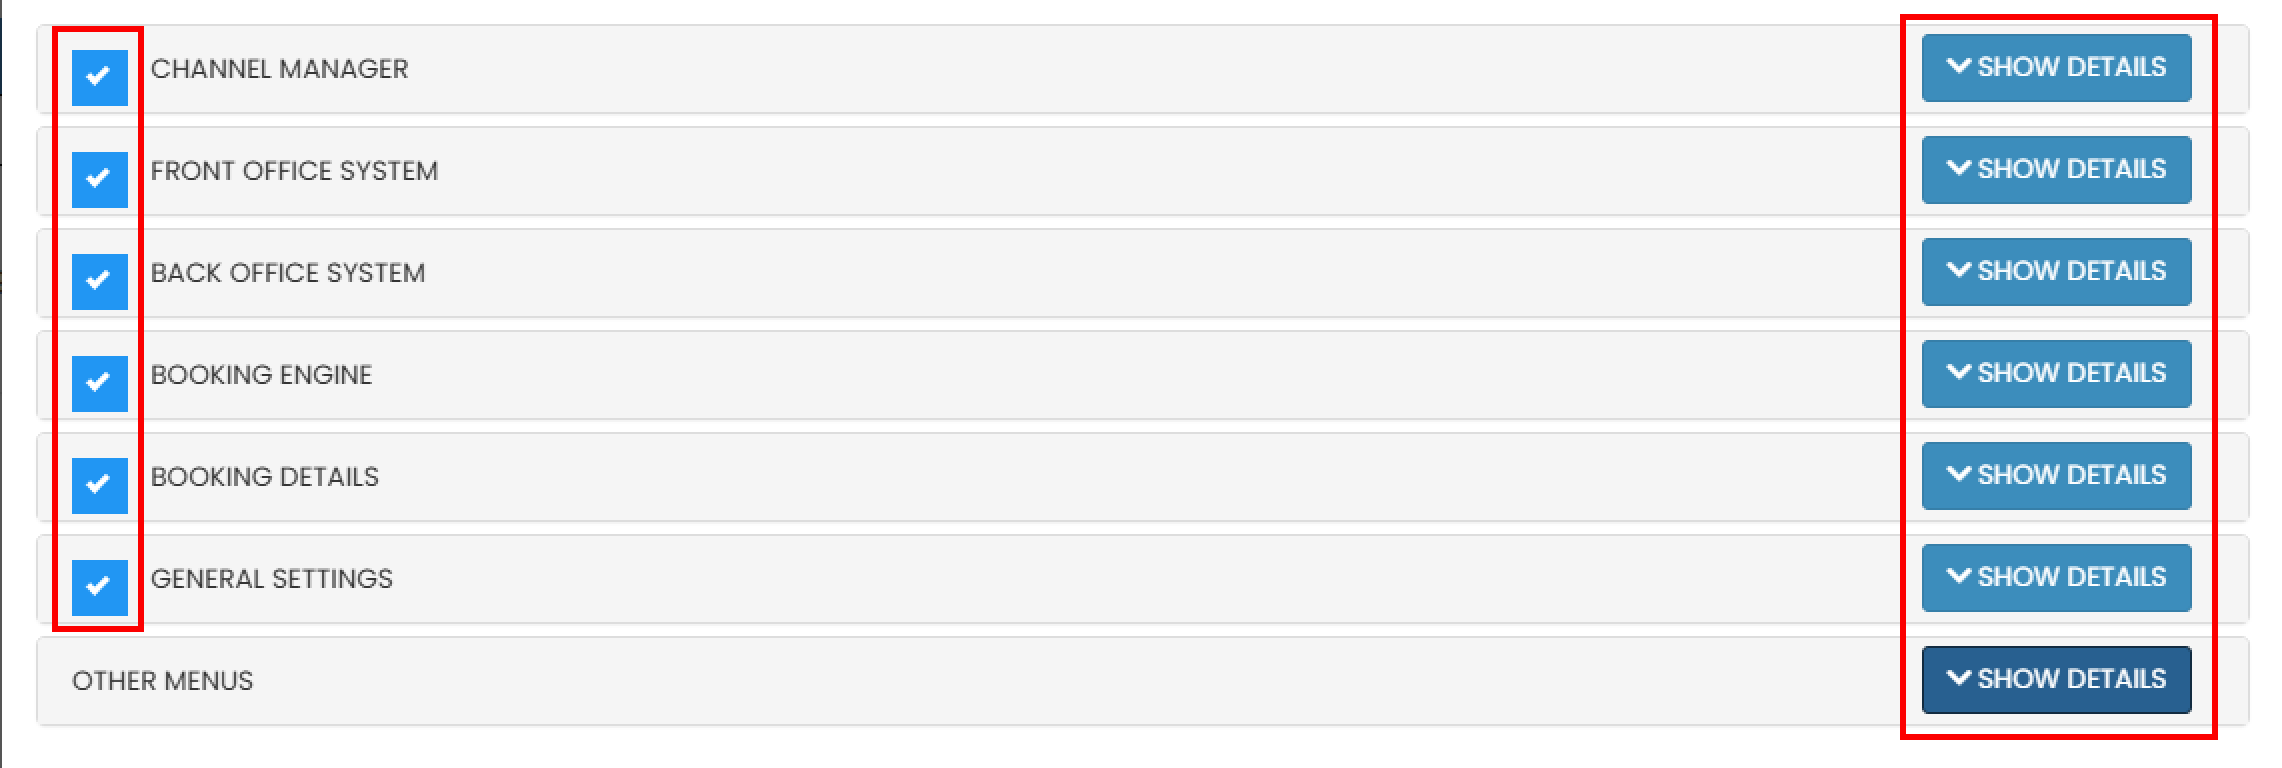
- Channel Manager
- Front Office System
- Back Office System

- Booking Engine

- Booking Details

- General Setting

- Others Menu
- Channel Manager
- Username
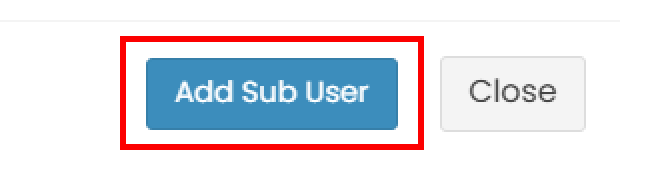
- Click Add Sub User to save and create the new sub-user.
List of Sub Users
The Sub-Users list is divided into two sections: Active and Inactive. Both sections are displayed in a table view for easy management.
View and Navigate
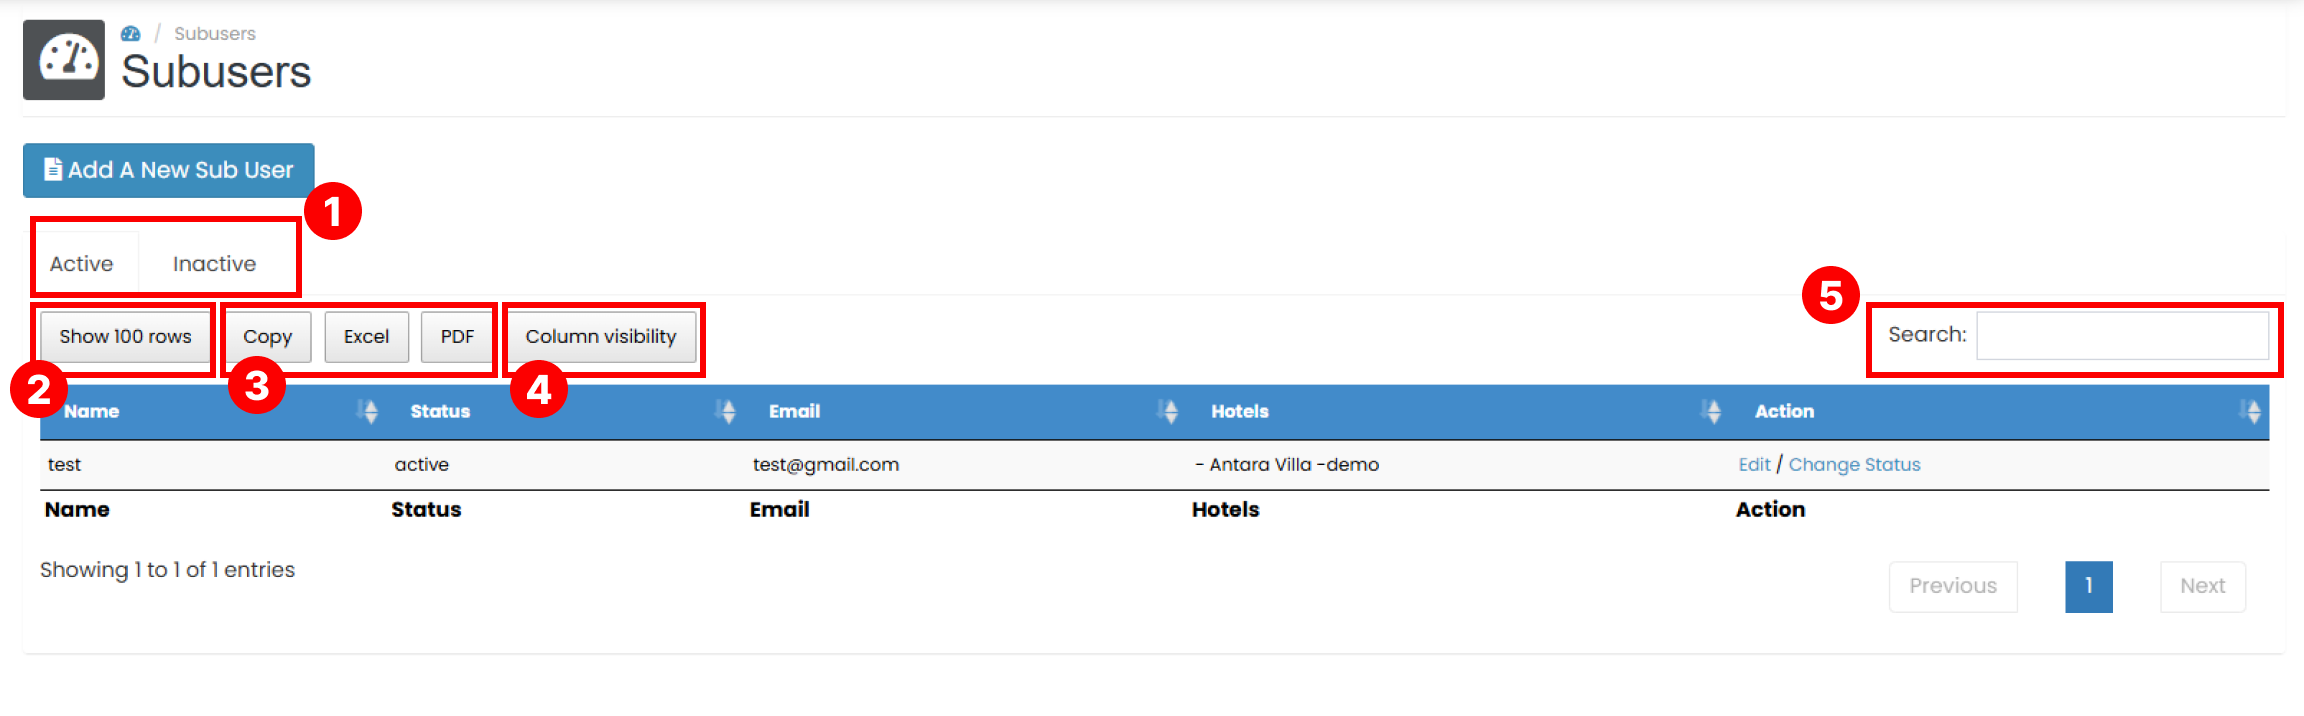
- Switch between the Active and Inactive sections using the tab menu.
- The table can display 10, 20, or 50 rows per page. You can adjust this using the Show Rows dropdown.
- Use the Export Data feature to download your activity logs. See Export Data for more information.
- Customize which columns appear in the table using the Column settings. See Customize Column for more details.
- Use the Search bar to quickly find your activity by keywords such as email, IP Address or date.
Edit Users
To update a sub-user’s information:
- In the column action, click the Edit button.
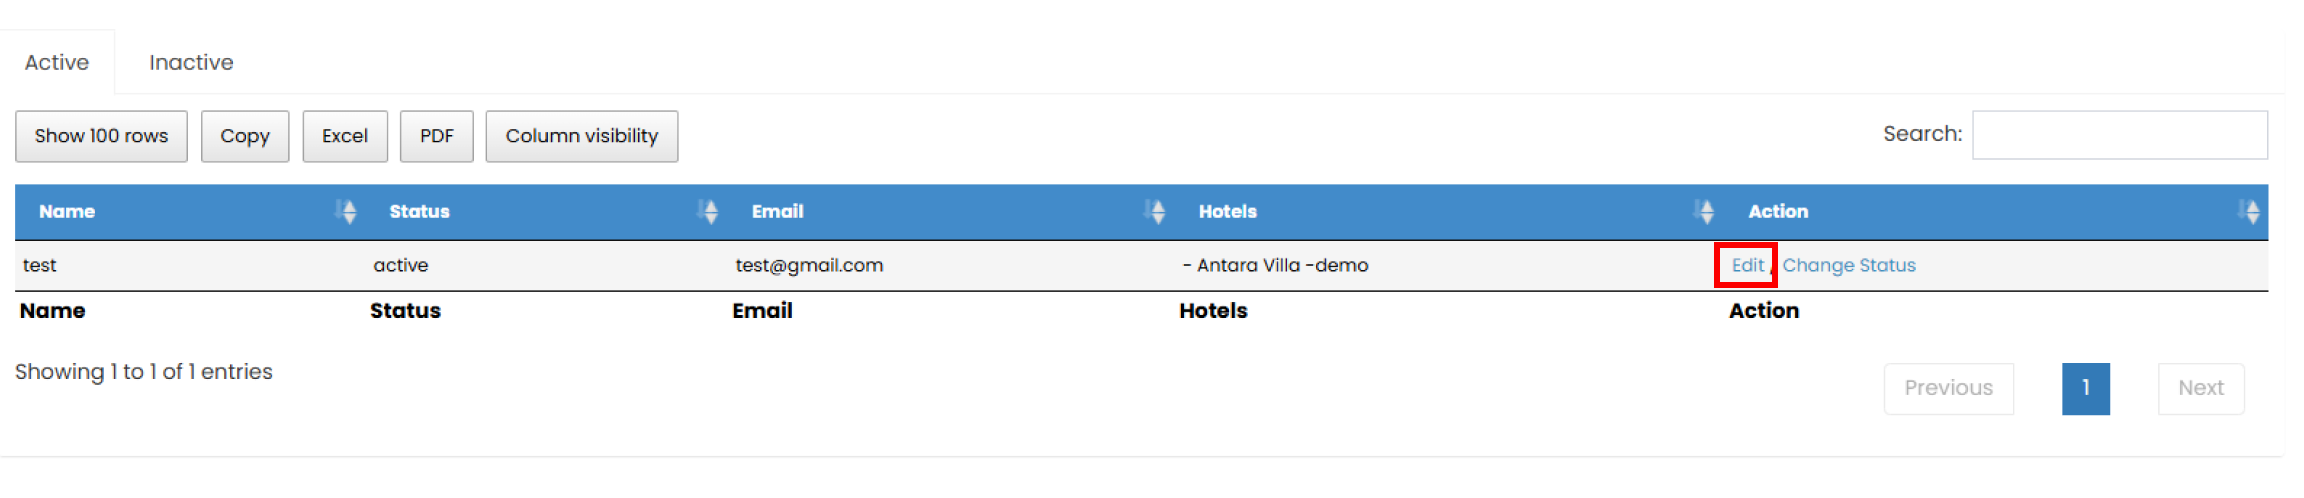
- It will shows a pop up window. You can change any update of all the fields.
- Click the Update Sub User button to apply the changes.

Change User Status
Newly created sub-users are inactive by default. You can change their status at any time.
- Go to either the Active or Inactive section.
- In the Action column, click the Change Status button.

- If the confirmation pop up appear, click OK to continue the process or No to cancel.
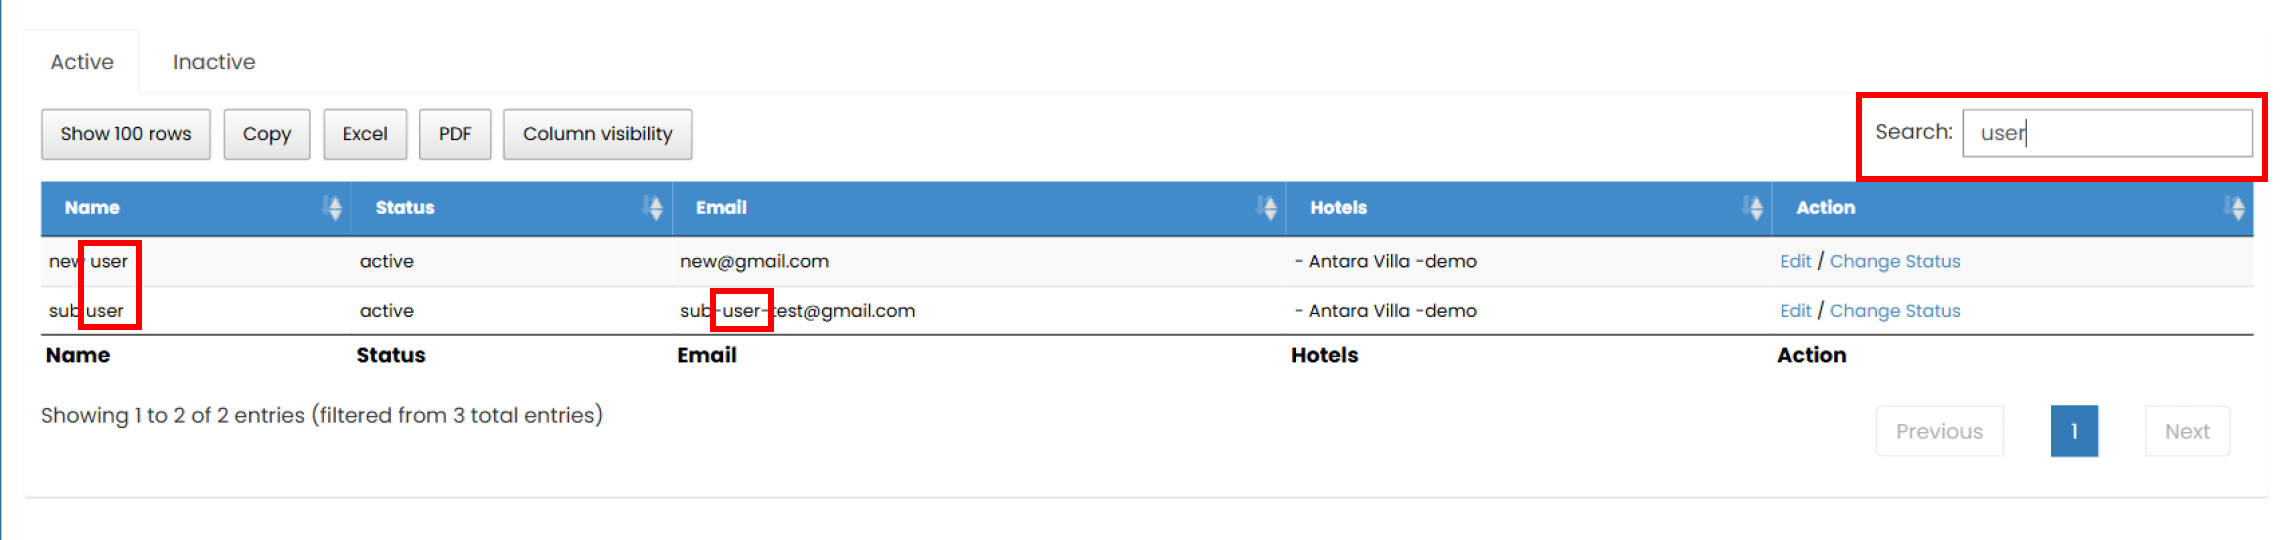
Search Data
The Search feature allows you to quickly locate sub-users by typing keywords such as:
- Name
- Status
- Hotels
The table will automatically display results that match your keyword.
Export Data
The Export Data feature allows you to download sub-users data. Exporting only applies to the data currently shown in the table. If you have applied any search or filter options, only the filtered results will be included in the export.
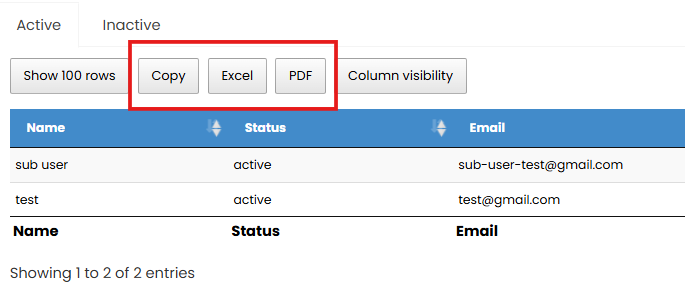
- Copy Button : This button will automatically copies the data to your clipboard in text format.
- Excel Button : This button will automatically generate and download the data into .xlsx format.
- PDF Button : This button will automatically generate and download the data into .pdf format.
Customize Column
You can customize which columns you want to display in both of Sub-users table.
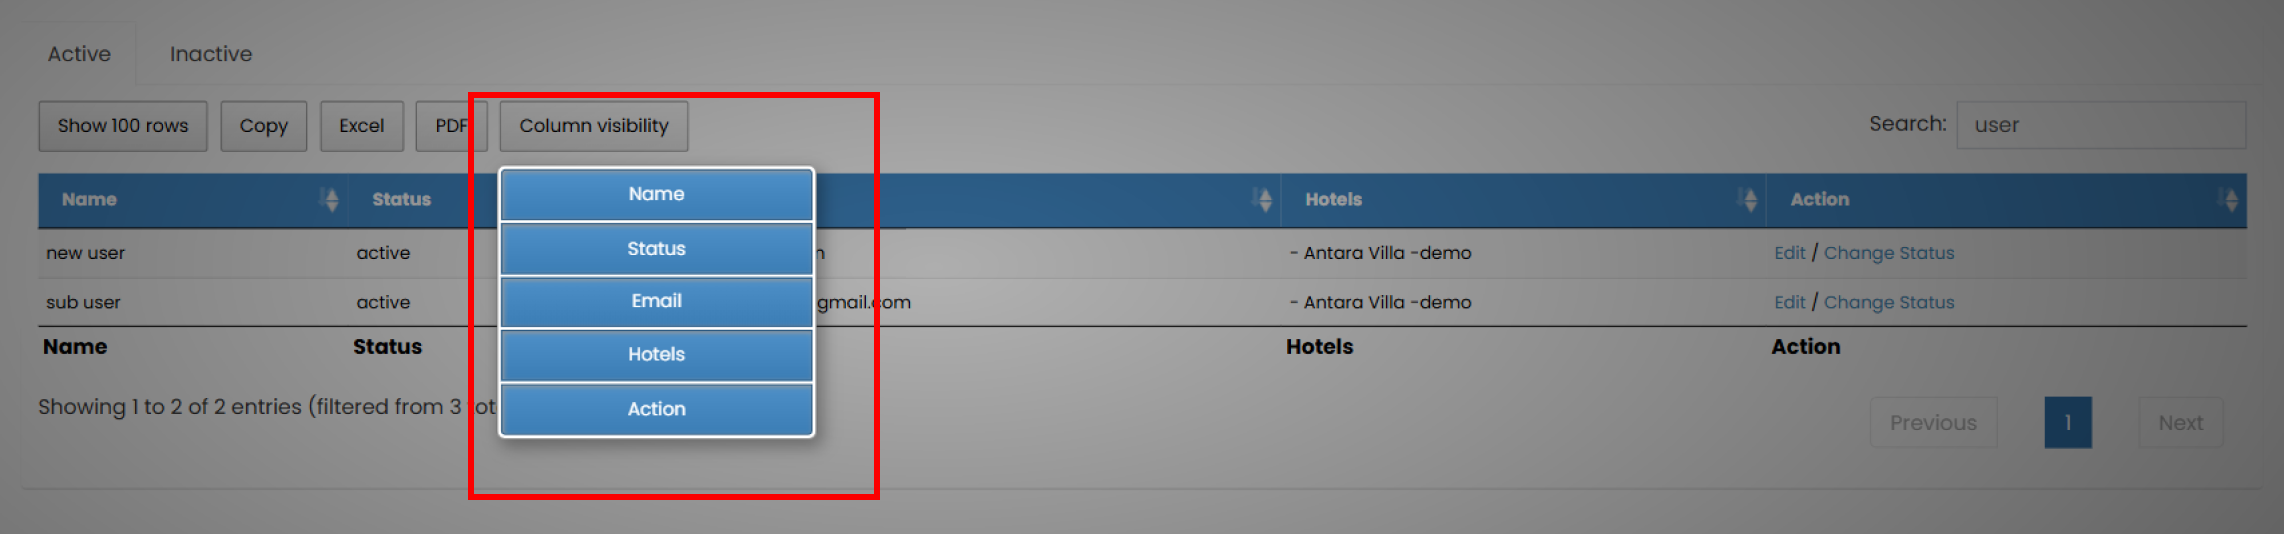
- Click the Column Visibility button.
- Tick or untick the columns you want to show or hide.