Introduction
The Guest Database page stores all guest information to enable easier access, management, and communication. This page allows hotel staff to view, filter, edit, and interact with guest data efficiently.
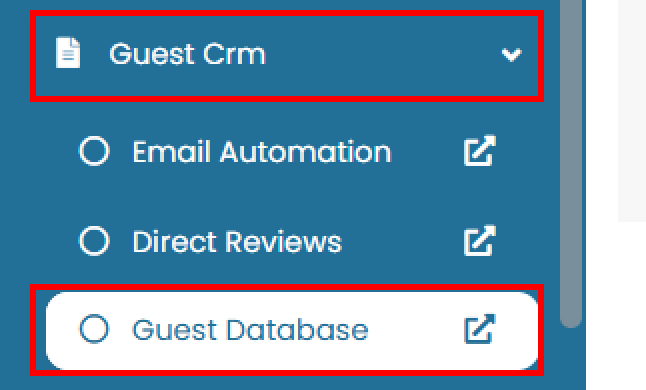
To access this page, navigate to Guest CRM > Guest Database.
View and Navigate
On this page, you can perform the following actions:
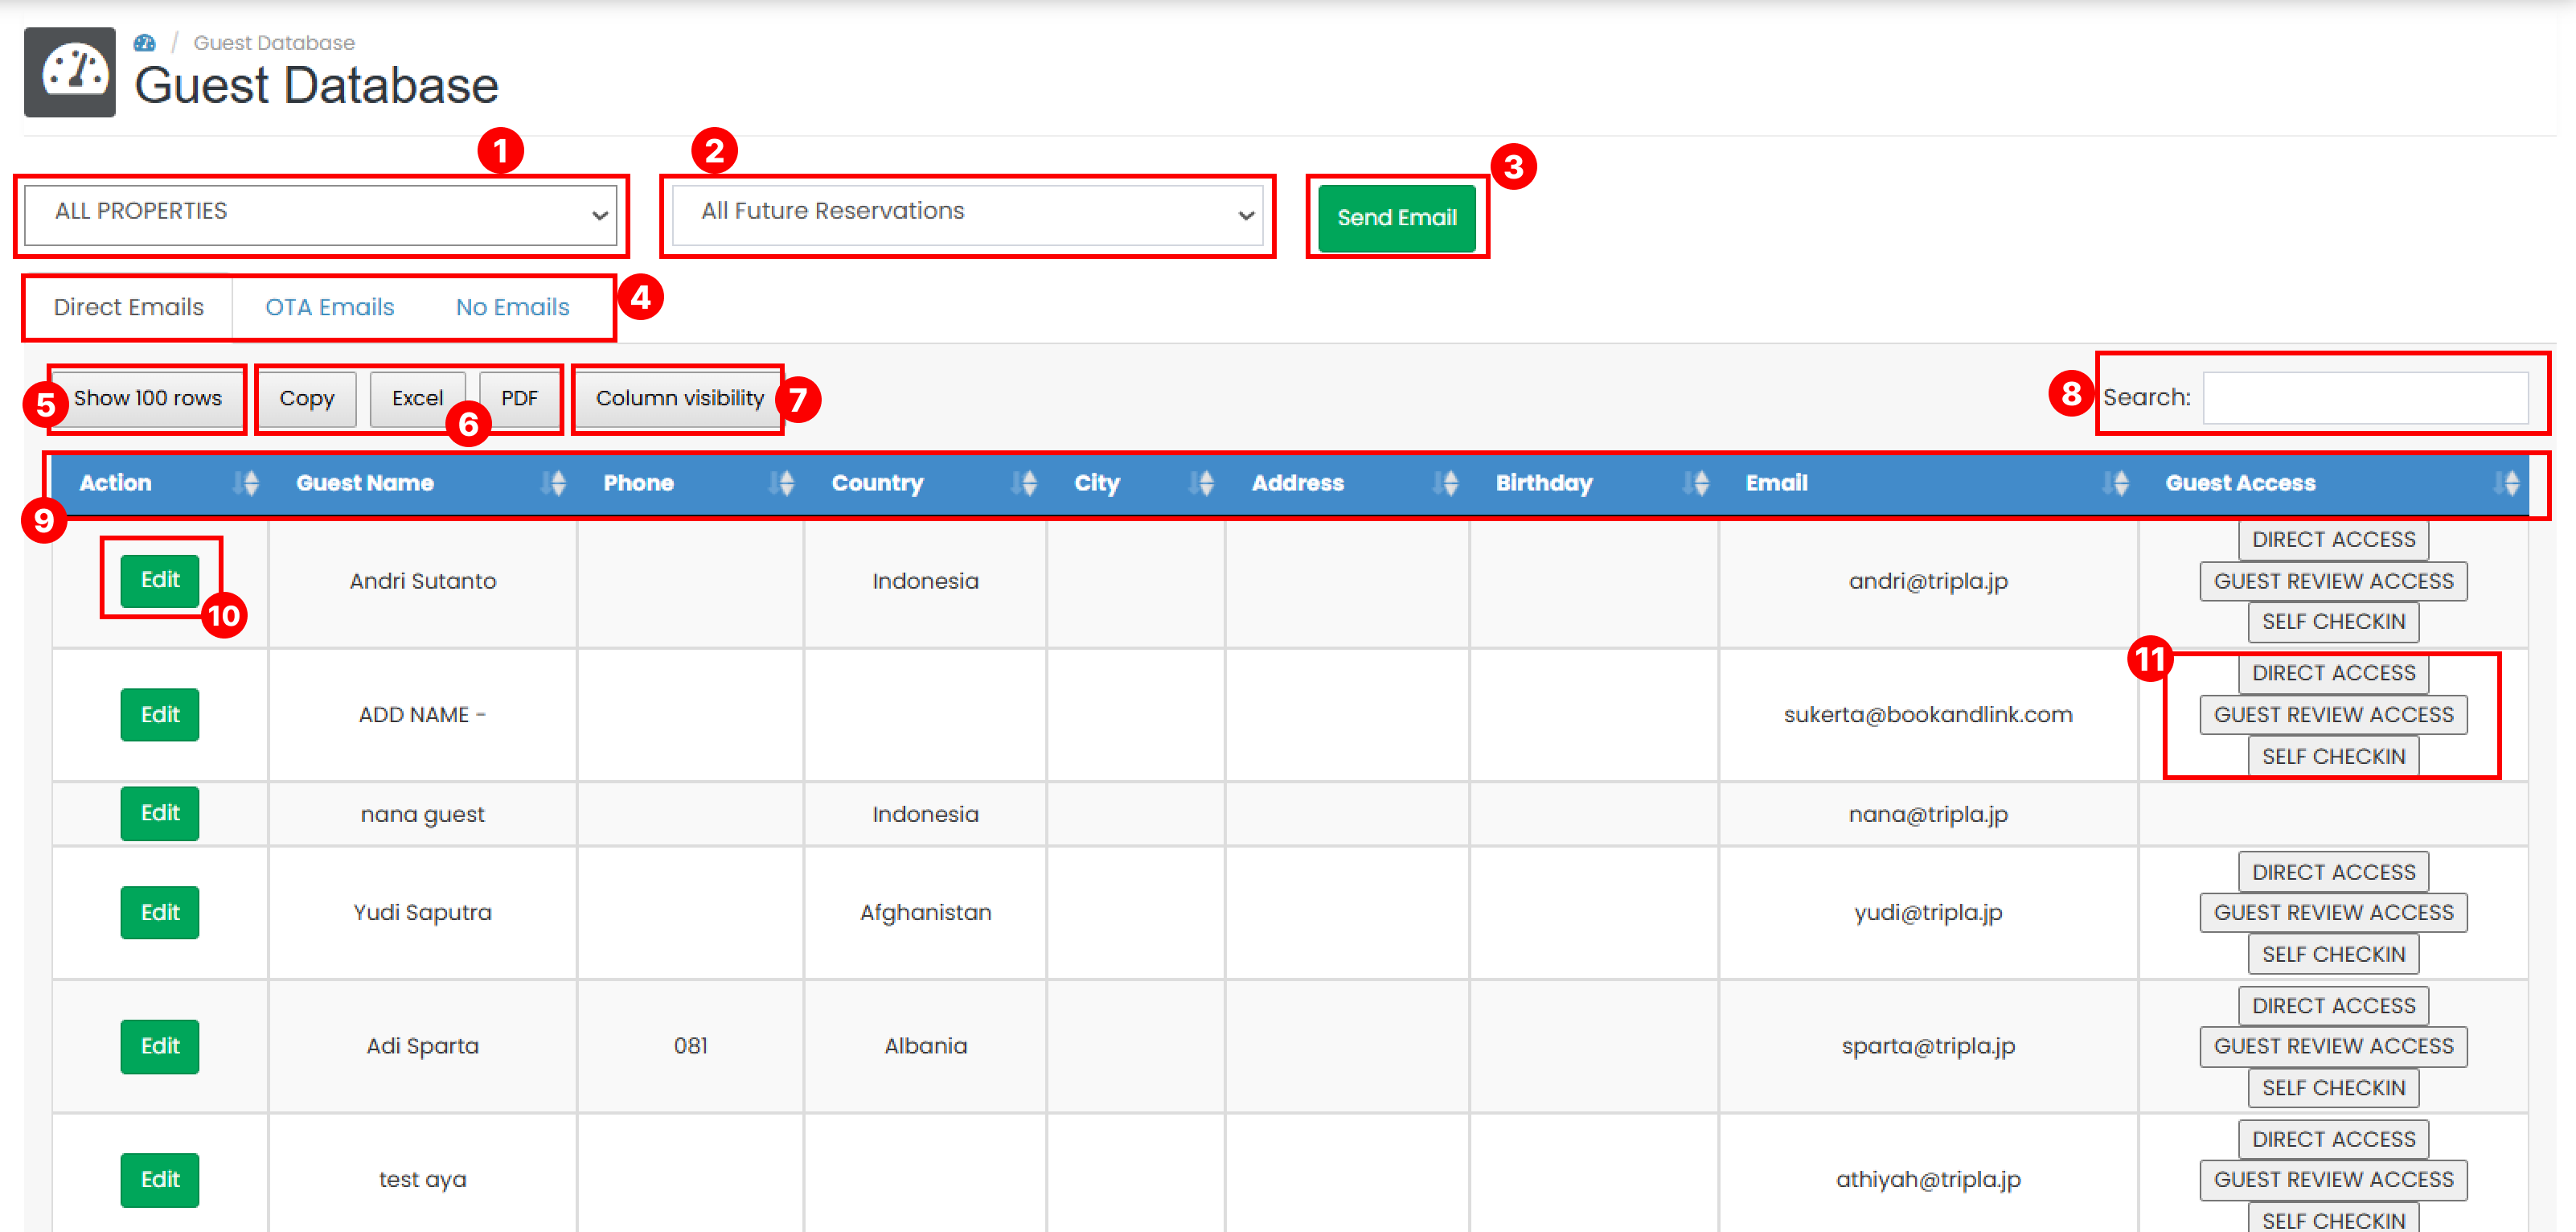
- Properties Option Select the property you want to view or manage.
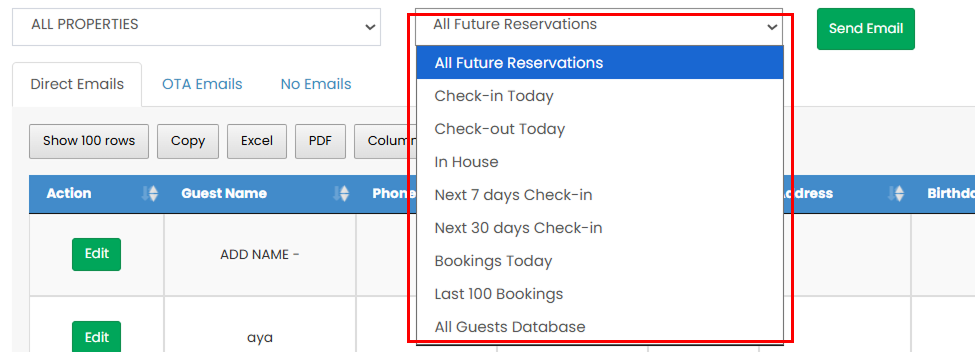
- Data Filter Choose the type of guest data to display, such as Check-in Today, Check-out Today, All Time, and other available options.
- Send Email Button To send email to the guest list you can click this button.
- Tab bar
Guest data is categorized into three tabs:
- Direct Emails : Guests who booked directly
- OTA Emails : Guests from online travel agents
- No Emails : Guests without an email address Switch between tabs with clicking the tab to view guests based on their email source.
- Show rows Select how many rows you want to display in the table.
- Export Options
- Copy : Export table data in text format to clipboard.
- Excel : Export data to
.xlsxformat. - PDF : Export data to
.pdfformat.
- Column Visibility Customize which columns are displayed in the table.
- Search Bar Search for specific guest data by entering keywords. The table will automatically display matching results.
- Sorting Data Sort the table data by clicking on the column headers.
- Edit button Click the Edit button to update guest information. For detailed steps, refer to Edit Guest Data.
- Guest Access Copy guest access links directly from the table. For more details, see Guest Access.
Send Emails
You can send emails to selected guest groups directly from this page by following these steps:
-
Select the Property from the dropdown.

-
Choose the Guest Type (e.g., Check-in Today, Check-out Today). The guest list will appear in the table.
-
Click the Send Email button.

-
A pop-up window will appear. Enter the Title and Subject.
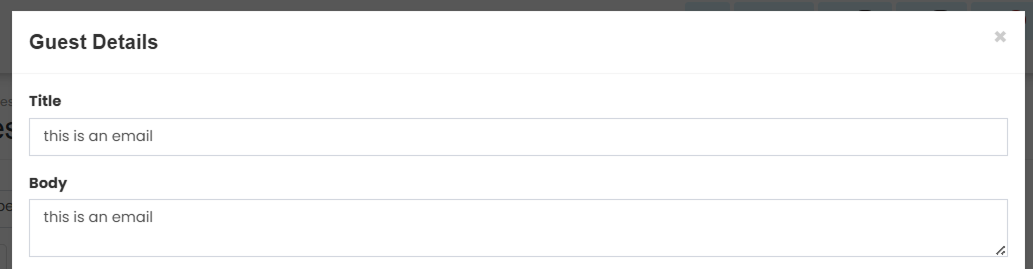
-
Review your email usage information. Each account is limited to a maximum of 5 email sends per day.
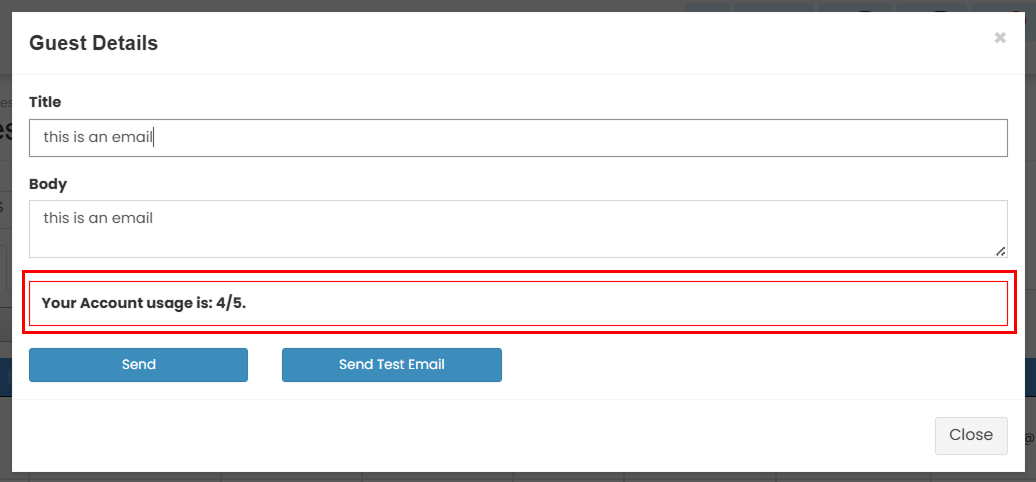
-
Click Send to deliver the email, or Send Test Email to send a test message.

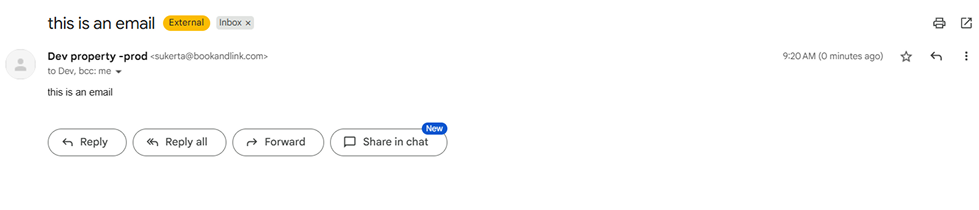
Below is an example of an email successfully sent to a guest.
Edit Guest Data
You can update guest details from any of the available tabs
- Locate the guest record you want to update. Click the Edit button.

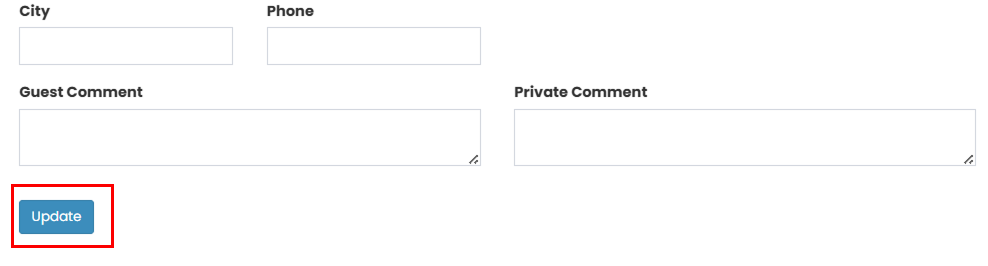
- A pop-up form will appear. Each guest record includes a list of all the time related bookings. You can update the required fields for each booking as needed.
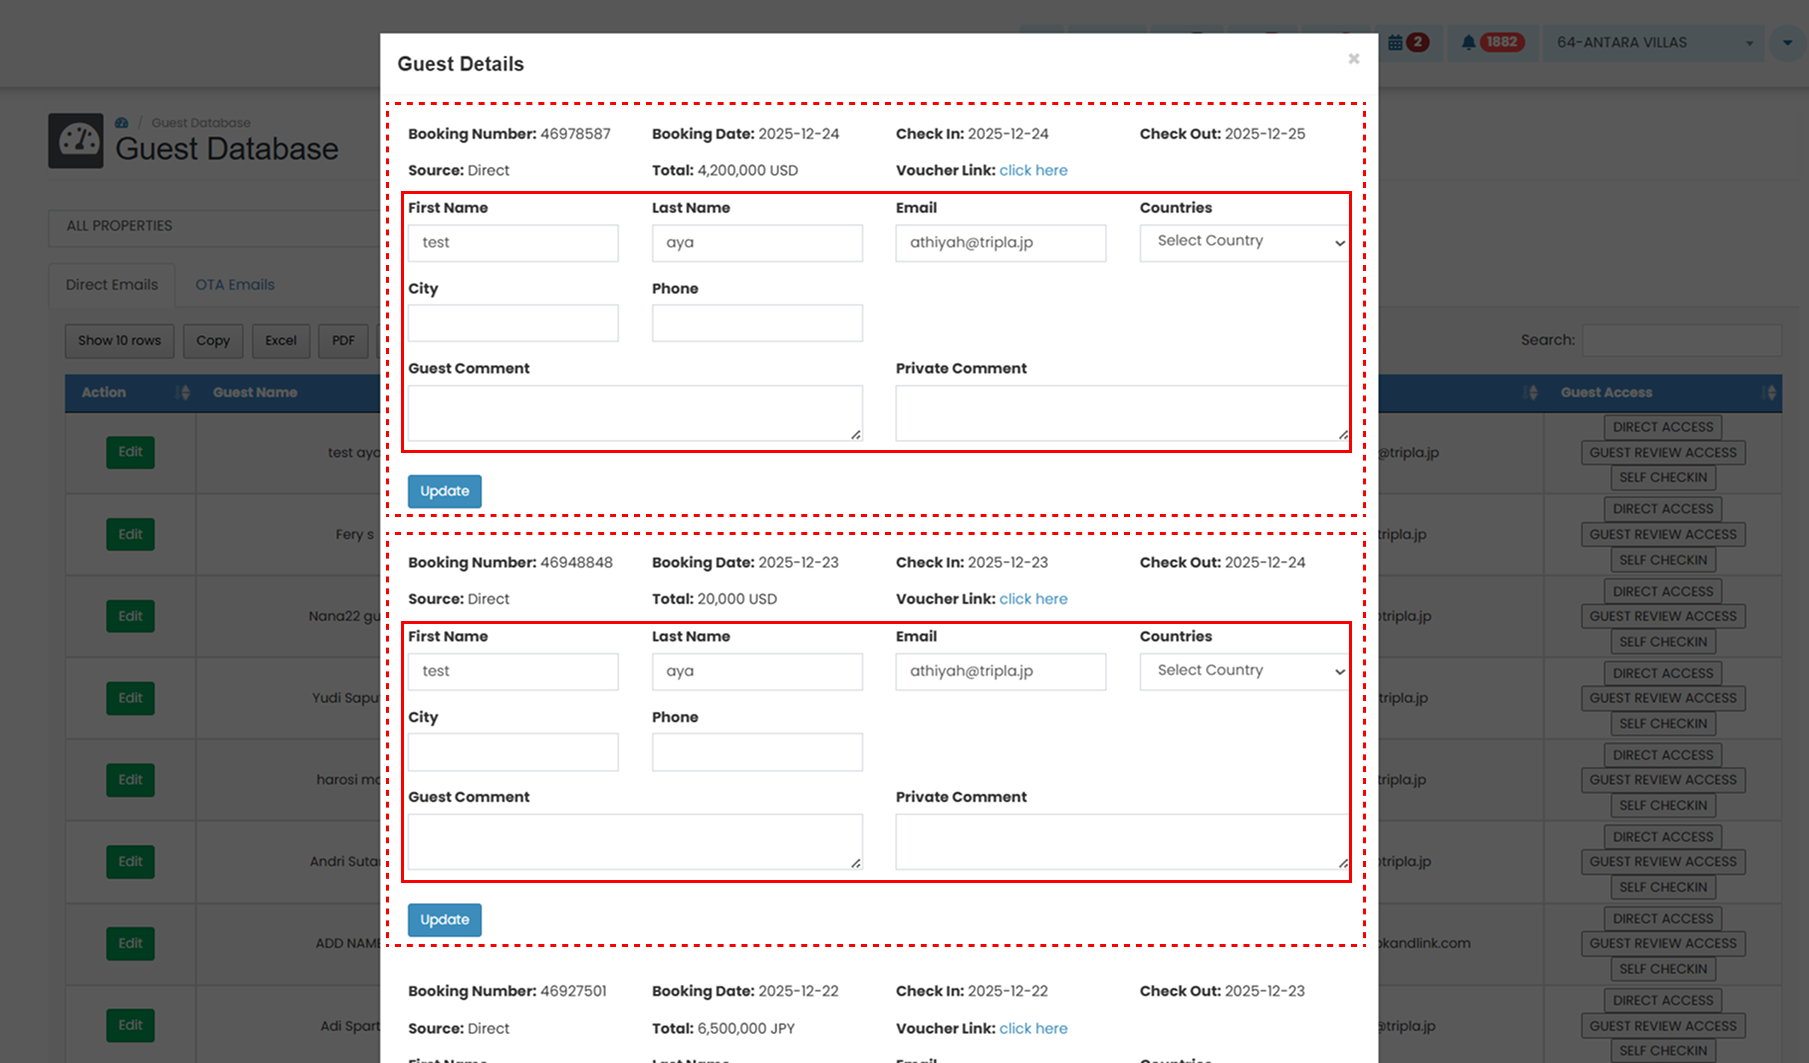
- Click Update to save the changes.
Guest Access
Each guest record provides access links that can be shared with the guest. These links are available in the Guest Access column and include:
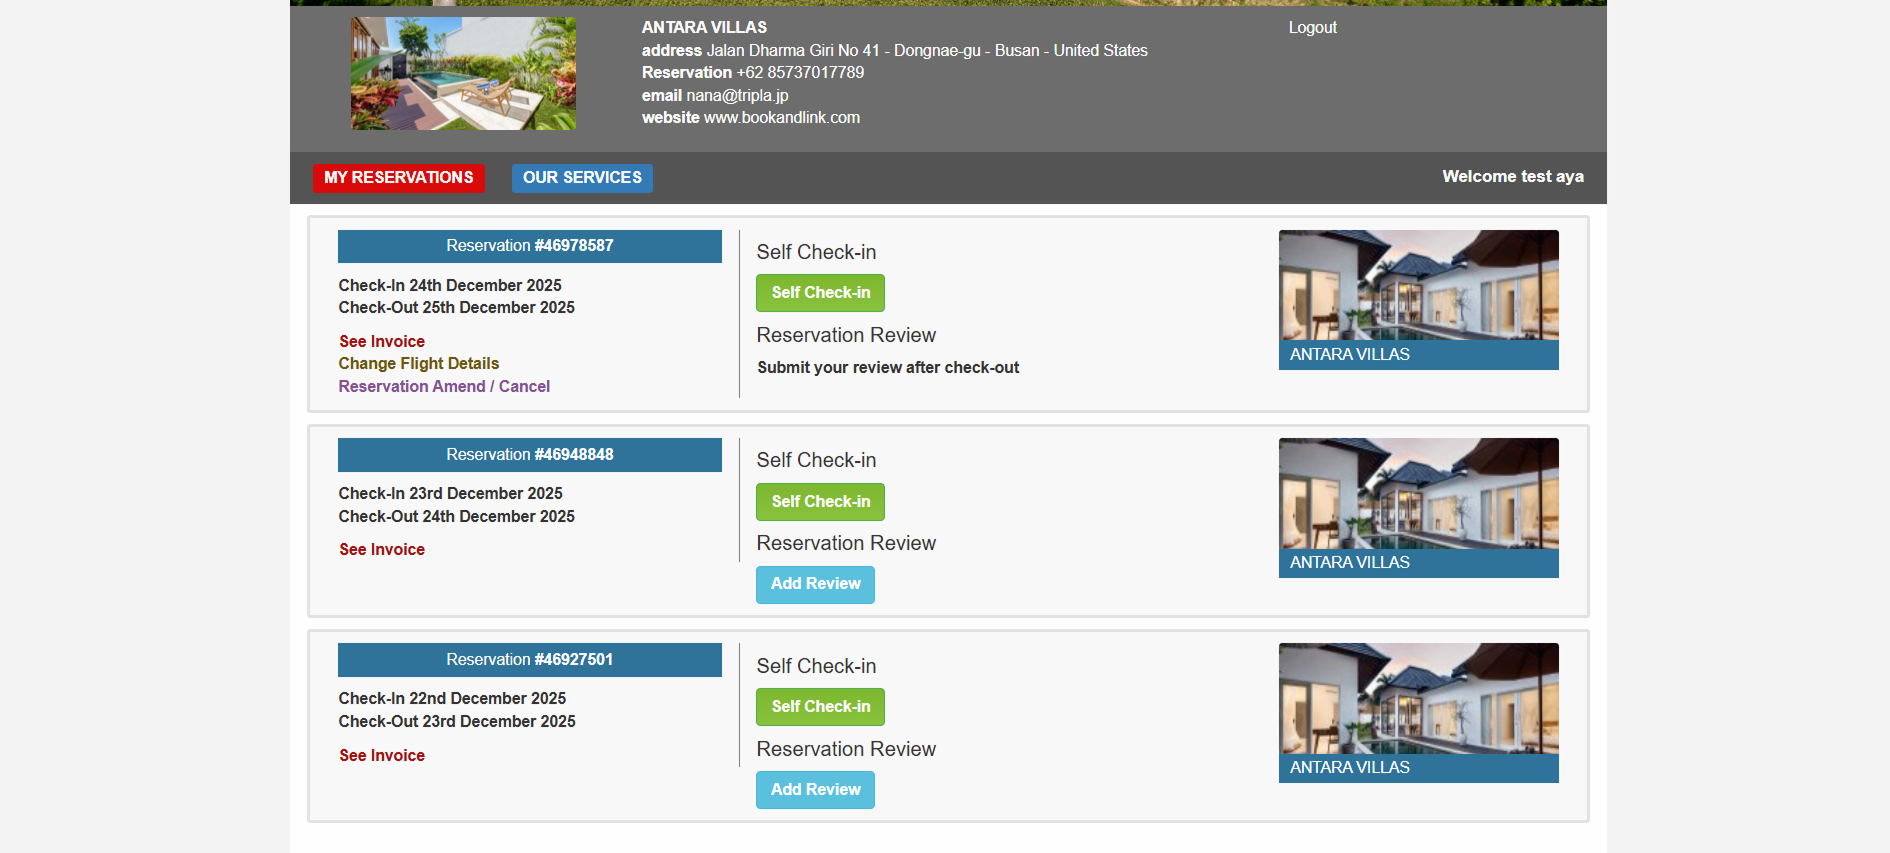
Direct Access
Provides guests access to their booking details page.

Example view of the guest booking page:
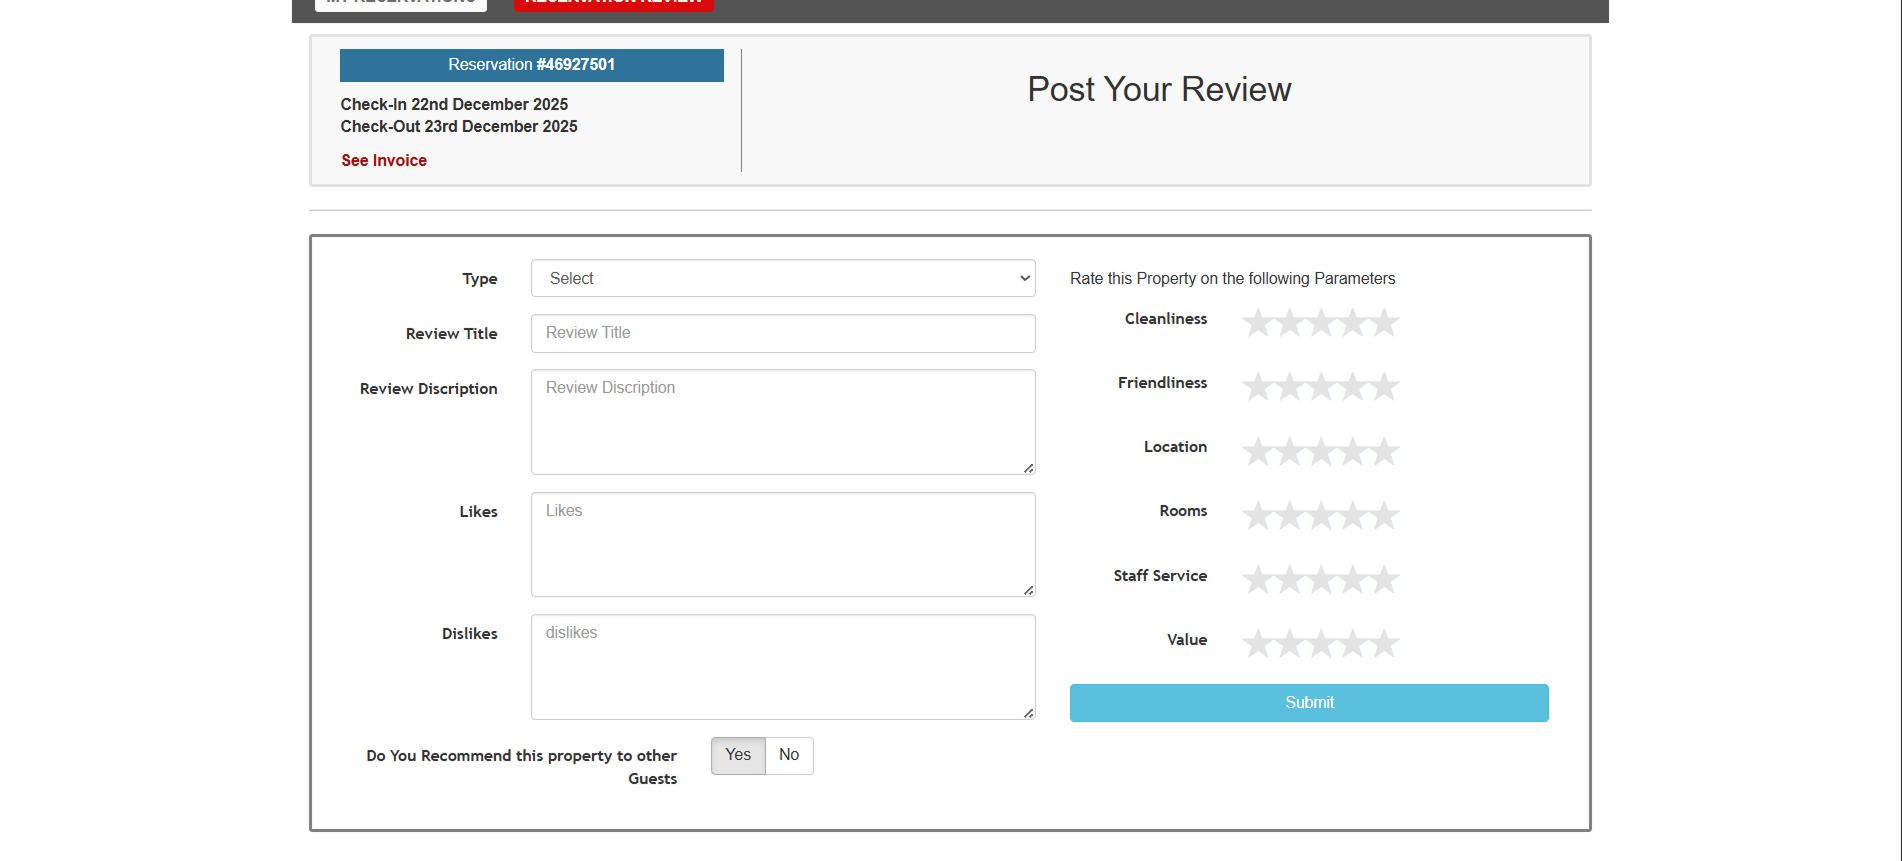
Guest Review Access
Allows guests to submit reviews for the property, including location and room experience.

Below is the example of the guest review page :
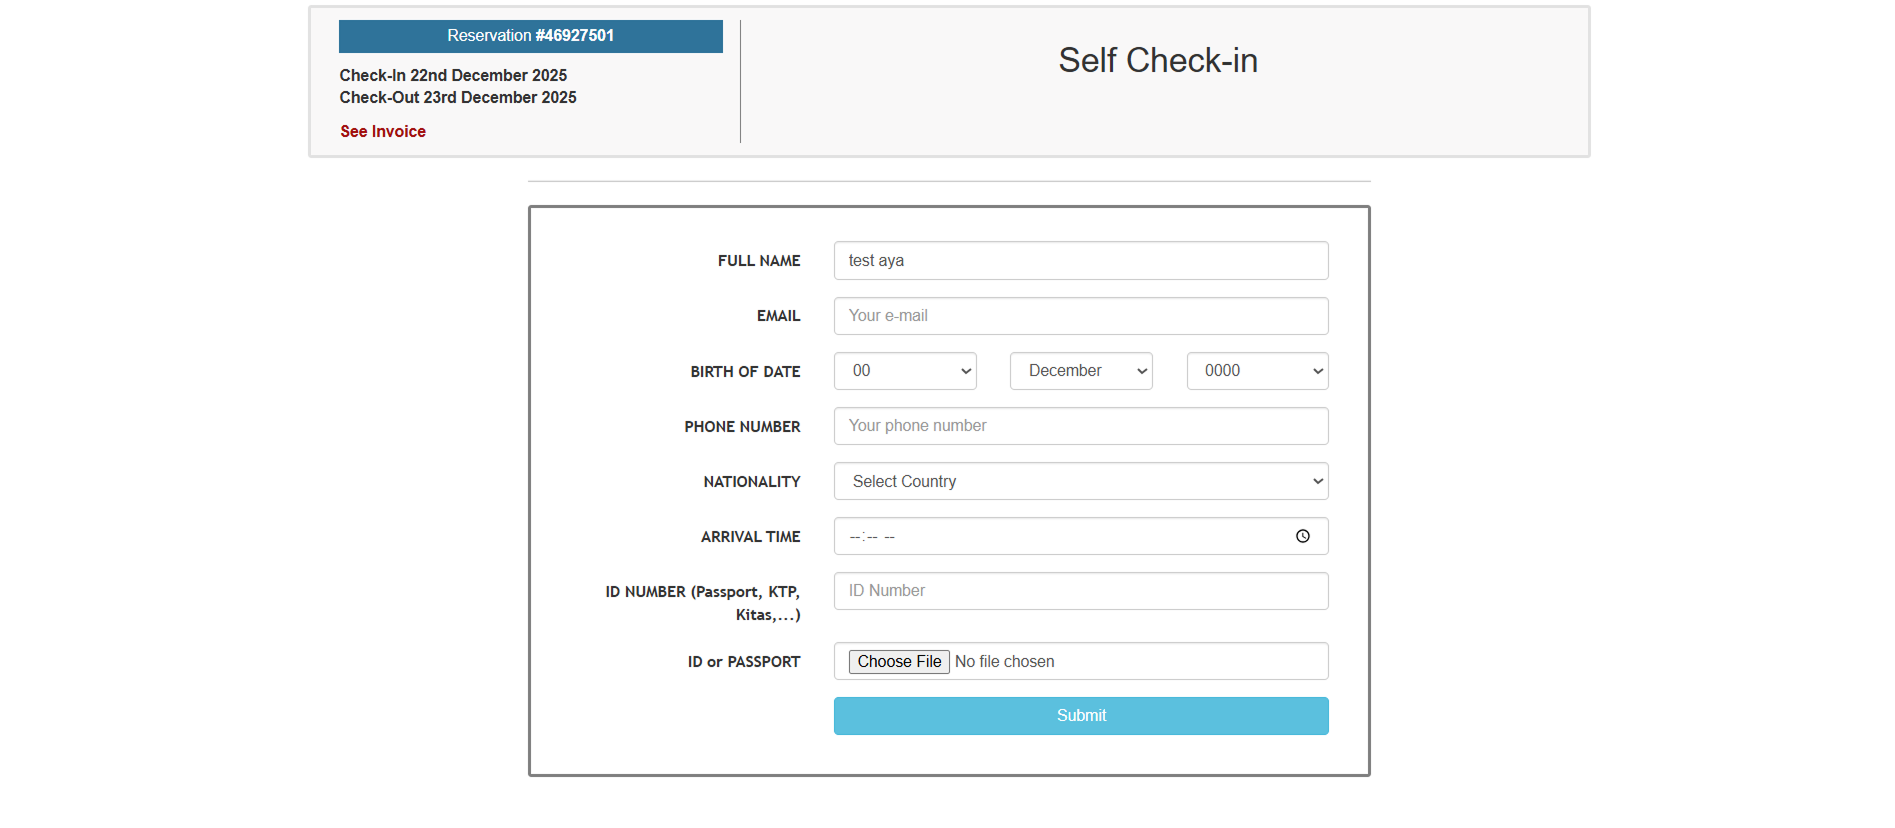
Self Check-in Access
Enables guests to complete the self check-in process by entering their own information.

The example of self check-in page view: