Introduction
Stock Inventory is a page to manage additional items available for sale at the property, whether charged to guest rooms (e.g., room service items) or sold independently (e.g., extra amenities). This page divide into two section, Items and Items Category. You can switch between this two sections using the the tab bar located at the top-right corner of the page.

Items Inventory
Ensure that you are on the Items section before managing item records.
View and Navigate
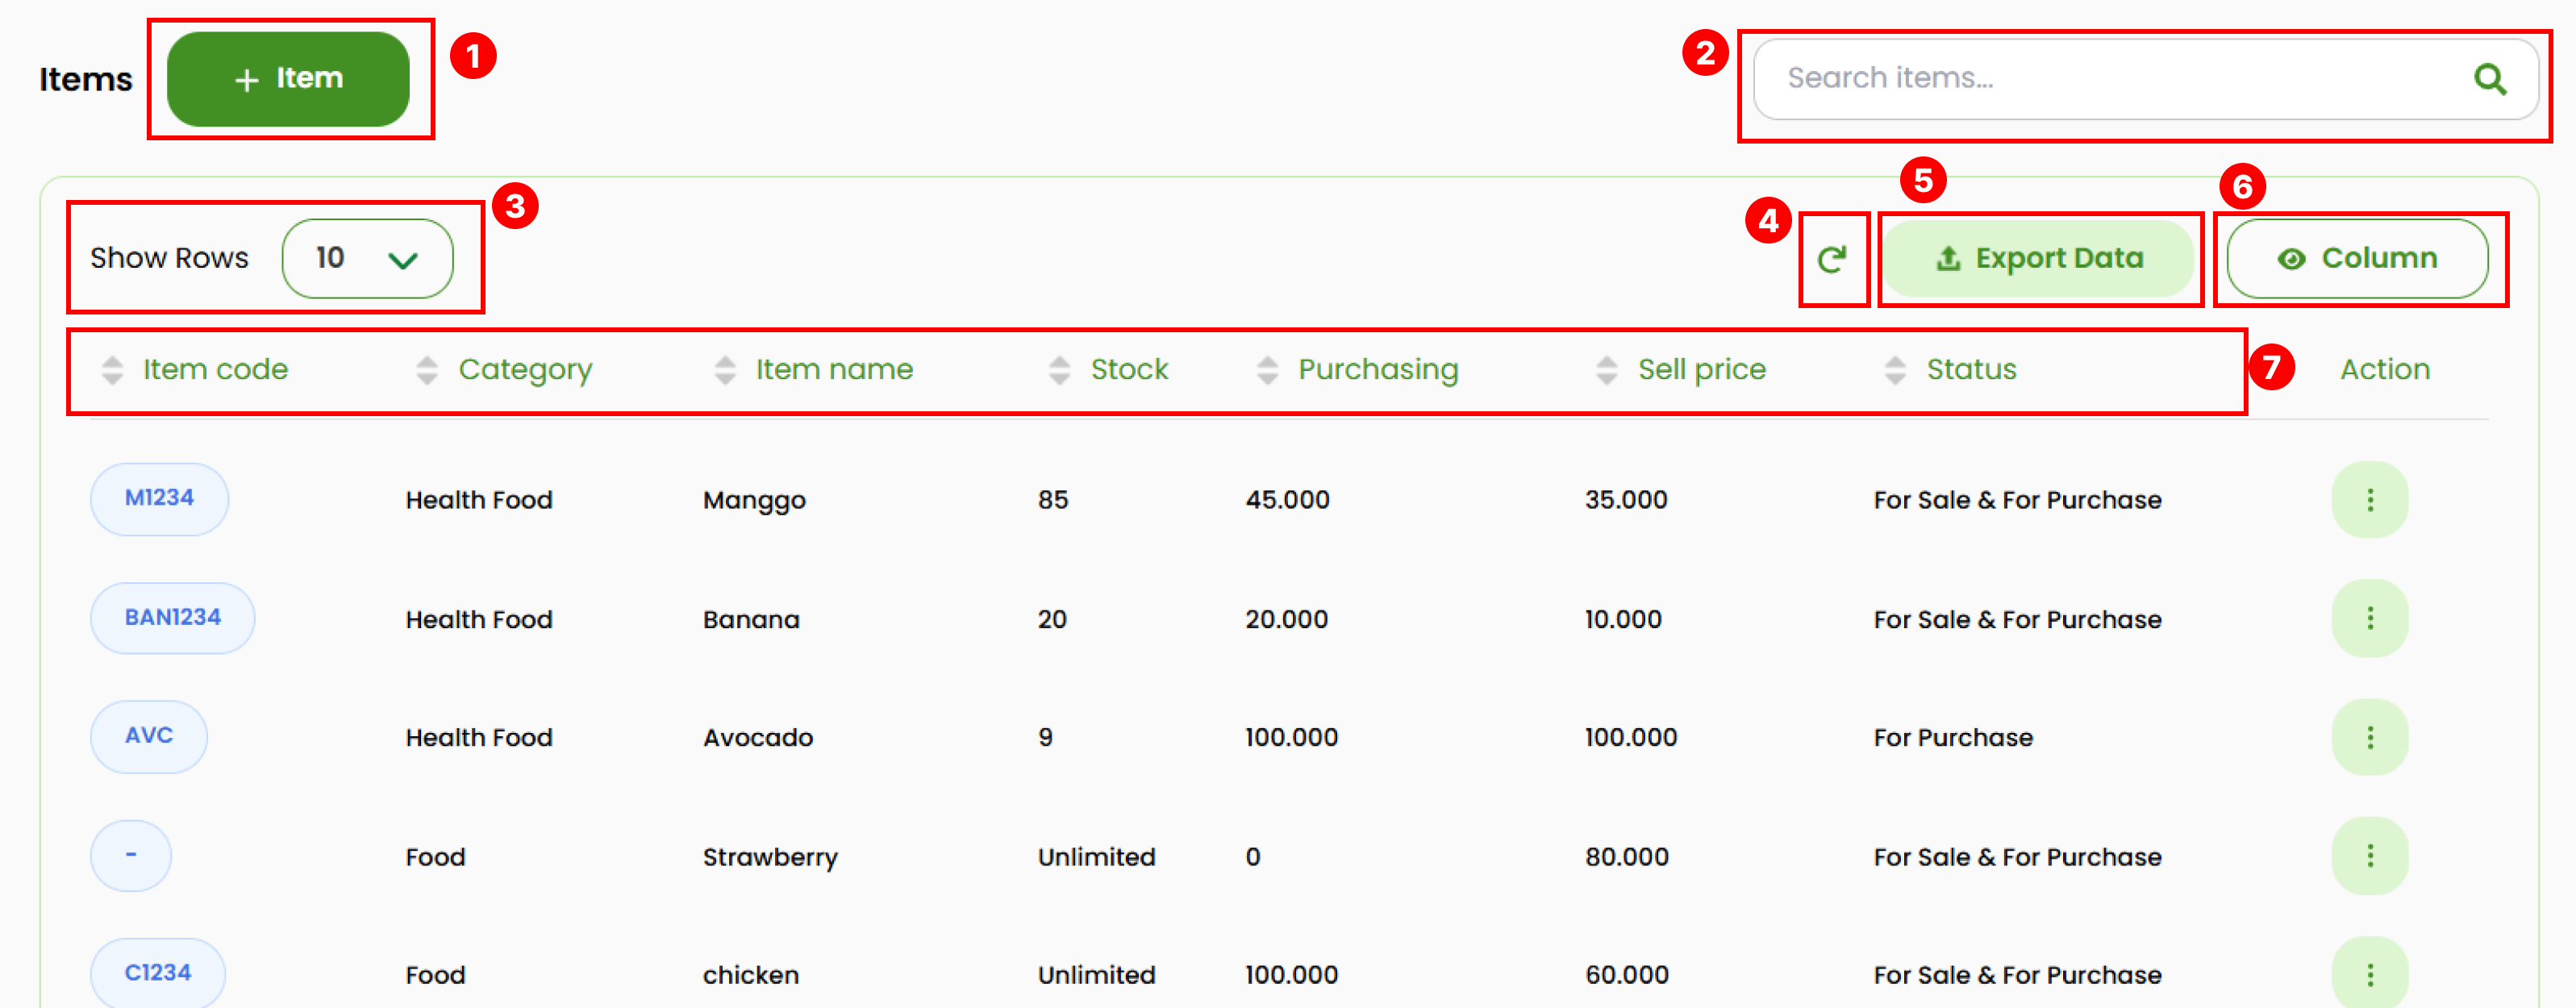
- Opens a pop-up form to create a new item by clicking the Button Add Item.
- Search items by typing the item name or item code. The table will display all matching results.
- Adjust how many rows appear in the items table between 10, 25, 50, 75 and 100 rows using the Show Rows.
- Refresh button to reloads the list and restores the default table order after sorting.
- Export button to download the data into .xlsx format.
- Choose which table columns you want to display by ticking the selections on the Column button.
- Sort the list by clicking on column header.
Add New Item
- Click the +Item button to open a pop up form.
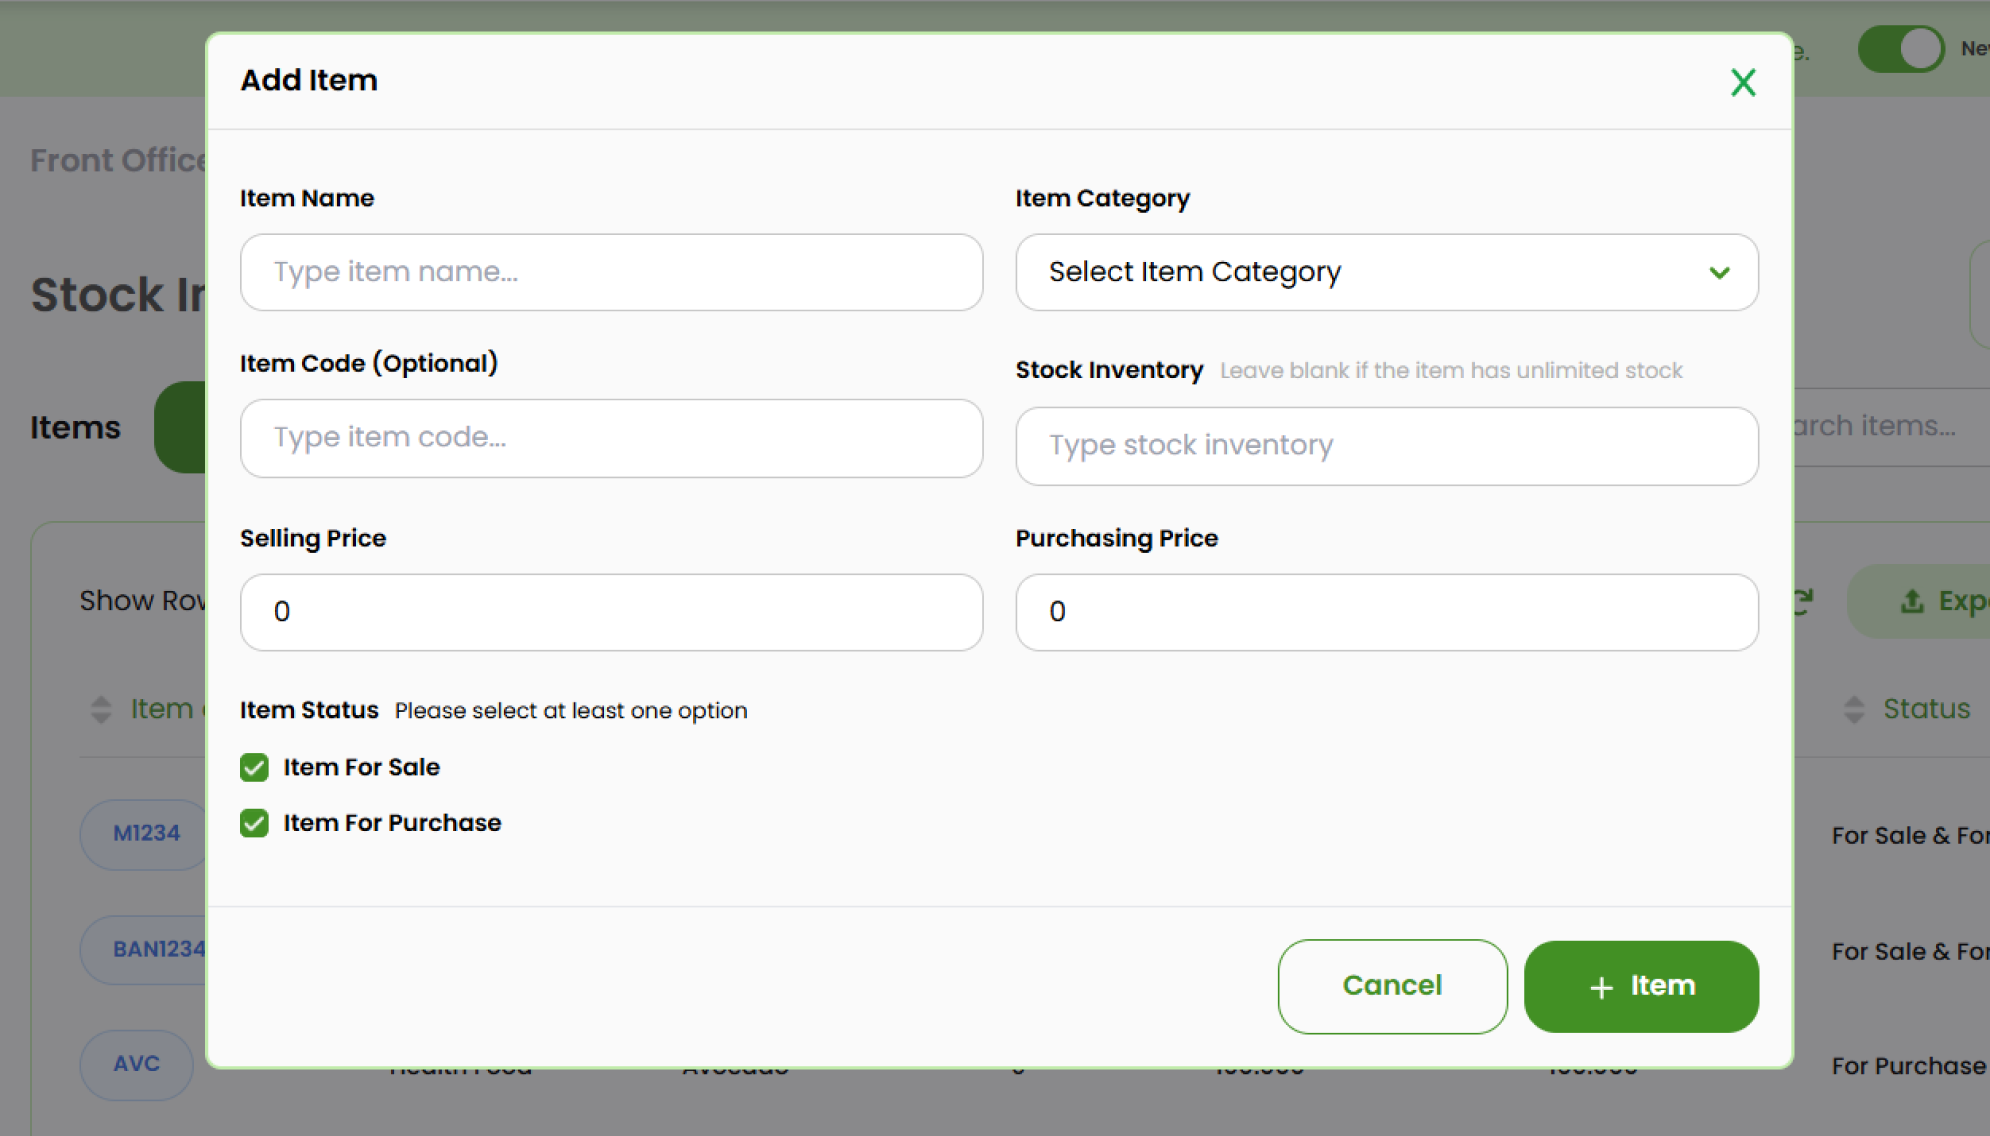
- Complete the required fields:
- Item Name : Enter the item name.
- Category : Select the category from the dropdown list.
- Item Code : Optional field for entering the item's code.
- Stock Inventory : Enter the stock quantity. Leave blank if the item has unlimited stock.
- Selling Price : Enter the selling price.
- Purchasing Price : Enter the purchasing price.
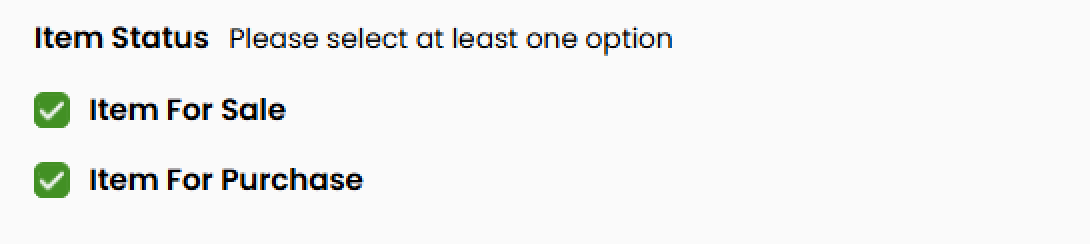
- Item status : Select whether the item is available for sale, for purchase, or both.
- Click the + Item button to save and add the item to the list.
Edit Item
- Locate the item you want to modify, then click the three-dots icon (⋮) in the Action column.
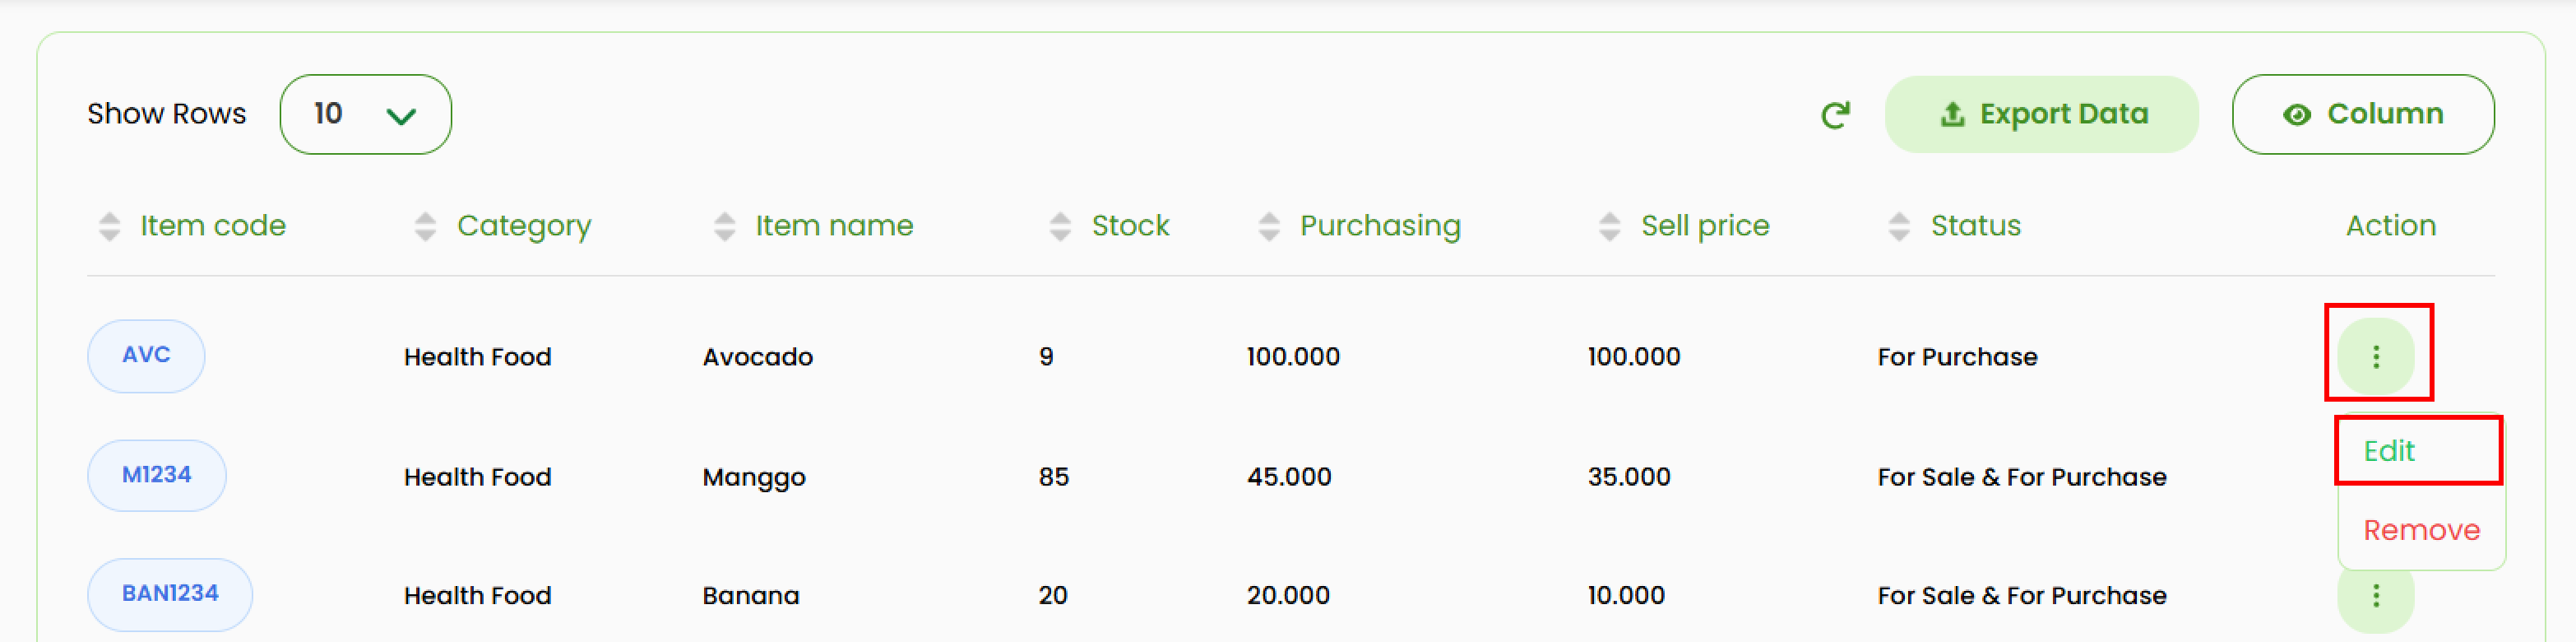
- Select Edit to open the pop up form.
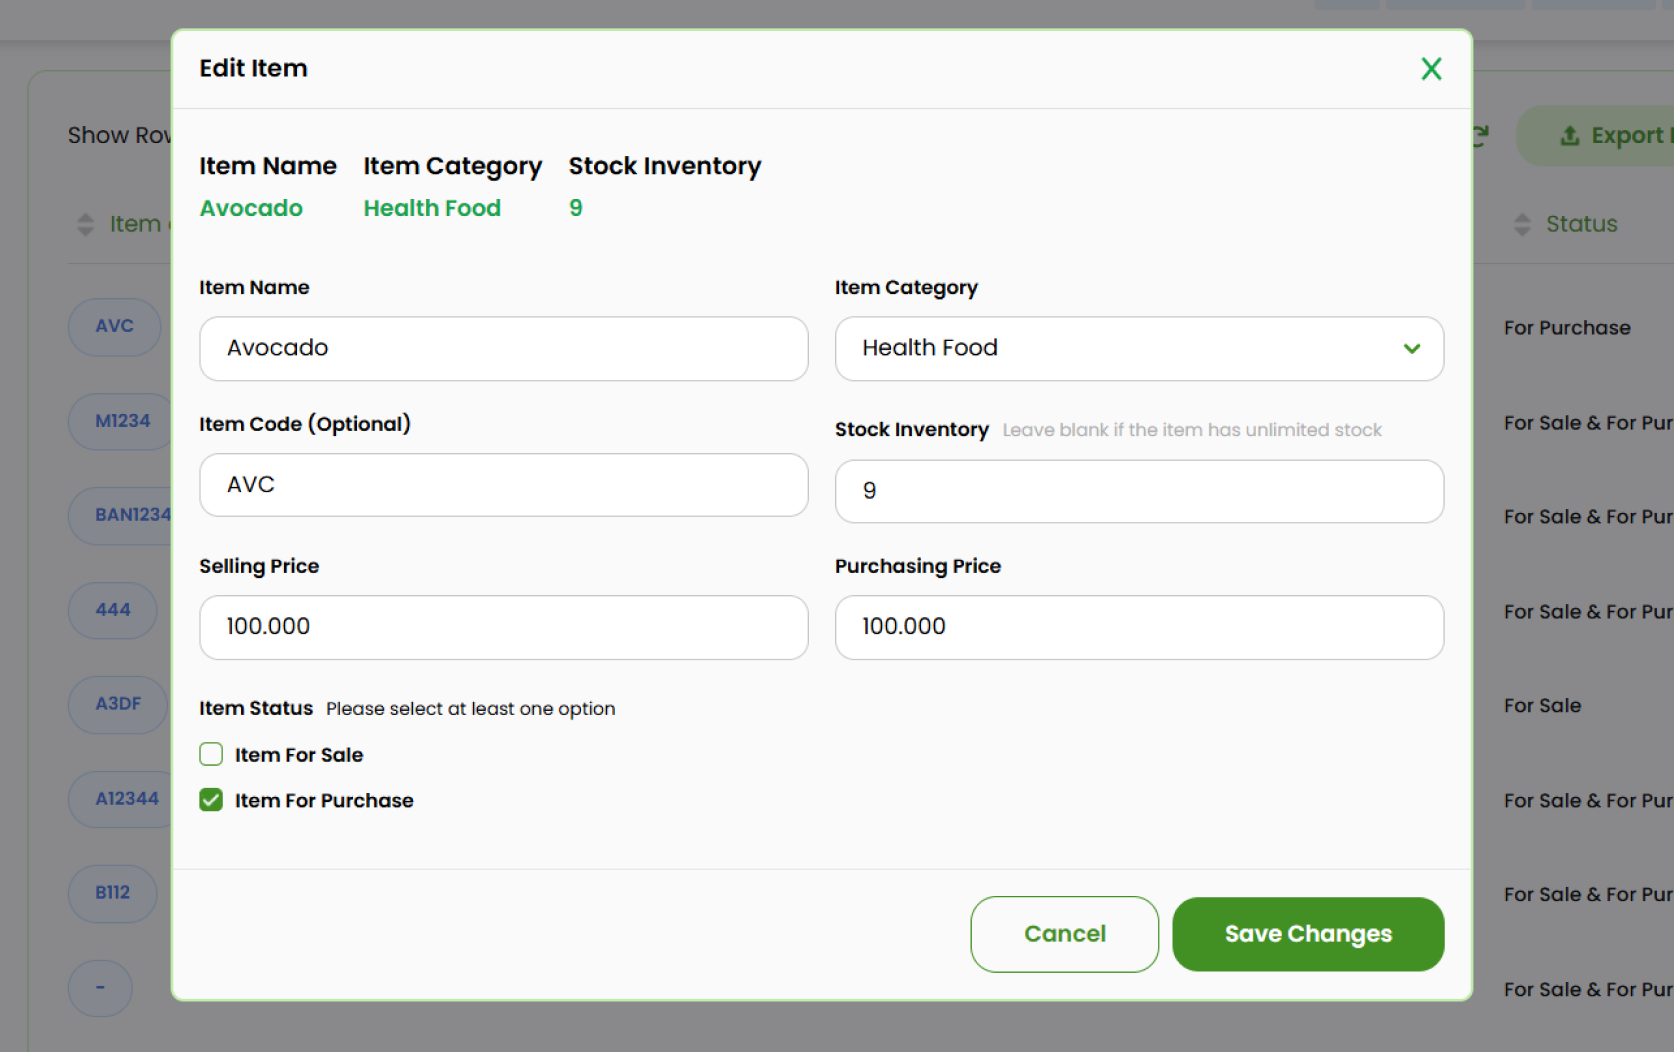
- Update the necessary fields such as
- Item name
- Item Category
- Item Code
- Stock Inventory
- Selling Price
- Purchasing Price
- Item Status
- Click Save Changes to apply the changes.
Remove Item
- Locate the item you want to delete, then click the three-dots icon (⋮) in the Action column.
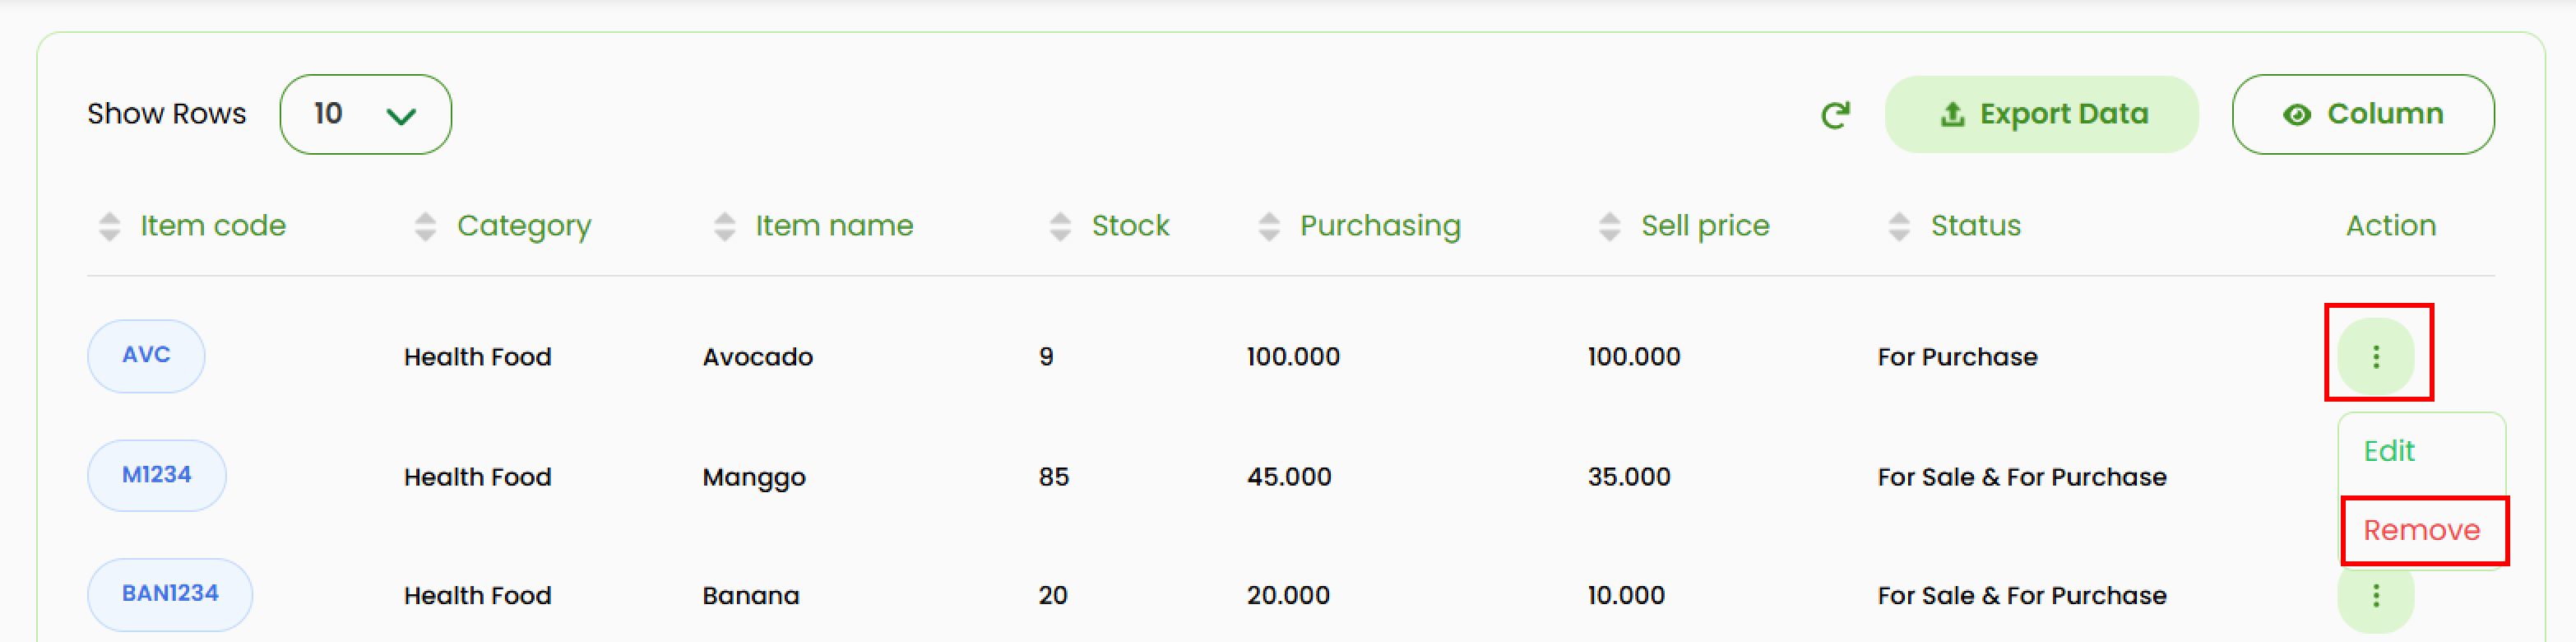
- Select Remove and a confirmation pop up will appear.
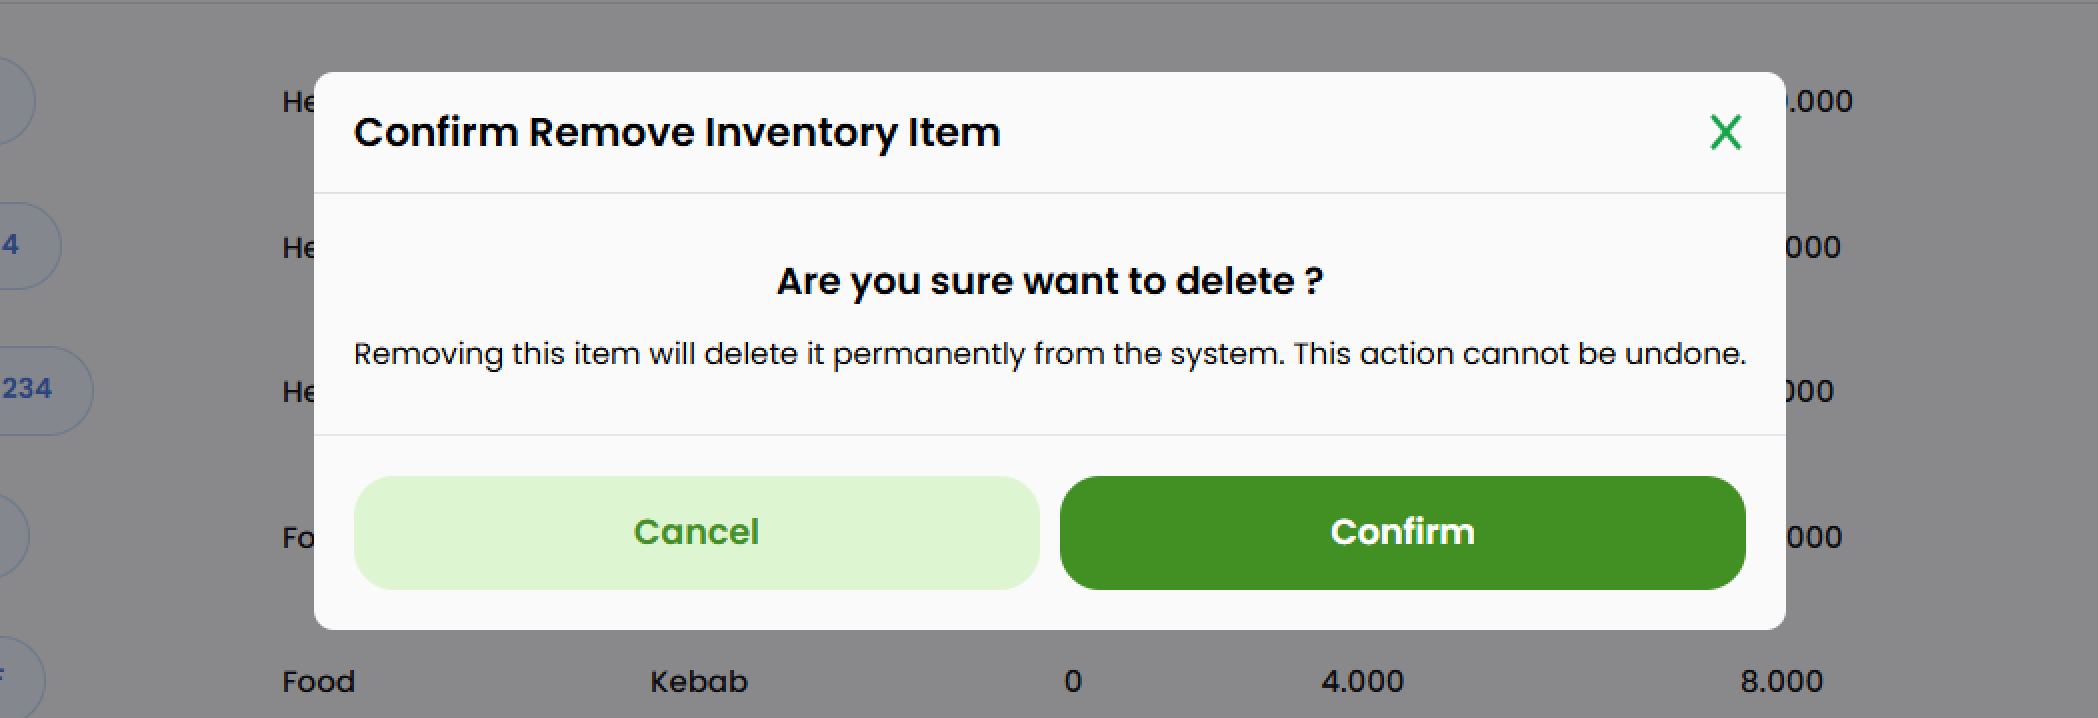
- Click Confirm to proceed the deletion, or Cancel to dismiss the action.
Items Category
Ensure that you have switched to the Item Categories section before managing item category data.
View and Navigate
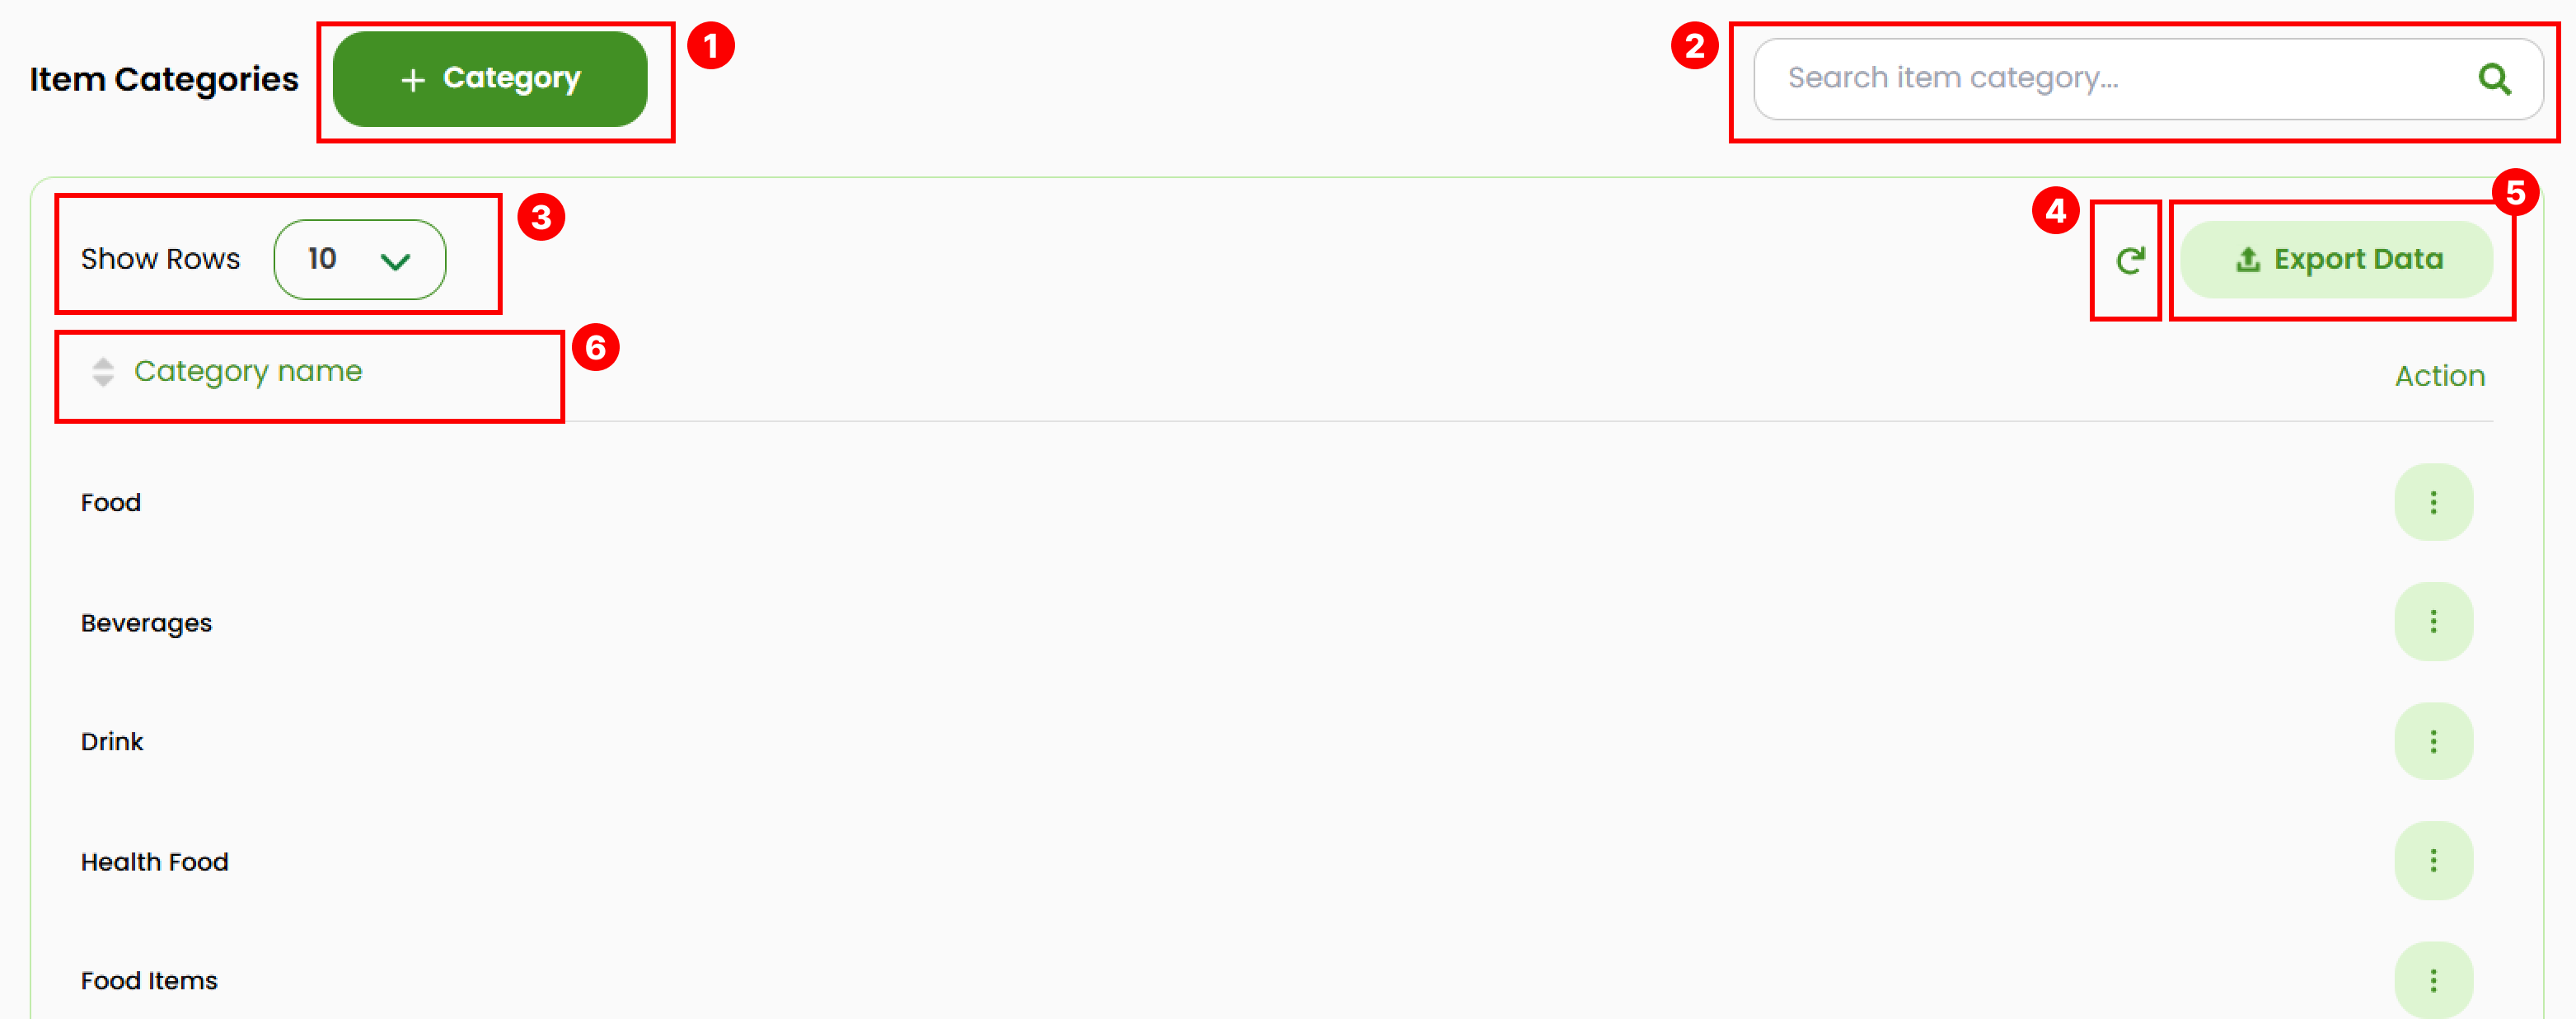
- Use + Category button to create a new item category.
- Find categories by typing the category name on the Search Bar. The table will shows you the match result as your keyword.
- Adjust how many category rows are displayed (10, 25, 50, 75, or 100) using Show Rows.
- Use Refresh button to reloads the list and restores the default table order after sorting.
- Use Export button to download the data into .xlsx format.
- Sort the data on the list by clicking the column header.
Add New Category
- Click the +Category button.
- Fill the Category Name on the pop up form.
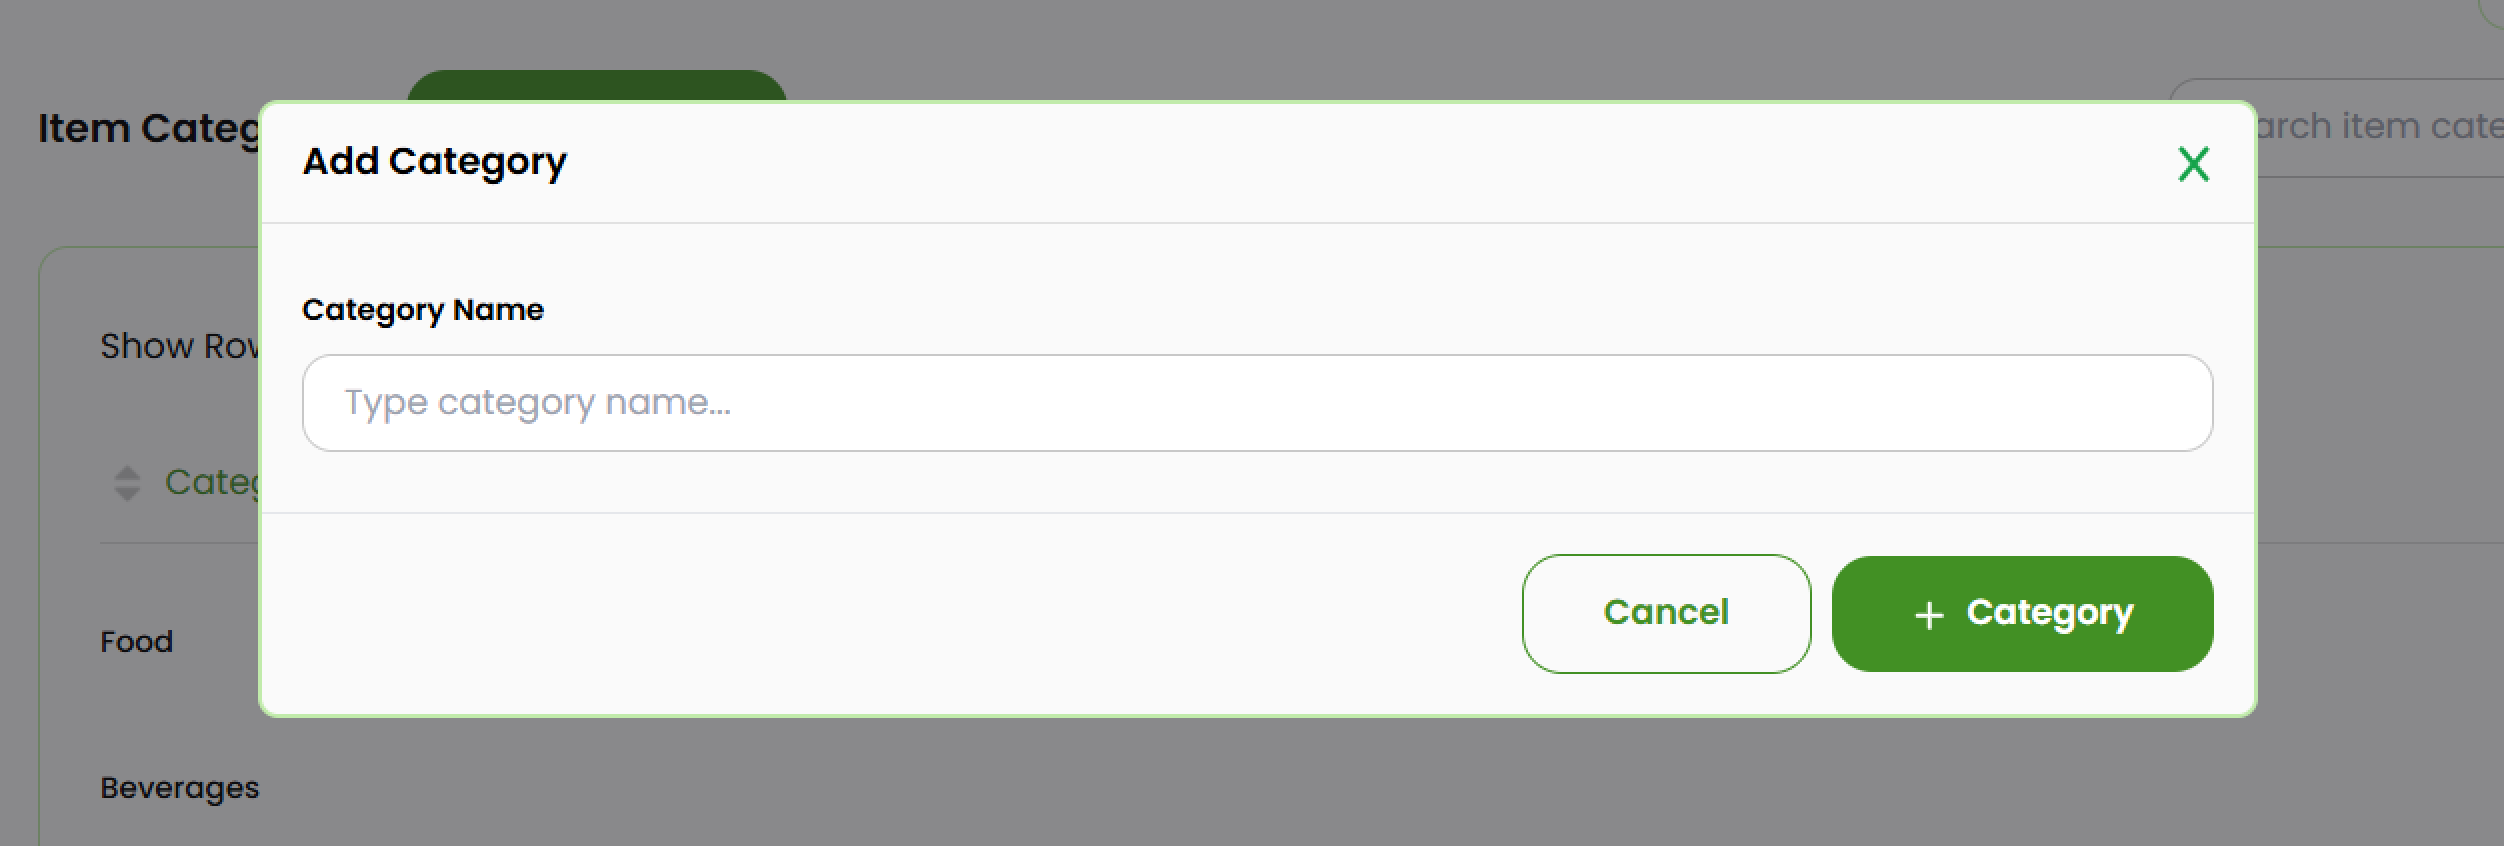
- Click the Add Category button to add the data.
Edit Category
- Locate the category you want to modify and click the three-dots icon (⋮) in the Action column.
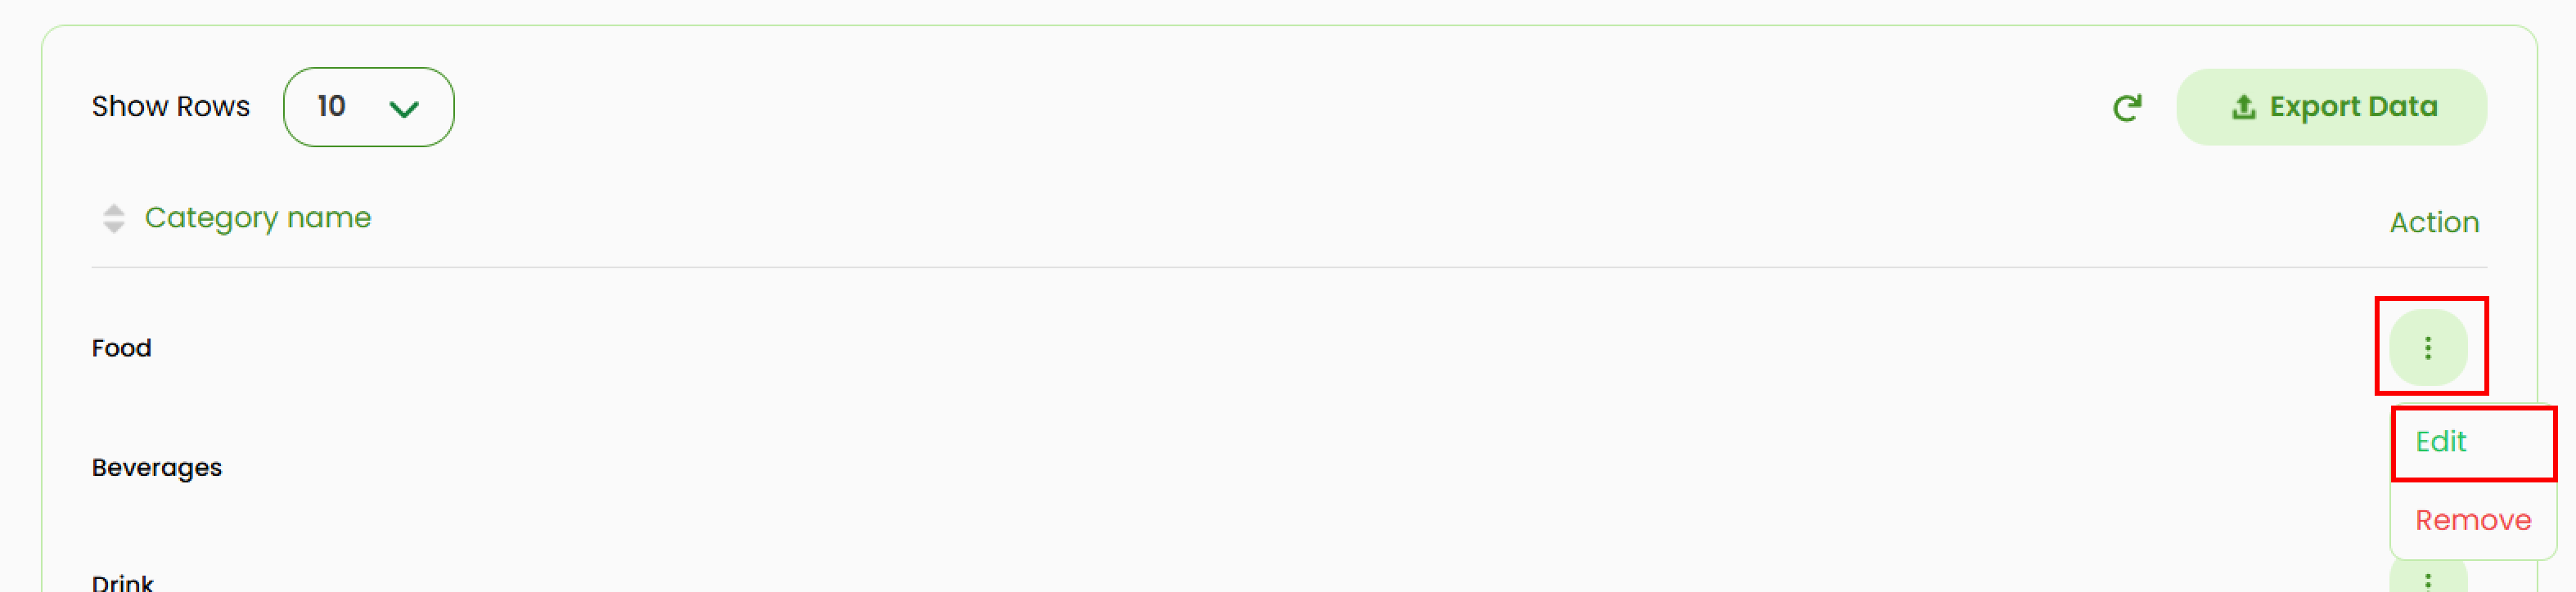
- Select Edit to open a pop up form.
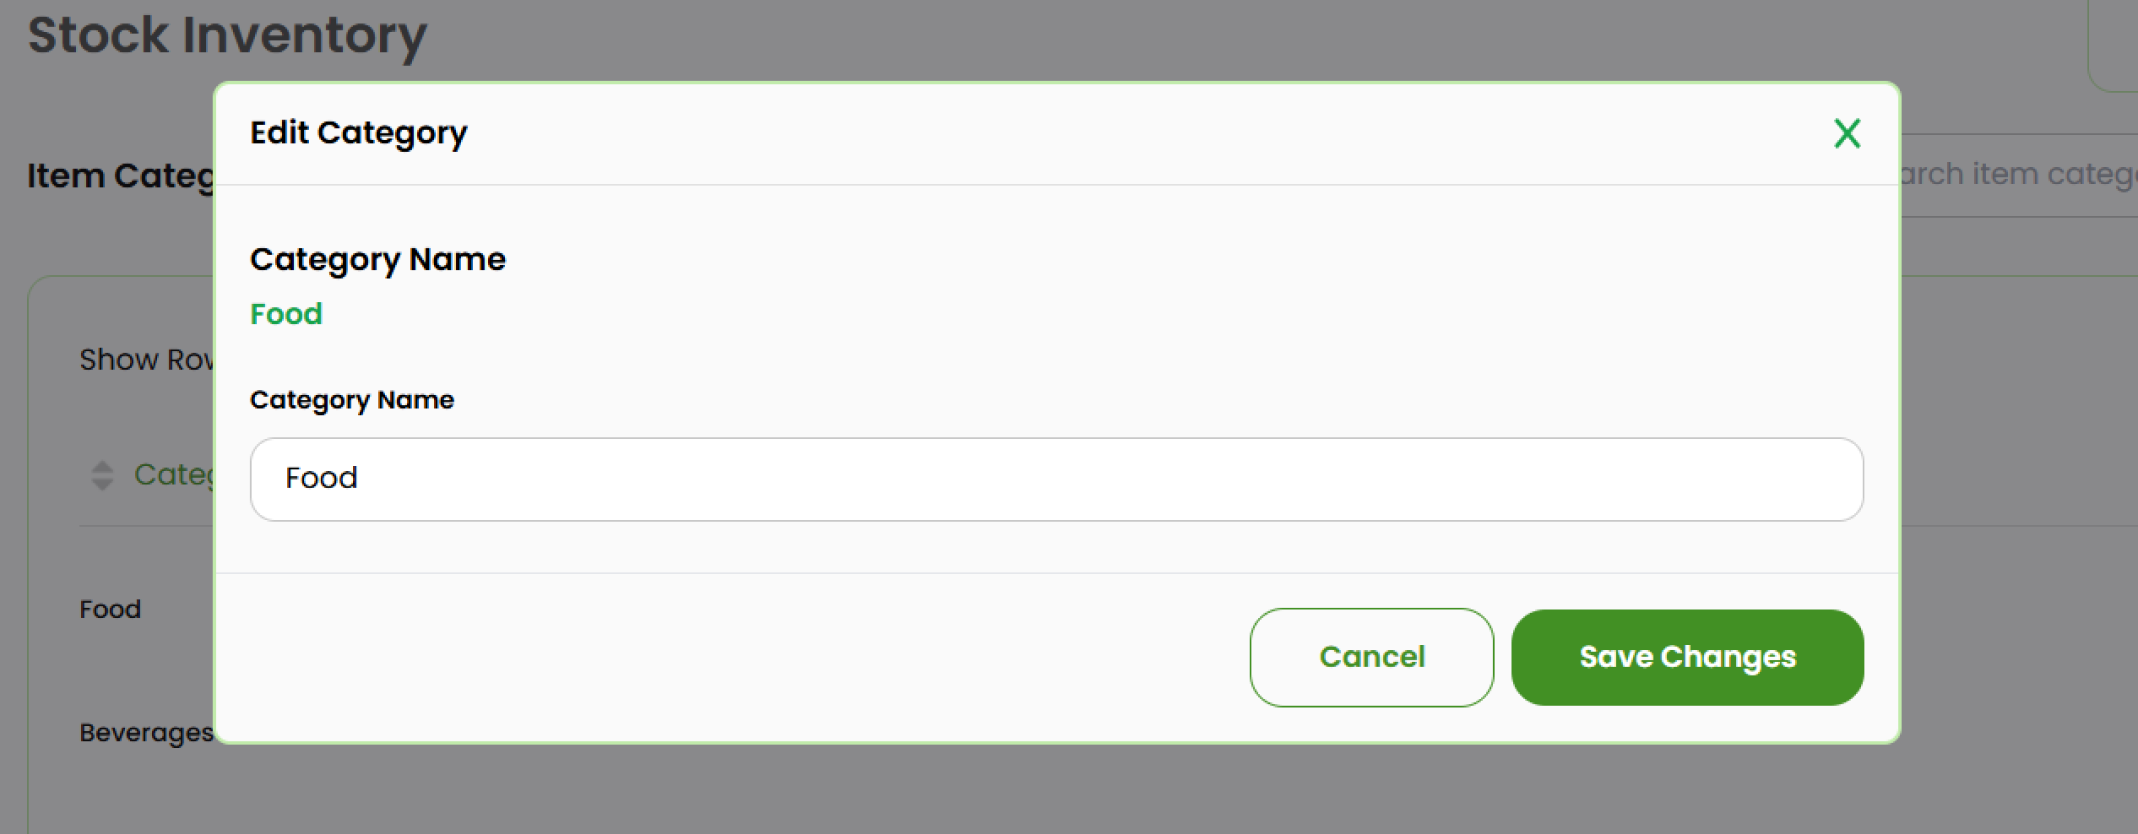
- Update the category name as needed.
- Click Save Changes to apply the changes.
Remove Category
- Locate the category you want to delete, then click the three-dots icon (⋮) in the Action column.
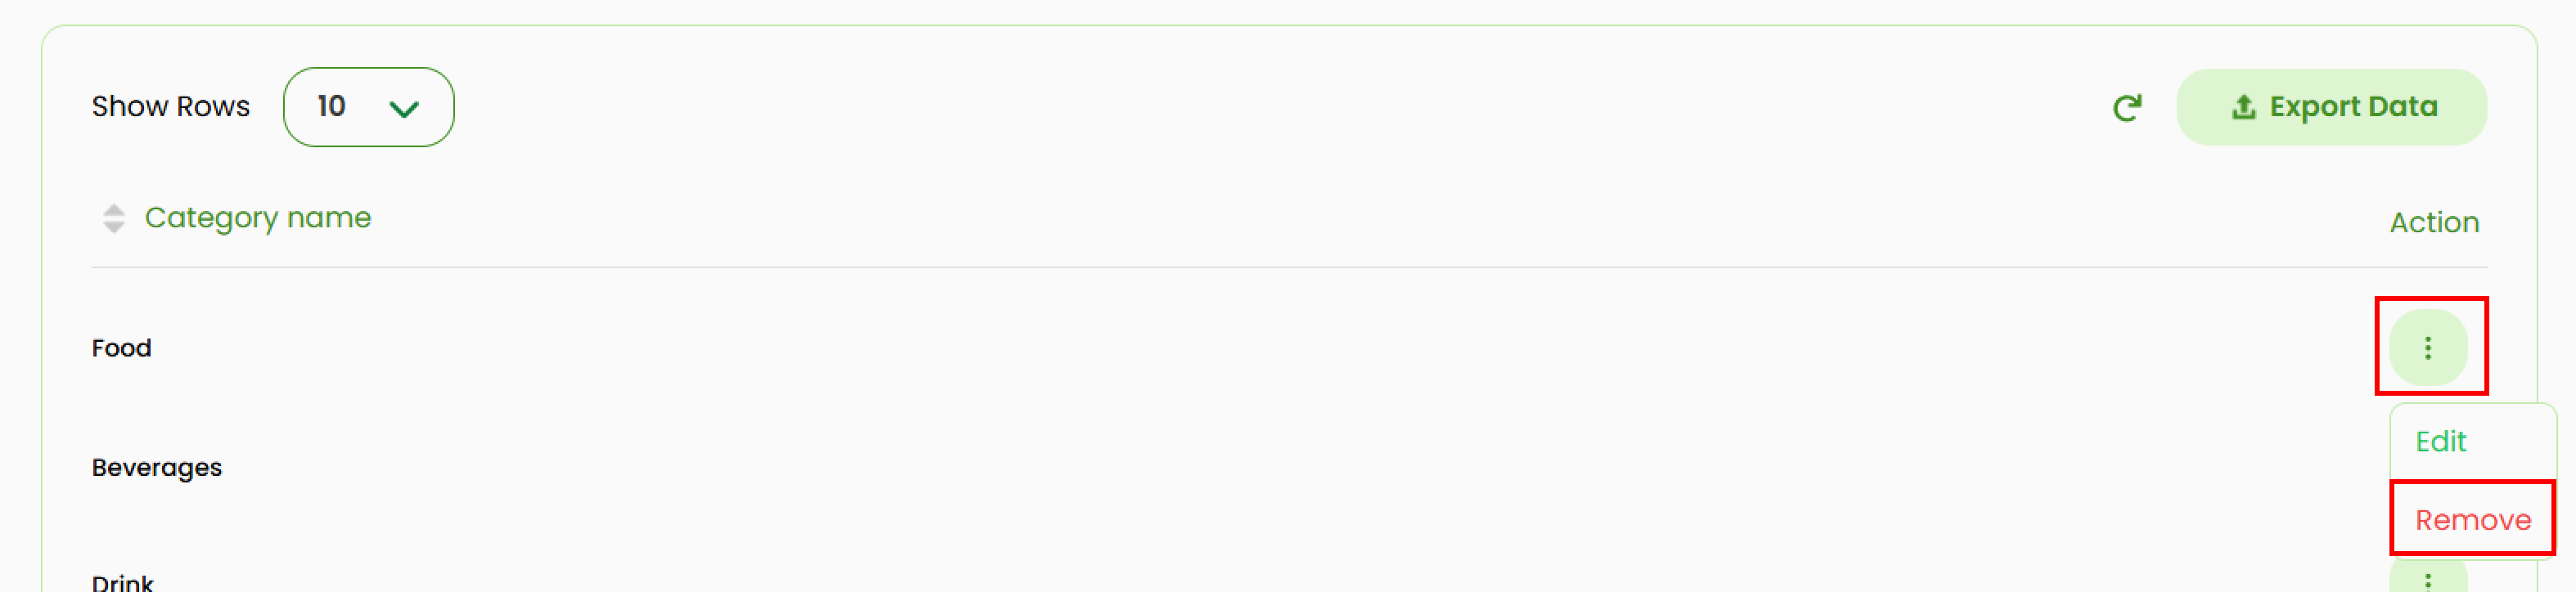
- Select Remove and a confirmation pop up will appear.
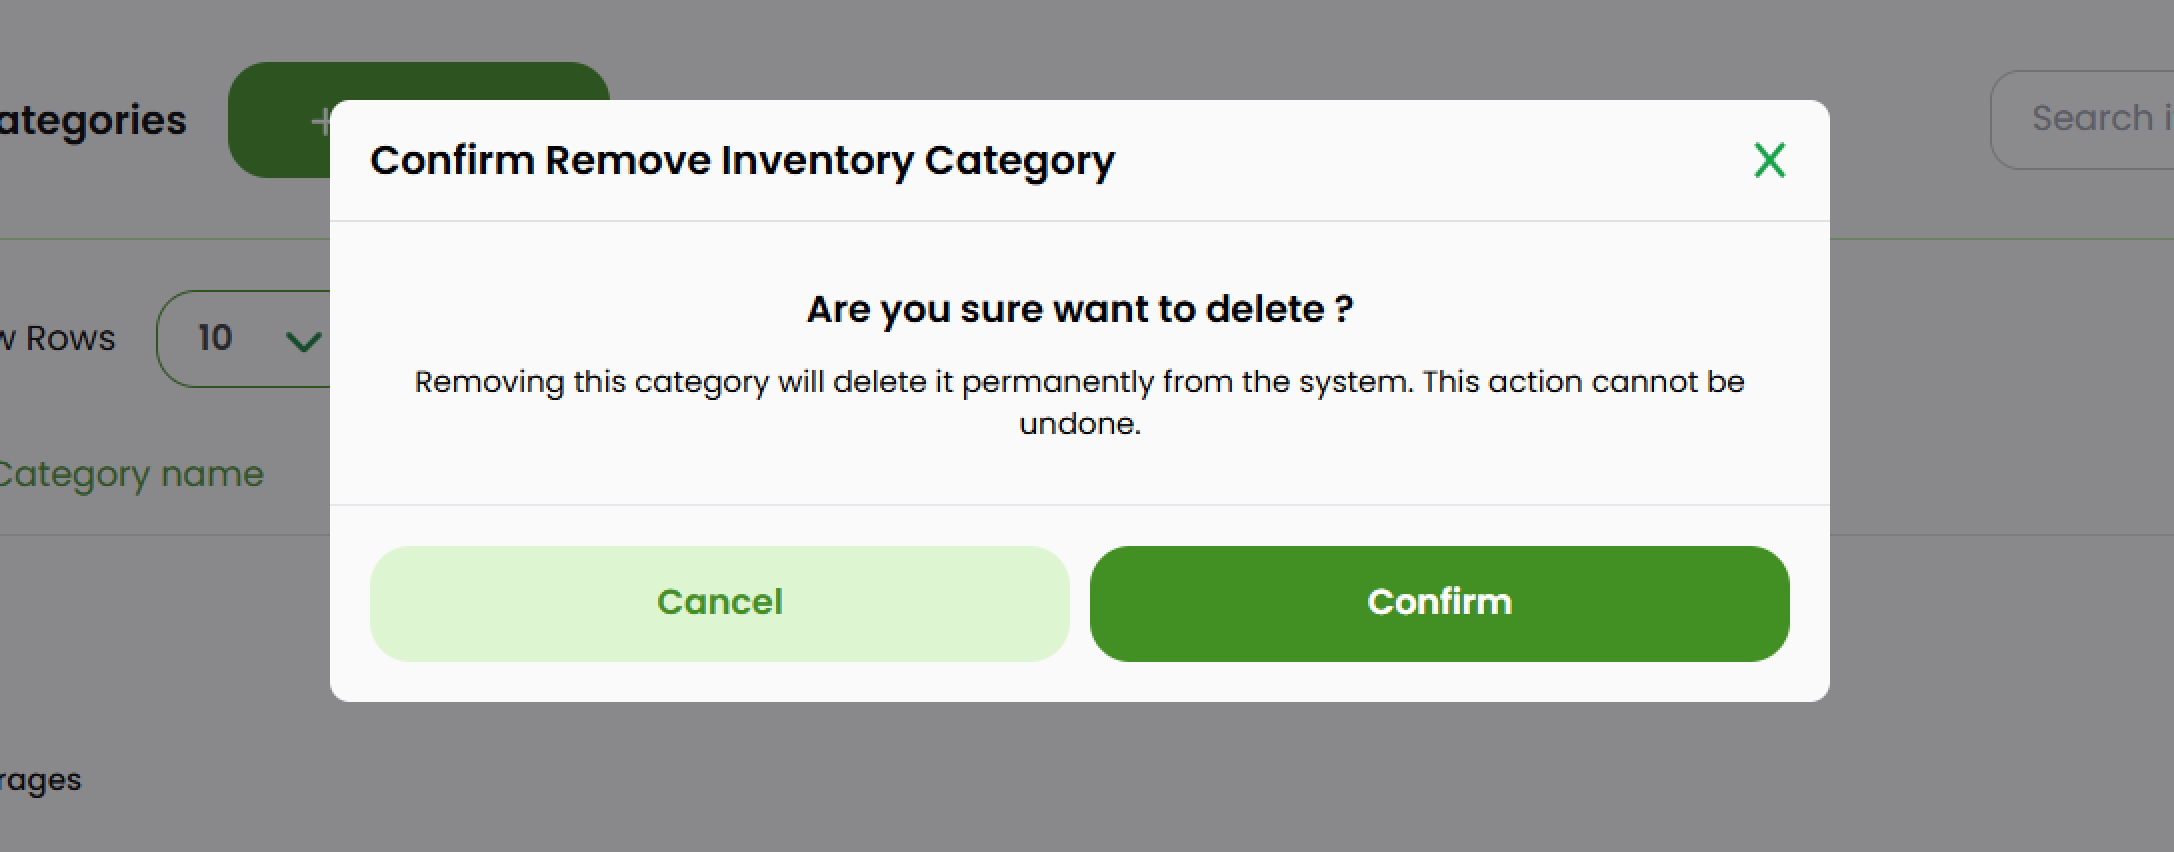
- Click Confirm to continue the deletion process or Cancel to dismiss it.