Extras Only
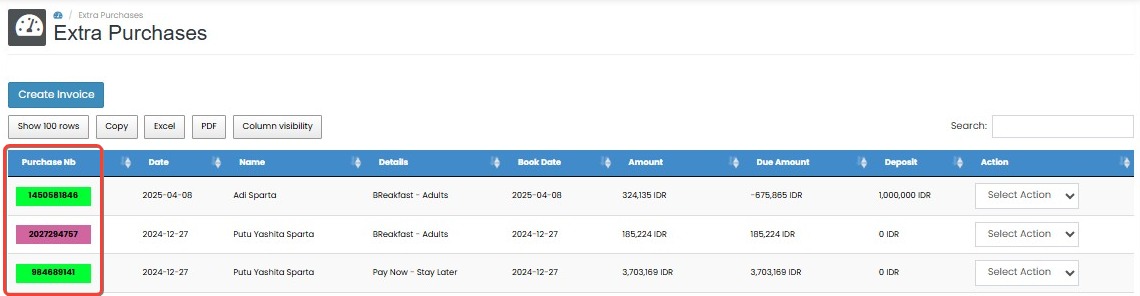
Extras Only is a feature that allows you to create and manage invoices for additional items or services sold independently, without associating them with room bookings. This is useful for transactions such as selling spa services, meals, or other amenities directly to guests. Notes:
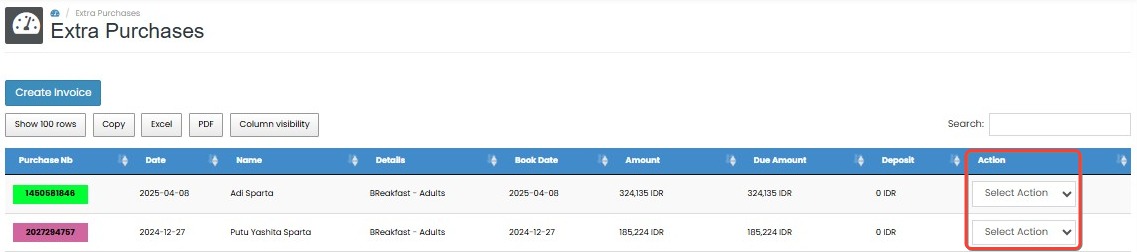
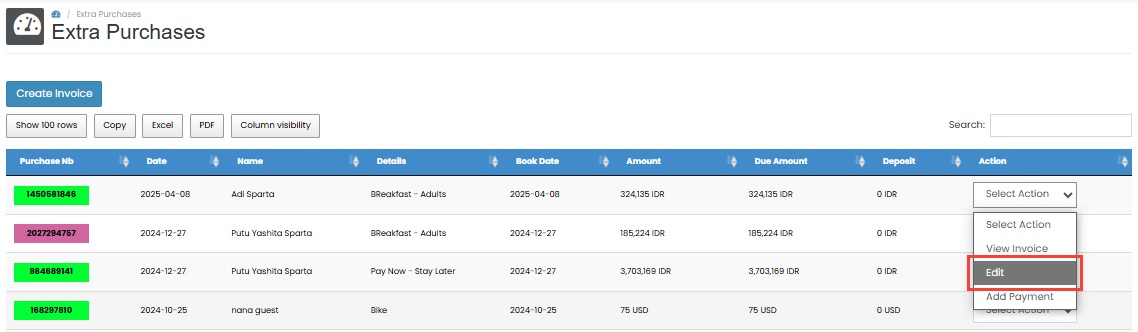
- Green Block: Indicates a confirmed invoice.
- Purple Block: Indicates a canceled invoice.
How to Create an Invoice
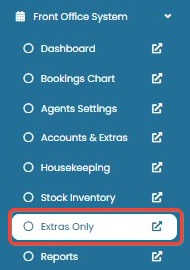
- Navigate to the Extras Only menu.
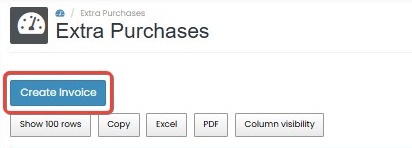
- Click the Create Invoice button.
- Fill in the guest details.
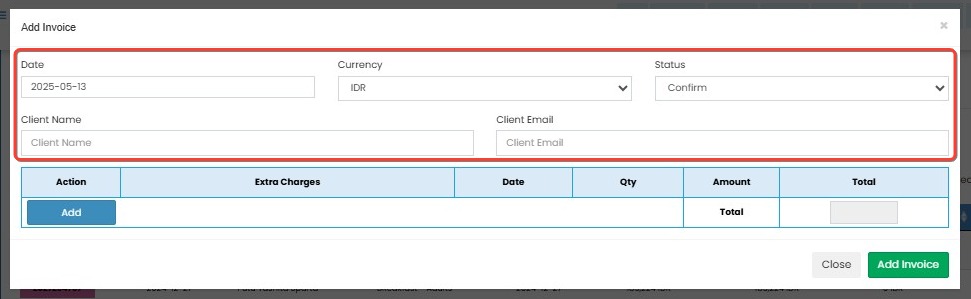
- Click Add to input the guest information.
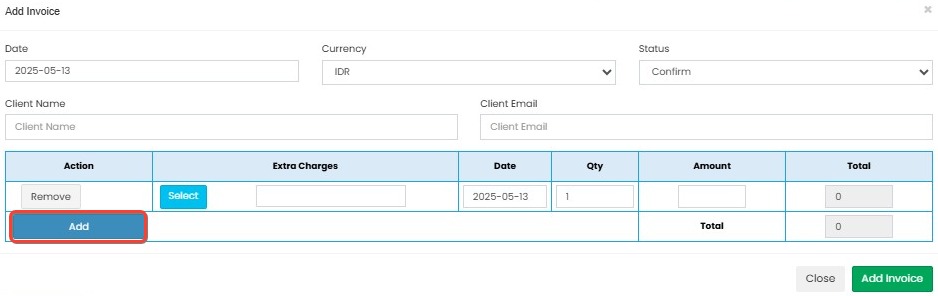
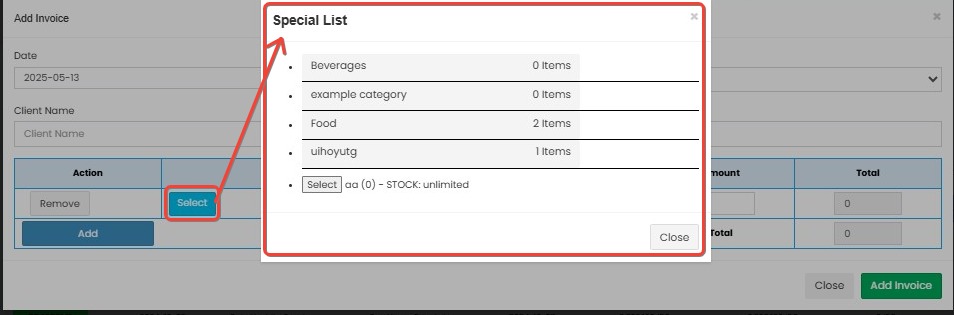
- Click Select to choose items from the inventory, or manually enter a description in the Extra Charge field.
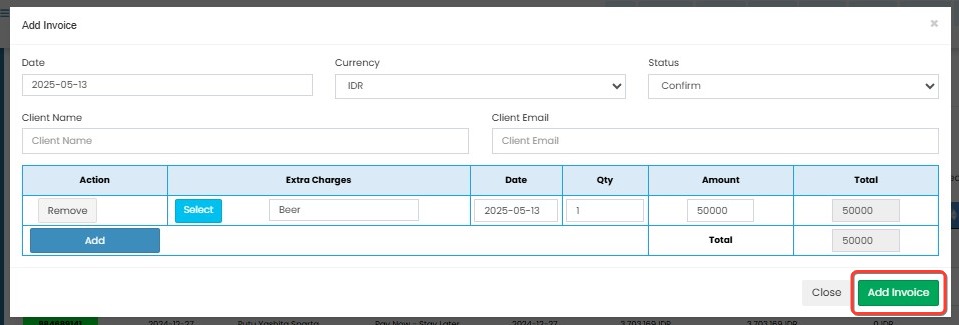
- Input the Quantity, Amount, and Total fields for accuracy.

- Click Add Invoice to finalize and save the invoice.
[!note]
Troubleshooting Create an Invoice
Create Invoice button is not responding
- Ensure your internet connection is stable, as button actions rely on network availability.
- Try refreshing the page and clicking the button again.
Guest details cannot be added
- Make sure all mandatory guest fields (e.g., name, email, or ID) are filled in correctly before clicking Add.
- Check for any validation messages that may indicate missing or incorrect input.
Items cannot be selected from inventory
- If the Select function doesn't load inventory items, the inventory list may not be synced properly. Try refreshing the page.
- Ensure the item is not archived or marked as inactive in the inventory database.
Total is not calculated correctly
- Confirm that Quantity and Amount are entered using correct numeric values.
- Avoid using currency symbols or commas when inputting numbers.
Add Invoice button is not saving the invoice
- Check if all invoice fields, including guest and at least one extra charge item, have been completed.
- If the issue persists, your session may have timed out. Try logging out and back in, then repeat the process.
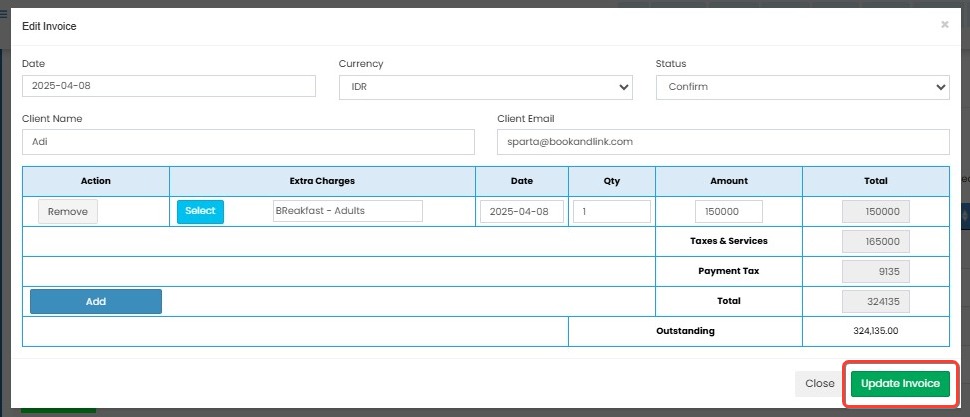
How to Edit an Invoice
- In the Extras Only menu, locate the invoice you want to edit.
- Click Select Action in the Action column.
- Choose Edit from the dropdown menu.
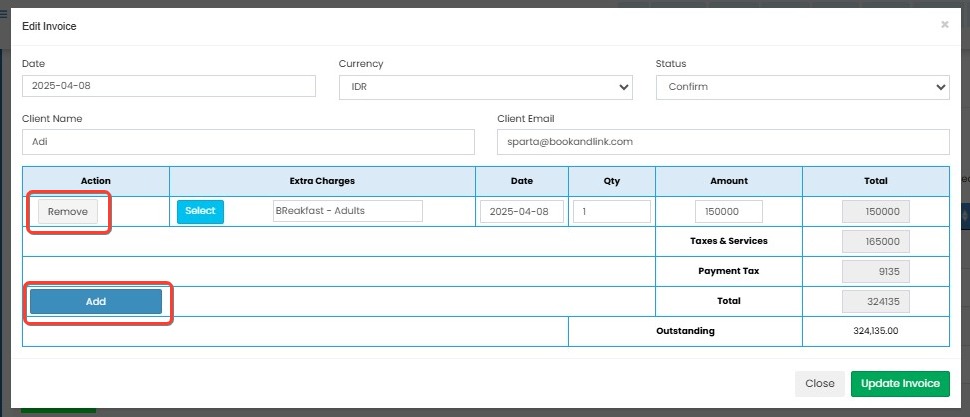
- Update the guest details as necessary.

- Click Add to include new items, or Remove to delete existing ones.
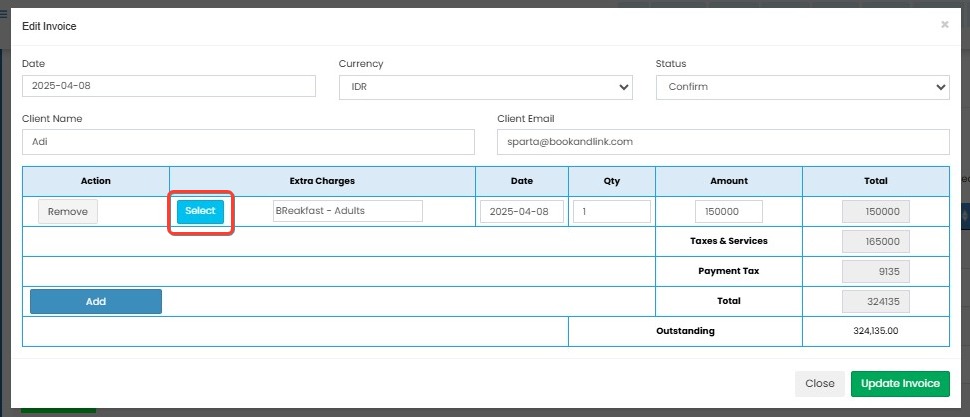
- Use Select to choose items from the inventory, or manually enter a description in the Extra Charge field.
- Ensure the Quantity, Amount, and Total fields are correct.
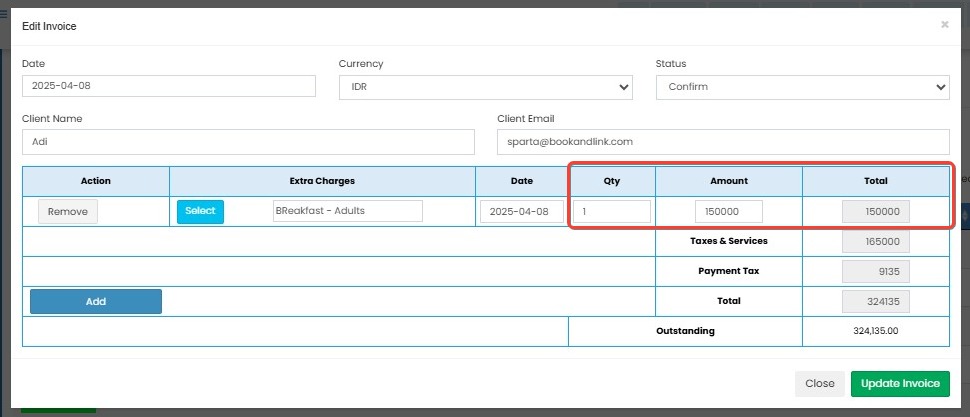
- Click Update Invoice to save the changes.
Note: Once an item has been removed from an invoice, this action cannot be undone.
[!NOTE]
Troubleshooting Edit an Invoice
Cannot find the invoice to edit
- Make sure you are in the correct date range or using the correct filters in the Extras Only menu.
- Confirm that the invoice hasn’t been deleted or moved to another status (e.g., archived).
Edit option is not available in the action dropdown
- Ensure the invoice hasn’t already been finalized or locked by another process.
- Refresh the page to reload the latest invoice status and available actions.
Unable to update guest details
- Double-check that all required guest fields are filled in and properly formatted (e.g., valid email address).
- Some fields may be read-only depending on system permissions. Contact your admin if necessary.
New items are not being added
- Ensure you click Add after filling in the extra item information.
- Check that the item name and value are not empty or invalid.
Removed item still appears after update
- Refresh the page to confirm if the item was actually removed.
- If the item reappears, there may have been a saving issue—try removing and updating the invoice again.
Update Invoice button not saving changes
- Ensure that all required fields are complete and no invalid entries are present.
- Your session might have expired. Log out and back in, then retry the edit process.
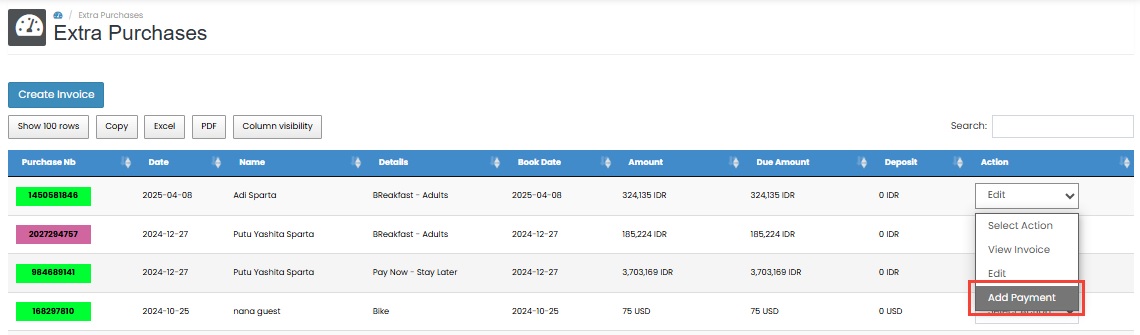
How to Add a Payment
- In the Extras Only menu, locate the invoice to which you want to add a payment.
- Click Select Action in the Action column.
- Choose Add Payment from the dropdown menu.
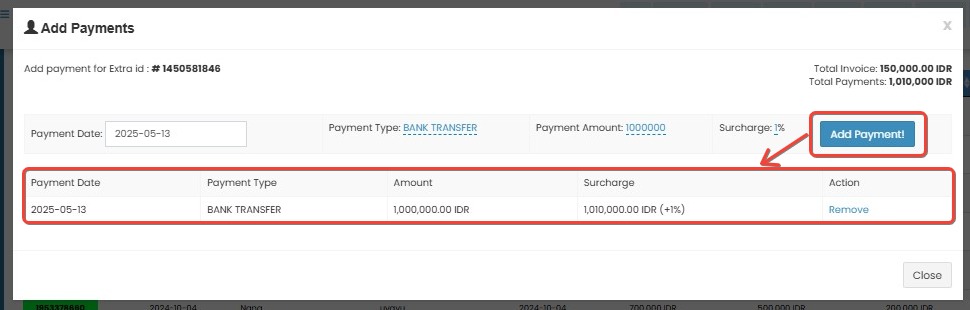
- Fill in the payment date, payment type, payment amount, and surcharge.
Note: When entering the Payment Amount, do not include currency symbols, thousand separators, or special characters. Use a dot
.as the decimal separator.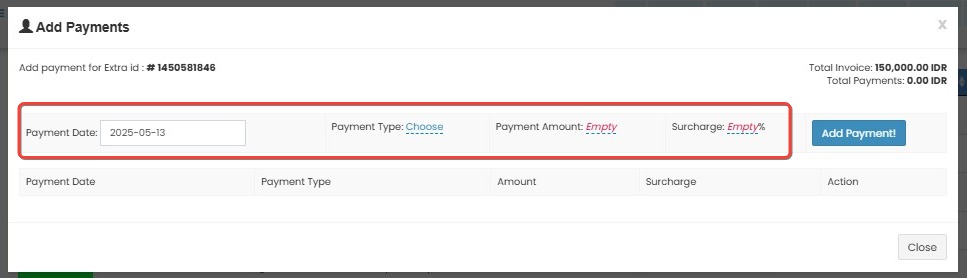
- Click Add Payment to record the payment.
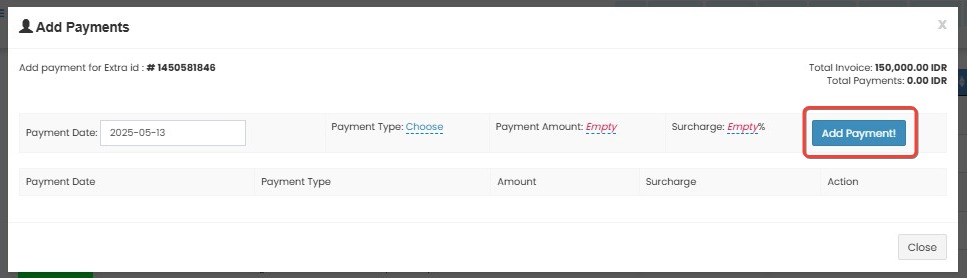
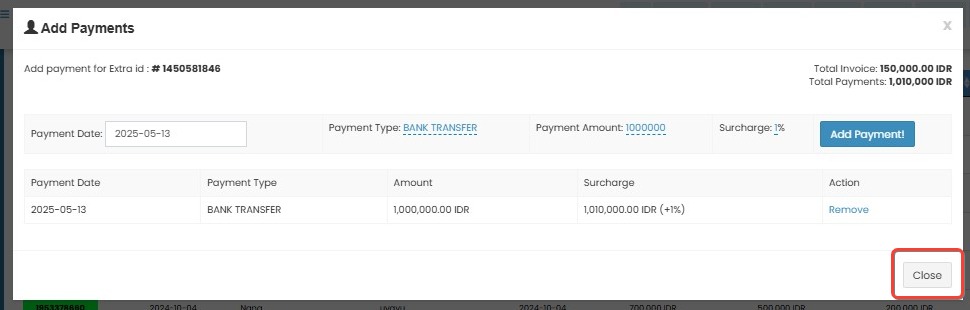
- The payment will be added and listed below.
- Click Close to exit the payment window.
[!NOTE]
Troubleshooting Add a Payment
Add Payment option is not available in the dropdown
- Make sure the invoice is still editable and has not been fully paid or locked.
- Check your user role and permissions; some roles may not have access to add payments.
Payment fields are not accepting input
- Ensure that the page has fully loaded before attempting to input data.
- If fields remain inactive, try refreshing the page or reselecting the invoice.
Cannot enter Payment Amount correctly
- Avoid using currency symbols (e.g., $, Rp) or thousand separators (e.g.,
1,000) when entering the amount.- Use a period
.as the decimal separator (e.g.,1000.50).Add Payment button is not saving the payment
- Make sure all required fields (Payment Date, Payment Type, and Payment Amount) are filled correctly.
- If the issue persists, your session might have expired — try logging out and logging back in.
Payment does not appear in the list after saving
- Wait a few seconds after clicking Add Payment to allow the system to update.
- If it still doesn’t appear, try closing and reopening the payment window, or refresh the page.
Incorrect surcharge calculation
- Double-check the input format and ensure only numeric values are used.
- If a surcharge policy is applied automatically, verify the logic set in your system settings.