Introduction
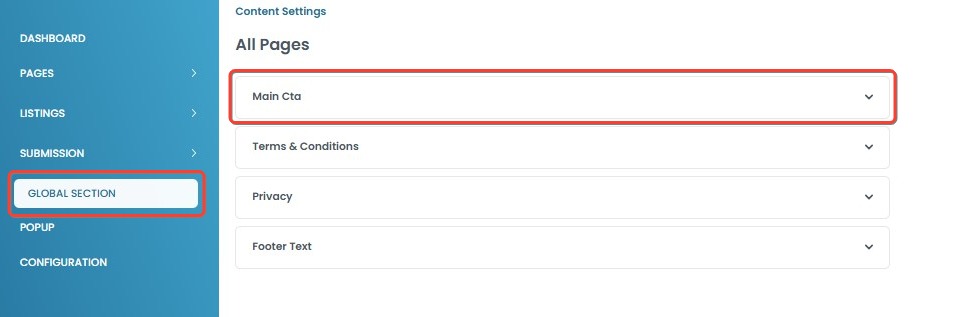
The Global Section allows you to manage and customize universal content that appears across multiple pages of your website. This section enables you to modify key elements such as Main CTA,Terms & Conditions, Privacy, and Footer Text, ensuring consistency and easier updates across all pages. The Global Section allows you to manage key website elements centrally, ensuring consistent updates across multiple pages.
Main CTA
The Main CTA (Call-to-Action) section allows you to configure the primary action button across your website. This section lets you set a Title, Sub Title, Main CTA URL, Main CTA Label and Main CTA Image to guide users toward key actions. You can customize the content for different languages, ensuring localization for various audiences.
How to Configure the Main CTA
- Navigate to Global Section > Main CTA
- Open the Main CTA section to configure its settings.
- Open the Main CTA section to configure its settings.
- Enable or Disable the Main CTA
- The Status toggle switch is at the top of the section.
- If enabled (green toggle), the Main CTA will be visible on your website.
- If disabled (gray toggle), the Main CTA will be hidden.

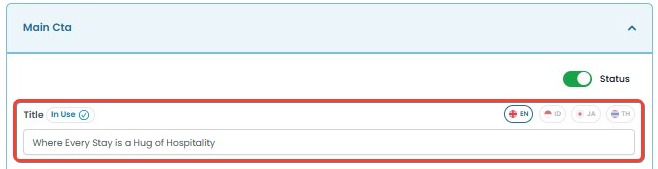
- Edit the Title
- Click the Title field and enter a new Title.
- Each language can have a different Title. Choose the language tab (e.g., EN, ID, JA, TH) to set different titles per language.
- If a language tab is selected but no content is entered, the field will be empty until edited.
- Example:
- English: "Where Every Stay is a Hug of Hospitality"
- Indonesian: "Setiap Menginap Adalah Pelukan Keramahan"
- Click the save button to apply changes.
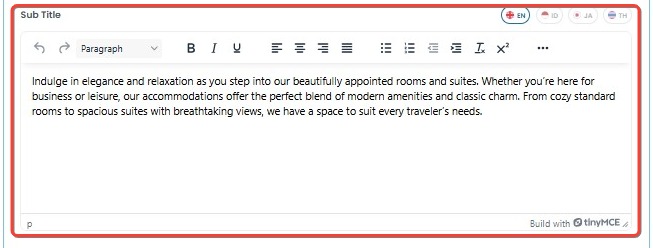
- Edit the Sub Title
- Click the Sub Title field and enter descriptive text.
- Each language can have a different Sub Title. Choose the language tab (e.g., EN, ID, JA, TH) to set different Sub Titles per language.
- Example:
- English: "Indulge in elegance and relaxation as you step into our beautifully appointed rooms and suites…"
- Indonesian: "Nikmati keanggunan dan relaksasi saat Anda memasuki kamar dan suite kami yang indah…"
- Click the save button to apply changes.
- Set the Main CTA Button
- Enter the Main CTA URL, ensuring it directs users to the intended page (e.g., booking page).
- Edit the Main CTA Label (e.g., "Book Now").
- Each language can have a different CTA text. Choose the language tab (e.g., EN, ID, JA, TH) to set different CTA Label per language.
- Example:
- English: "Book Now"
- Indonesian: "Pesan Sekarang"
- Click the save button to apply changes.

Main CTA Image Management
Some themes have a Main CTA Image, while others also include a Small CTA Image. Below are the steps for changing an image based on your selected theme.
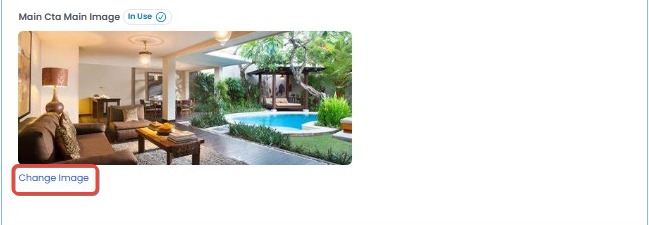
A. How to Replace an Image (For Theme 3 - Main Image Only)
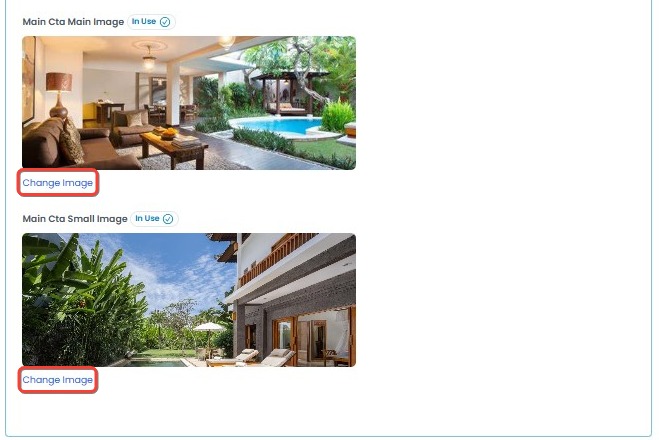
In Theme 3, only a Main CTA Image is available. Follow these steps to replace the image:
- Click Change Image under the displayed Main CTA Image.
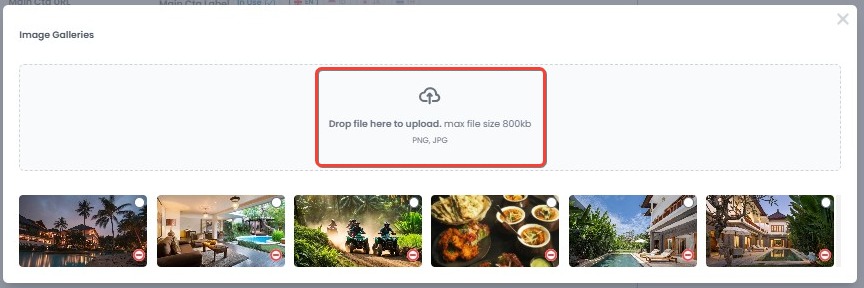
- Drag and drop an image file into the upload area.
- The image will be uploaded automatically if it meets the following requirements:
- Supported formats: PNG, JPG
- Maximum file size: 800 KB
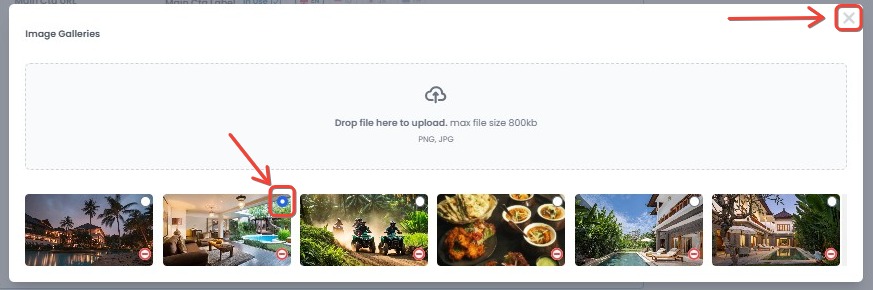
- Select the image and close the Image Galleries, then click the Save button.
B. How to Change an Image (For Theme 7 - Main and Small Image)
In Theme 7, you can change both the Main CTA Image and Small CTA Image. Follow these steps:
- Click Change Image under the displayed Main CTA Image or Small CTA Image.
- Drag and drop an image file into the upload area.
- The image will be uploaded automatically if it meets the following requirements:
- Supported formats: PNG, JPG
- Maximum file size: 800 KB
- Select the image and close the Image Galleries, then click the Save button.
C. How to Delete an Image
- Click Change Image under the displayed Main CTA Image or Small CTA Image.
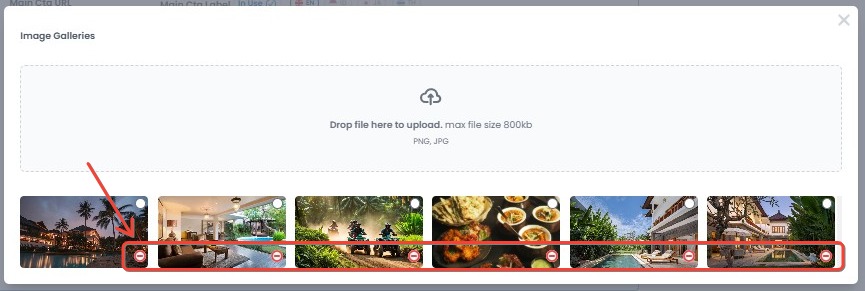
- Locate the image you want to delete.
- Click the red icon at the bottom right of the image.
- A confirmation alert will appear with two options:
- OK → Confirms and deletes the image permanently.
- Cancel → Cancels the process and keeps the image in the gallery.
[!NOTE]
Troubleshooting Main CTA Issues
If you encounter any issues while configuring the Main CTA, try the following troubleshooting steps:
Main CTA is not visible on the website?
- Ensure that the Status toggle switch is enabled (green).
- Clear your browser cache and refresh the page.
- Check if your website theme supports the Main CTA feature.
Title or Sub Title is not updating
- Verify that you have selected the correct language tab before editing.
- Save changes and refresh the page to see the updates.
- Try editing in an incognito browser window to rule out cache issues.
CTA Button link is not working?
- Ensure that the URL entered is valid and correctly formatted.
- Double-check for typos or extra spaces in the URL field.
- If linking to an external site, confirm that the destination URL is accessible.
Text is missing in some languages
- Ensure that the language tab (EN, ID, JA, TH, etc.) has content entered.
- If a language is missing content, the field may appear empty.
- Ensure you have selected the correct language tab and entered the content. If text still does not appear, try refreshing or clearing your browser cache.
Unable to upload a Main CTA Image
- Ensure that the image format is PNG or JPG and does not exceed 800 KB.
- Try uploading from a different browser or device.
- Clear your browser cache and attempt the upload again.
Changes are not saving
- Click the Save button after making changes to ensure they are applied.
- Check your internet connection and try again.
- If you are experiencing network interruptions, ensure you have a stable internet connection before trying again.
- Log out and log back in, then attempt to make changes again.
- Reload the page and re-enter the information.
- Clear your browser cache and retry the update.
- If the issue persists, contact support for further assistance.
Terms and Conditions
The Terms & Conditions section allows you to set important policies for your website. You can customize the Title and Description in multiple languages to ensure clarity for all users. These terms will be displayed on your website, usually in the footer or during user interactions like registration and checkout.
How to Configure the Terms & Conditions Section
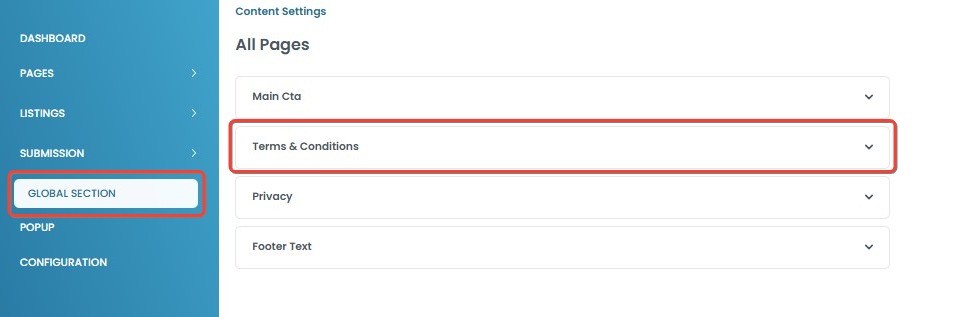
- Navigate to Global Section > Terms & Conditions
- Open the Terms & Conditions section to configure its settings.
- Open the Terms & Conditions section to configure its settings.
- Enable or Disable the Terms & Conditions Section
- The Status toggle switch is at the top of the section.
- If enabled (green toggle), the Terms & Conditions section will be visible on the website.
- If disabled (gray toggle), the Terms & Conditions section will be hidden.

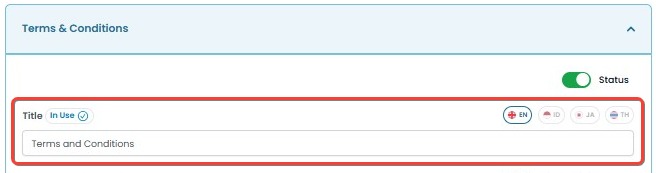
- Edit the Title
- Click the Title field and enter a new title.
- Each language can have a different Title. Choose the language tab (e.g., EN, ID, JA, TH) to set different titles per language.
- If a language tab is selected but no content is entered, the field will be empty until edited.
- Example:
- English: "Terms and Conditions"
- Indonesian: "Syarat dan Ketentuan"
- Click the save button to apply changes.
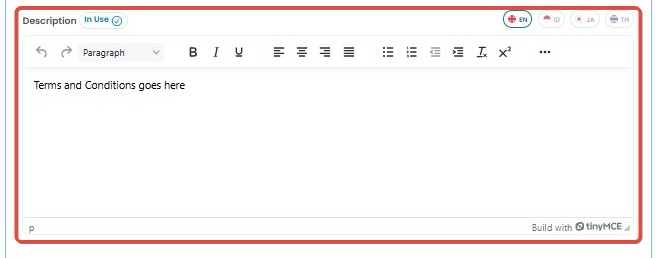
- Edit the Description
- Modify the text in the Description field to add detailed terms and conditions.
- Use the text editor to format the content with headings, bullet points, or links as needed.
- Each language can have a different Description. Choose the language tab (e.g., EN, ID, JA, TH) to set different descriptions per language.
- Example:
- English: "By using our services, you agree to the following terms and conditions..."
- Indonesian: "Dengan menggunakan layanan kami, Anda menyetujui syarat dan ketentuan berikut..."
- Click the save button to apply changes.
[!NOTE]
Troubleshooting Terms & Conditions Issues
If you encounter any issues while configuring the Terms & Conditions section, try the following troubleshooting steps:
Terms & Conditions section is not visible on the website?
- Ensure that the Status toggle switch is enabled (green).
- Clear your browser cache and refresh the page.
- Check if your website theme supports the Terms & Conditions section.
Title or Description is not updating
- Verify that you have selected the correct language tab before editing.
- Save changes and refresh the page to see the updates.
- Try editing in an incognito browser window to rule out cache issues.
Text formatting is not displaying correctly
- Ensure that you are using the text editor tools correctly.
- Check if any unsupported formatting has been applied.
- Refresh the page after saving to see if changes take effect.
Terms & Conditions text is missing in some languages
- Ensure that the language tab (EN, ID, JA, TH, etc.) has content entered.
- If a language is missing content, the field may appear empty.
- Ensure you have selected the correct language tab and entered the content. If text still does not appear, try refreshing or clearing your browser cache.
Changes are not saving
- Click the Save button after making changes to ensure they are applied.
- Check your internet connection and try again.
- If you are experiencing network interruptions, ensure you have a stable internet connection before trying again.
- Log out and log back in, then attempt to make changes again.
- Reload the page and re-enter the information.
- Clear your browser cache and retry the update.
- If the issue persists, contact support for further assistance.
Privacy
The Privacy section allows you to configure and display information about how user data is handled on your website. You can customize the Title and Description in multiple languages to provide clear and transparent details about data collection, storage, and usage. This information is typically shown in the website footer or in areas where users interact with features involving personal data.
How to Configure the Privacy Policy Section
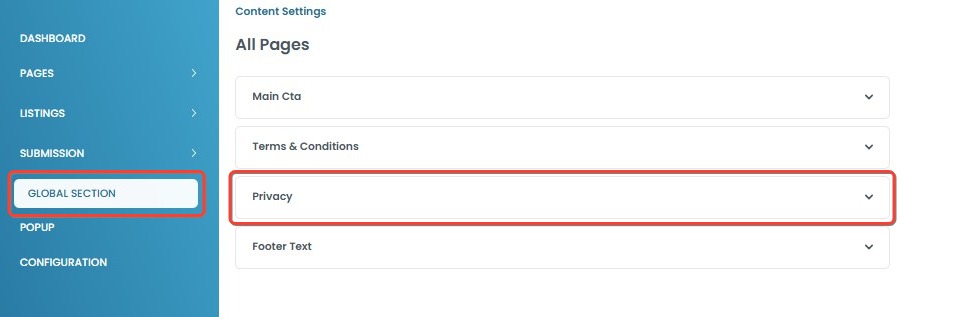
- Navigate to Global Section > Privacy Policy
- Open the Privacy Policy section to configure its settings.
- Open the Privacy Policy section to configure its settings.
- Enable or Disable the Privacy Policy Section
- Use the Status toggle switch at the top.
- If enabled (green toggle), The Privacy Policy will be visible on your website.
- If disabled (gray toggle), The Privacy Policy will be hidden.

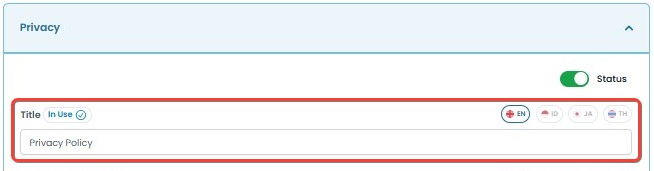
- Edit the Title
- Click the Title field and enter a new title.
- Set different titles for each language using the language tabs (EN, ID, JA, TH).
- If no content is added for a selected language, the field remains empty until edited.
- Example:
- English: "Privacy Policy"
- Indonesian: "Kebijakan Privasi"
- Click Save to apply changes.
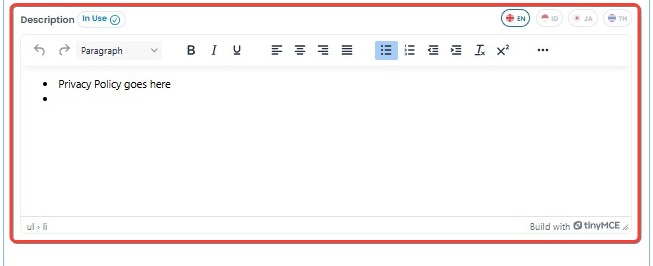
- Edit the Description
- Modify the text in the Description field to outline your privacy policies.
- Customize descriptions per language using the language tabs (EN, ID, JA, TH).
- Example:
- English: "We value your privacy and explain how we handle your data."
- Indonesian: "Kami menghargai privasi Anda dan menjelaskan cara kami mengelola data Anda."
- Click Save to apply changes.
[!NOTE]
Troubleshooting Privacy Policy Issues
If you encounter any issues while configuring the Privacy Policy section, try the following troubleshooting steps:
Privacy Policy section is not visible on the website?
- Ensure that the Status toggle switch is enabled (green).
- Clear your browser cache and refresh the page.
- Check if your website theme supports the Privacy Policy section.
Title or Description is not updating
- Verify that you have selected the correct language tab before editing.
- Click the Save button and refresh the page.
- Try making changes using an incognito browser window to bypass cache issues.
Privacy Policy text is missing in some languages
- Ensure that the language tab (EN, ID, JA, TH, etc.) has content entered.
- If a language is missing content, the field may appear blank until edited.
- Ensure you have selected the correct language tab and entered the content. If text still does not appear, try refreshing or clearing your browser cache.
Changes are not saving
- Click the Save button after making changes to ensure they are applied.
- Check your internet connection and try again.
- If you are experiencing network interruptions, ensure you have a stable internet connection before trying again.
- Log out and log back in, then attempt to make changes again.
- Reload the page and re-enter the information.
- Clear your browser cache and retry the update.
- If the issue persists, contact support for further assistance.
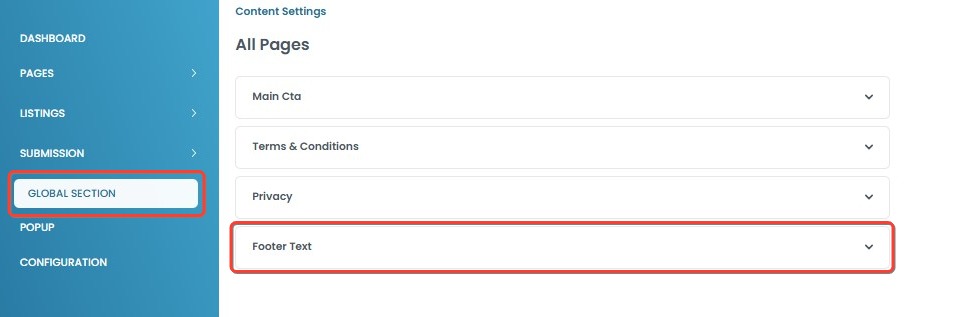
Footer Text
The Footer Text section allows you to display important messages at the bottom of your website, such as a welcome message, branding statement, or a subscription prompt. You can customize both the Short Description and Subscribe Section for different languages, ensuring a localized experience for international users.
How to Configure the Footer Text Section
- Navigate to Pages > Footer Text
- Open the Footer Text section to configure its content.
- Open the Footer Text section to configure its content.
- Enable or Disable the Footer Text Section
- Use the Status toggle switch at the top.
- If enabled (green toggle), The Footer Text will be visible on your website.
- If disabled (gray toggle), The Footer Text will be hidden.

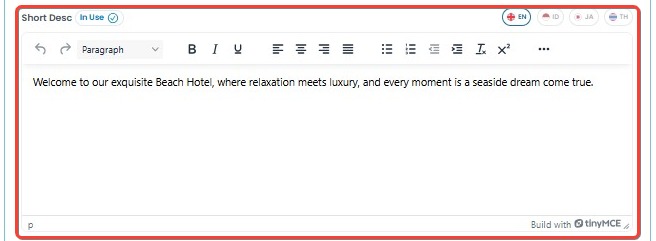
- Edit the Short Description
- Modify the text in the Short Desc field.
- Set different descriptions for each language using the language tabs (EN, ID, JA, TH).
- Example:
- English: "Welcome to our exquisite Beach Hotel, where relaxation meets luxury."
- Indonesian: "Selamat datang di Beach Hotel kami yang mewah, tempat relaksasi dan kemewahan bertemu."
- Click Save to apply changes.
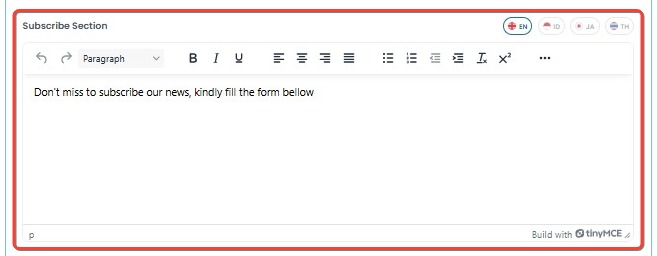
- Edit the Subscribe Section
- Update the text in the Subscribe Section field to customize the subscription message.
- Choose different content for each language using the language tabs.
- Example:
- English: "Don't miss out! Subscribe to our newsletter by filling out the form below."
- Indonesian: "Jangan lewatkan! Berlangganan buletin kami dengan mengisi formulir di bawah ini."
- Click Save to apply changes.
[!NOTE]
Troubleshooting Footer Text Issues
If you encounter any issues while configuring the Footer Text section, try the following troubleshooting steps:
Footer Text is not visible on the website?
- Ensure that the Status toggle switch is enabled (green).
- Clear your browser cache and refresh the page.
- Check if your website theme supports the Footer Text section.
Short Description or Subscribe Section text is not updating
- Verify that you have selected the correct language tab before editing.
- Click the Save button and refresh the page.
- Try making changes using an incognito browser window to bypass cache issues.
Footer Text content is missing in some languages
- Ensure that the language tab (EN, ID, JA, TH, etc.) has content entered.
- If a language is missing content, the field may appear blank until edited.
- Ensure you have selected the correct language tab and entered the content. If text still does not appear, try refreshing or clearing your browser cache.
Changes are not saving
- Click the Save button after making changes to ensure they are applied.
- Check your internet connection and try again.
- If you are experiencing network interruptions, ensure you have a stable internet connection before trying again.
- Log out and log back in, then attempt to make changes again.
- Reload the page and re-enter the information.
- Clear your browser cache and retry the update.
- If the issue persists, contact support for further assistance.