Introduction
The General section in Settings allows you to configure key preferences for your property, including email notifications, rating format, and automated report scheduling. You can enable or disable alerts for new reviews, add or remove multiple email recipients for notifications, customize how ratings are displayed (using a 5, 10, or 100-point scale), and set up scheduled report delivery on a weekly or monthly basis in one centralized page.
How to Manage Email Notifications
How to Add / Update Recipient
- Go to Email Notification section of the General Settings page.
- To add a new recipient, click the Add (+) Email button.
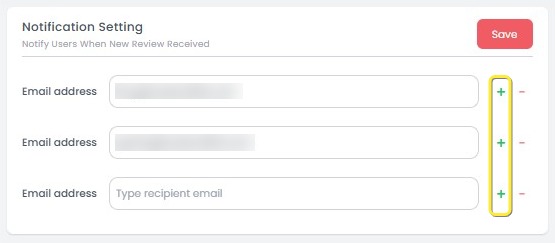
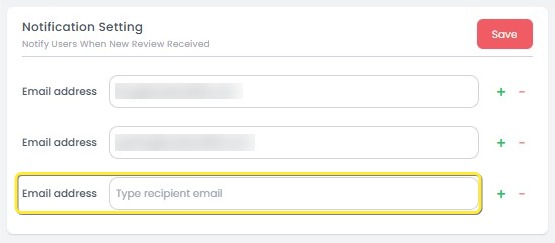
- Enter the email address in the input field. To update an existing recipient, edit the email address directly in the field.
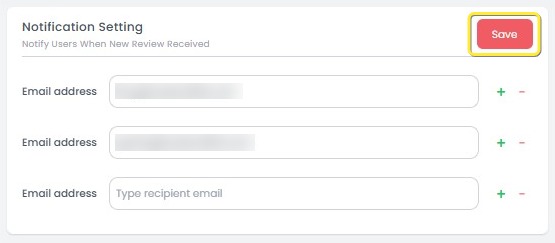
- After finished, click the Save button to apply the changes.
How to Remove Recipient
- Click the remove (-) icon next to the email you want to delete.
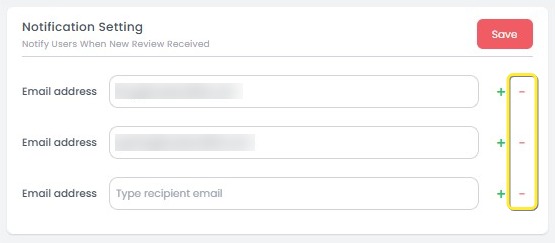
- Once completed, click the Save button to apply the changes.
[!NOTE]
Troubleshooting Manage Email Notifications
Unable to add a new email address
- Ensure the email address is typed correctly and follows the proper format (e.g., user@example.com).
- Try refreshing the page if the input field does not respond after clicking Add Email.
Save button is disabled after entering an email
- Make sure the email field is not left blank.
- Double-check for any extra spaces or invalid characters in the email address.
Email address not removed after clicking the remove icon
- Ensure you click Save after removing the email address to apply the change.
- Refresh the page if the removed email still appears, and try the action again.
Notification emails are not being received
- Confirm that the notification switch is turned on.
- Check your spam/junk folder in case the email alerts are filtered incorrectly by your email provider.
How to Configure Rating Scale
-
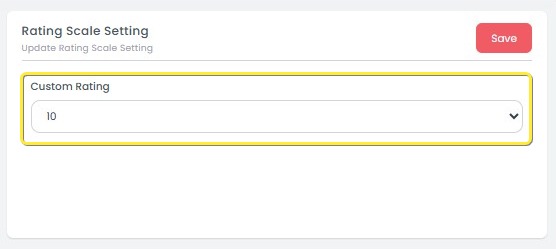
In the Rating Configuration section, select your preferred scale:
- 5-point scale
- 10-point scale
- 100-point scale
-
The selected scale will affect how ratings are shown throughout the dashboard and exported reports.
-
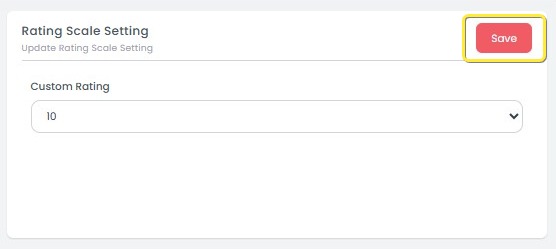
After completing the configuration, click Save to update the settings.
[!NOTE]
Troubleshooting Configure Rating Scale
Selected rating scale does not update
- Ensure you click Save after choosing the new rating scale.
- Refresh the page to confirm that the updated scale has been applied.
Save button is not clickable
- Make sure you have selected a different rating scale before clicking Save.
- If no changes are made, the Save button may remain inactive.
Dashboard still shows the old rating format
- Clear your browser cache or try reopening the dashboard page.
- Some sections may require a full page reload to reflect the new scale.
Exported report uses old rating scale
- Confirm the rating scale change was saved before exporting reports.
- Only reports generated after the change will reflect the new scale.
How to Schedule Report Delivery
-
Go to the Schedule Report section in the General tab.
-
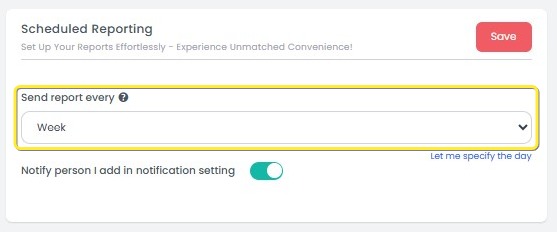
Choose your preferred frequency:
- Weekly: Reports are sent once per week.
- Monthly: Reports are sent once per month.
-
The report will be automatically delivered to the registered email(s) according to the selected schedule.
-
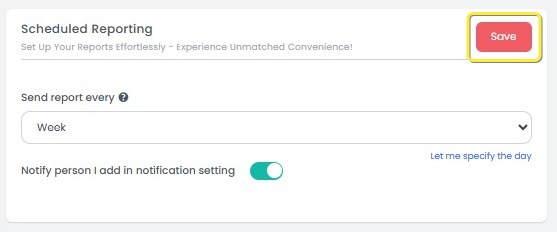
After finished, click the Save button to apply the schedule.
-
Toggle the switch to enable/disable receiving notifications for new reviews.

[!NOTE]
Troubleshooting Schedule Report Delivery
Schedule changes are not saved
- Ensure you click the Save button after selecting the frequency and settings.
- Refresh the page and check if your latest selections were applied correctly.
Weekly or Monthly option is not selectable
- Check your internet connection and reload the page.
- If the problem persists, try clearing your browser cache.
Scheduled reports are not being received
- Verify that the Notification toggle is enabled.
- Confirm that the recipient emails are correctly listed and not removed.
Wrong schedule applied (e.g., report sent on unexpected day)
- Reopen the Schedule Report settings and double-check your selected frequency and options.
- Make sure no changes were accidentally reverted before saving.
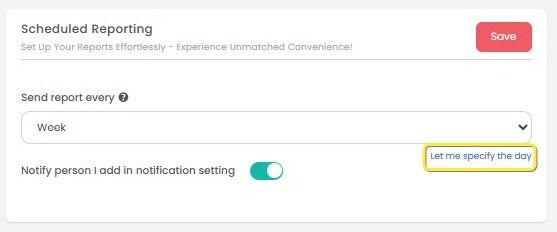
How to Set Specific Day for Weekly Reports
If you select Weekly as the report frequency, you can define a specific day for the report to be sent. Follow these steps:
- Click Let me specify the day below the frequency options.
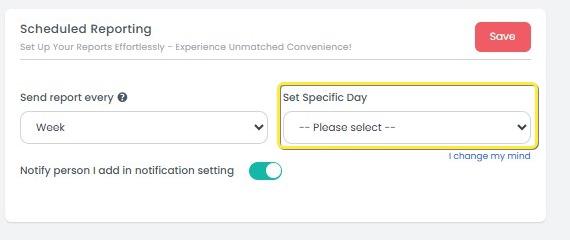
- Choose the day of the week you prefer (e.g., Monday, Wednesday) from the dropdown list.
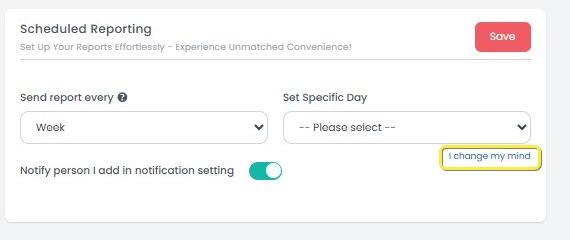
- If you change your mind, click I change my mind to remove the day selection.
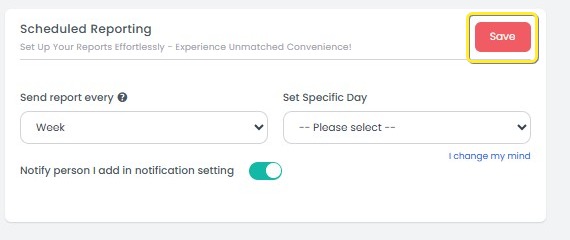
- After finalizing your choice, click Save to apply the settings. The report will then be scheduled to send every week on the selected day.
[!NOTE]
Troubleshooting Set Specific Day for Weekly Reports
"Let me specify the day" option is not visible
- Make sure Weekly is selected as the report frequency�—this option only appears when Weekly is chosen.
- Try refreshing the page if the setting does not appear after switching from Monthly.
Day selection dropdown does not respond
- Check your internet connection.
- Try collapsing and reopening the section to reset the dropdown interaction.
Selected day not saved
- Ensure you click the Save button after choosing the day.
- If the issue persists, reload the page and reselect your preferred day.
Saved day reverts to default or disappears
- This may occur if the page is closed before saving. Always confirm changes by clicking Save.
- Avoid switching between Weekly and Monthly too quickly without saving.