Payment Gateaway
The Payment Gateway section allows you to manage how payments are collected from guests. You can configure manual payment methods or connect with supported online payment providers for automated processing.
General
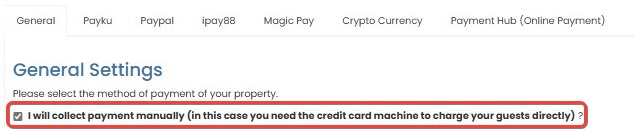
The General tab under the Payment Gateway settings allows you to configure the basic payment methods that can be offered to guests. You may choose to handle payments manually or integrate various payment providers.
How to Configure General Payment Settings
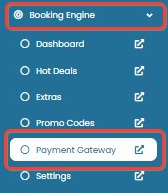
- Access the General Settings: Go to Payment Gateway > General tab.
- Manual Payment Collection:
- Tick I will collect payment manually if you will use a physical credit card machine at the property.
- Tick I will collect payment manually if you will use a physical credit card machine at the property.
- Credit Card Additional Fees:
- Enter the Surcharge amount (e.g., 4).
- Choose the Surcharge Type:
- Percent: The surcharge will be calculated as a percentage of the payment.
- Amount: Applies a fixed amount as the surcharge.

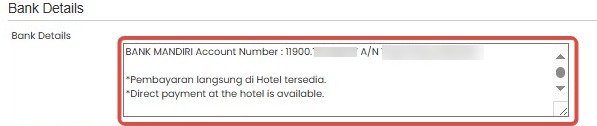
- Accept Payment by Bank Transfer:
- Tick the checkbox to allow Bank Transfer.
- Fill in the Bank Details field with information like:
- Bank Name
- Account Number
- Account Holder Name
- Optional note (e.g., "Direct payment at the hotel is available.")
NOTE: This option requires the guest to manually confirm payment via bank transfer.
- Enable Additional Payment Options:
Tick any of the following to allow payments through third-party processors:- Accept Online Credit Card Processing
- Accept payment by Paypal
- Accept payment by Ipay7
- Accept payment by Exchange4Free
- Accept payment by Infokom
- Accept payment by 2C2P
- Accept payment by Crypto Currency
- Accept payment by Payment Hub (Online Payment)
- Click Save to apply the configuration.

[!NOTE]
Troubleshooting Configure General Payment Settings
Changes in settings are not saved after clicking Save
- Ensure all mandatory fields (e.g., surcharge amount, bank details) are filled in correctly.
- Check for any error messages that may appear near form fields.
- Try refreshing the page and reconfiguring the settings, then click Save again.
Manual payment option is not applied or shown to guests
- Confirm that the "I will collect payment manually" checkbox is ticked and saved successfully.
- Check if the selected booking policy allows manual payments; some restrictions may override settings.
Surcharge is not applied or incorrectly calculated
- Make sure you’ve selected the correct Surcharge Type (Percent or Amount).
- Verify that the surcharge amount entered is a valid number and does not include special characters.
Bank transfer option is not visible or bank details are missing
- Ensure the Bank Transfer checkbox is ticked and valid bank details are entered and saved.
- Double-check for accidental spaces or invalid characters in the Bank Details field.
Third-party payment methods not showing or not selectable by guests
- Confirm that the desired payment providers (e.g., PayPal, Crypto, Payment Hub) are checked and saved.
- Check integration status under each payment provider’s tab; some providers may require API setup before activation.
Error message when saving settings
- Check for improperly formatted input (e.g., letters in a numeric field like Surcharge).
- Try switching browsers or clearing cache if the issue persists.
Unexpected payment method appears during guest booking
- Review all selected options to ensure only the intended payment methods are active.
- Some methods may be activated by default; manually uncheck unused options and save the configuration.
Payku
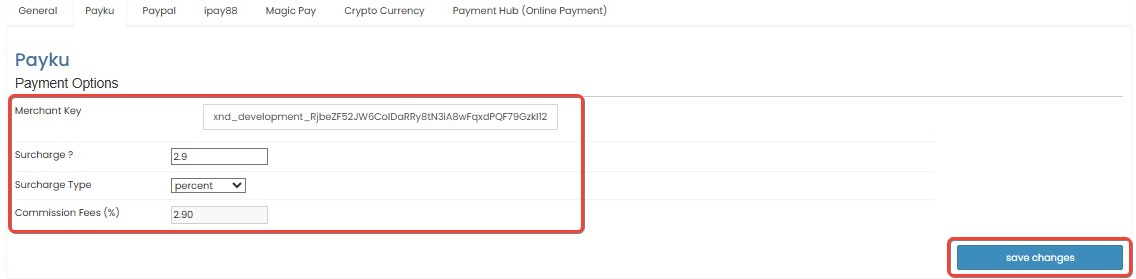
The Payku tab under the Payment Gateway settings allows you to configure payment collection via the Payku platform. This integration enables secure online transactions with surcharge and commission settings.
How to Configure Payku Payment Settings
- On the Payment Gateway page, click the Payku tab

- Merchant Key: Enter the Merchant Key provided by Payku. This key connects your property to the Payku payment gateway for processing online payments securely.
- Surcharge Settings:
- Input the Surcharge amount (e.g., 2.9).
- Choose the Surcharge Type:
- Percent: The surcharge will be calculated as a percentage of the total payment.
- Amount: A fixed amount will be added to the payment.
- Commission Fees (%):
- Enter the Commission Fee percentage charged by Payku (e.g., 2.90). This value may vary based on your agreement with the provider.
- Click Save Changes to apply the configuration.
[!NOTE]
Troubleshooting Payku Configuration
Unable to connect to Payku or payment not processed
- Make sure the Merchant Key entered is correct and valid.
- Confirm that your Payku account is active and properly set up to receive payments.
- Double-check for extra spaces or incorrect characters when copying the Merchant Key.
Surcharge or Commission not applied correctly
- Ensure that the Surcharge Amount and Surcharge Type are both filled accurately.
- Check if the Commission Fee field has a valid numeric value (e.g., 2.9).
- Refresh the page after saving and verify if the values are retained.
Save button not responding or settings not saved
- Confirm all required fields are filled.
- Check for internet connection issues.
- Try refreshing the page or clearing browser cache, then attempt to save again.
Payments fail during guest checkout
- Verify that Payku integration is live and no issues are reported by the provider.
- Contact Payku support if the problem persists despite correct configuration.
Wrong surcharge calculation during transaction
- Double-check whether you selected Percent or Amount under Surcharge Type.
- Test a sample booking to confirm if the surcharge appears as intended.
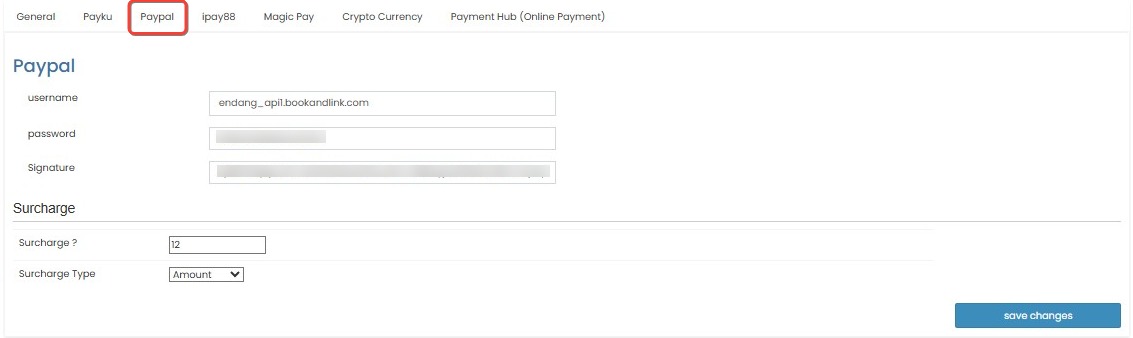
PayPal
The PayPal tab under the Payment Gateway settings allows you to integrate your property with the PayPal payment platform. This setup enables secure online transactions using your PayPal business account.
How to Configure PayPal Payment Settings
- On the Payment Gateway page, click the PayPal tab.
- Fill in your PayPal API credentials:
- Username: Enter the API username from your PayPal account.
- Password: Enter the API password.
- Signature: Input your API signature.
These credentials must be obtained from your PayPal developer account under the API access settings.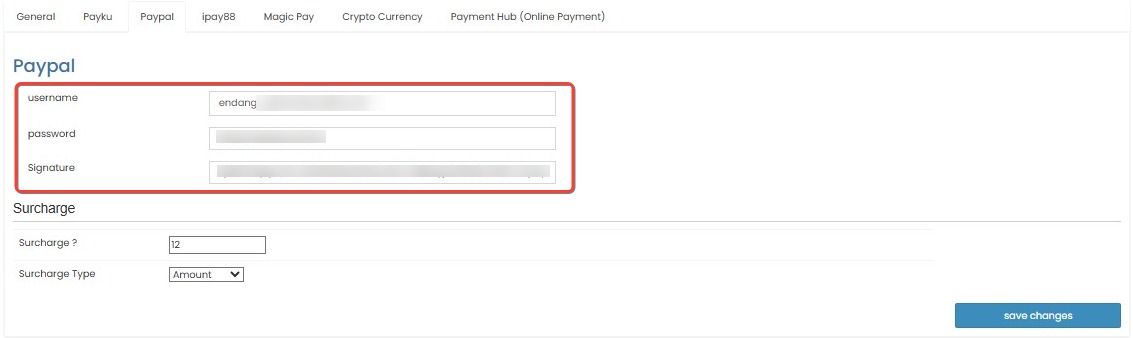
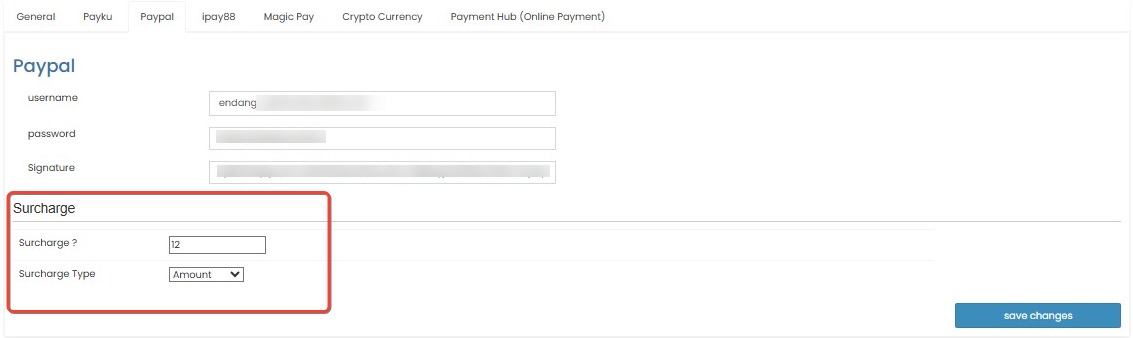
- Surcharge Settings:
- Enter the Surcharge amount you want to apply to guests using this payment method.
- Choose the Surcharge Type:
- Percent: The surcharge will be calculated as a percentage of the total amount.
- Amount: A fixed amount will be added to the payment.
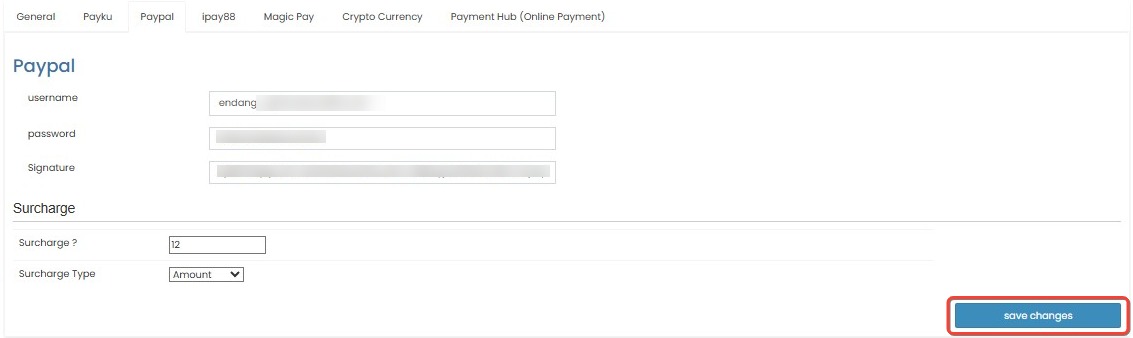
- Click Save Changes to apply and activate the PayPal integration.
[!NOTE]
Troubleshooting PayPal Configuration
Error when saving PayPal credentials
- Ensure all three fields (Username, Password, Signature) are filled with valid API credentials.
- Avoid copy-paste errors such as extra spaces or line breaks from PayPal Developer portal.
Payment via PayPal not showing at checkout
- Confirm that the PayPal credentials are saved and valid.
- Check if the PayPal payment option is enabled under the General tab.
- Ensure that your PayPal account is a business account, not personal.
Surcharge is not applied to PayPal payments
- Make sure the surcharge amount is entered and the correct Surcharge Type (Percent or Amount) is selected.
- Double-check that the surcharge settings were saved successfully after configuration.
Invalid PayPal credentials error during transaction
- Revalidate your API Username, Password, and Signature in your PayPal Developer account.
- Ensure sandbox credentials are not used in live mode or vice versa.
Guest receives payment failure when paying via PayPal
- Confirm your PayPal account has no restrictions or pending verifications.
- Verify that IPN (Instant Payment Notification) is enabled in your PayPal settings, if required by integration.
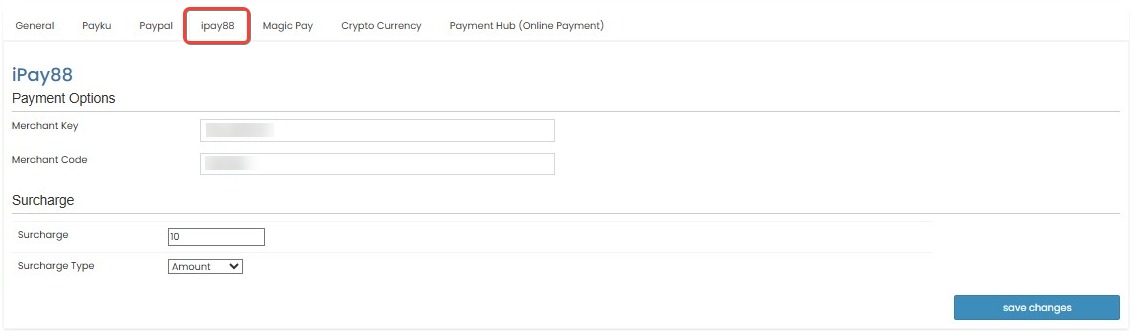
iPay88
The iPay88 tab under the Payment Gateway settings allows you to integrate your property with the iPay88 platform for secure online payment processing. This integration supports surcharge configuration based on your agreement with iPay88.
How to Configure iPay88 Payment Settings
- On the Payment Gateway page, click the ipay88 tab.
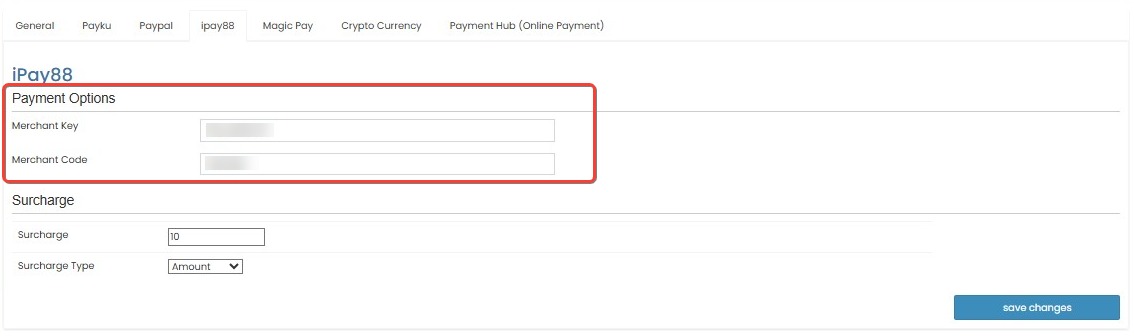
- Enter your iPay88 credentials:
- Merchant Key: Input the API key provided by iPay88.
- Merchant Code: Input the merchant code from your iPay88 account.
- Surcharge Settings:
- Enter the Surcharge amount you want to apply to guests using this payment method.
- Choose the Surcharge Type:
- Percent: The surcharge will be calculated as a percentage of the total amount.
- Amount: A fixed amount will be added to the payment.
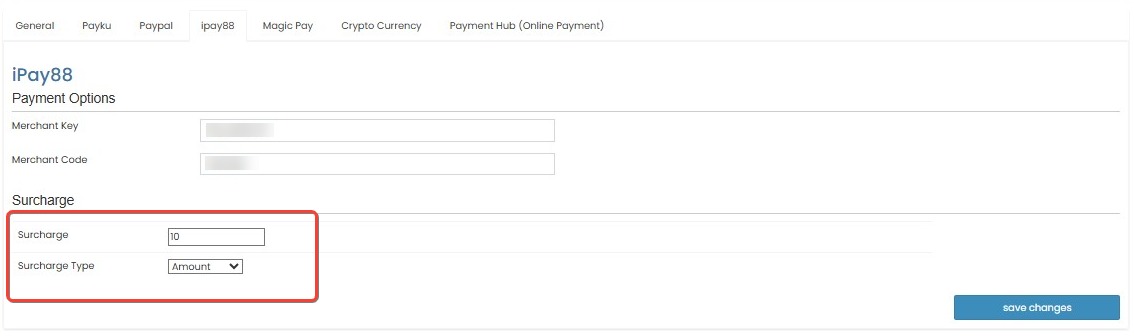
- Click Save Changes to apply and activate the iPay88 integration.

[!NOTE]
Troubleshooting iPay88 Configuration
Unable to save iPay88 credentials
- Ensure both Merchant Key and Merchant Code are filled and correct.
- Avoid special characters or trailing spaces in either field.
iPay88 option not showing for guests during checkout
- Double-check that your Merchant Key and Merchant Code are correctly saved.
- Confirm that your iPay88 account is active and approved for production/live use.
Surcharge not added to iPay88 payments
- Ensure the Surcharge value is entered correctly and a Surcharge Type is selected.
- Check if the changes were saved after configuration.
Guests encounter transaction errors with iPay88
- Make sure the iPay88 account used has no pending compliance or verification issues.
- Verify with iPay88 whether any IP whitelisting or domain binding is required for successful transactions.
Error message from iPay88 after payment attempt
- Consult iPay88's documentation for specific error codes.
- Cross-check whether your site callback/response URL is properly configured in your iPay88 dashboard.
Magic Pay
The Magic Pay tab under the Payment Gateway settings allows you to configure online payment processing using your Magic Pay account. This integration includes settings for merchant credentials and surcharge rules.
How to Configure Magic Pay Payment Settings
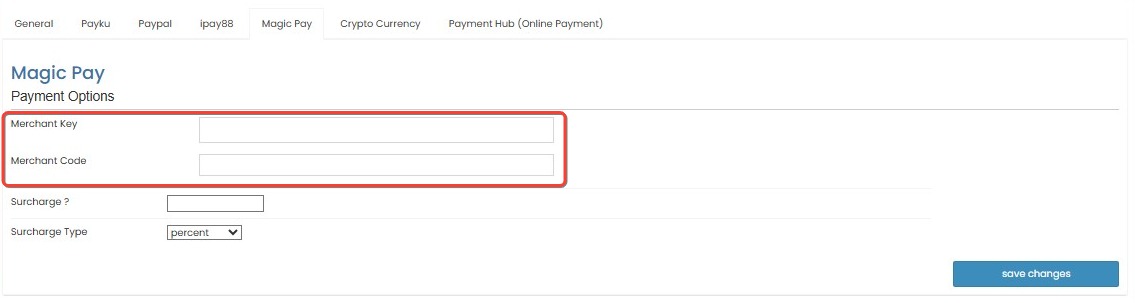
- On the Payment Gateway page, click the Magic Pay tab.
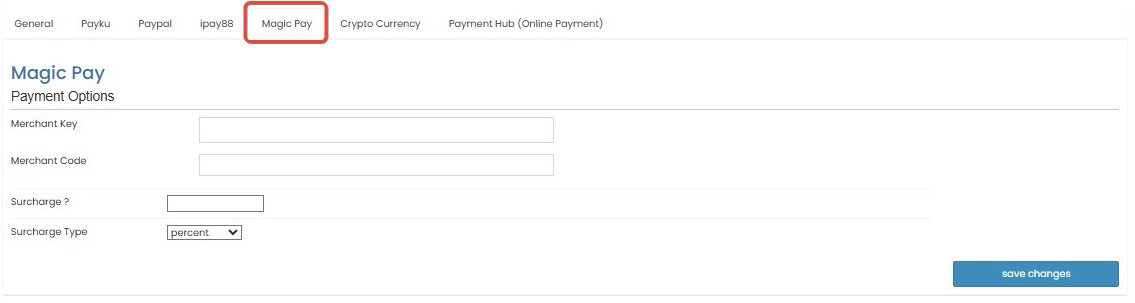
- Enter your Magic Pay credentials:
- Merchant Key: Fill in the key provided by Magic Pay.
- Merchant Code: Enter the merchant code linked to your Magic Pay account.
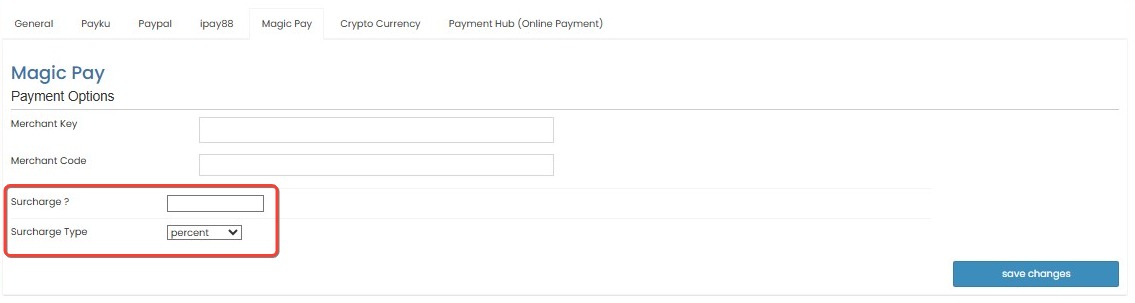
- Surcharge Settings:
- Enter the Surcharge amount you want to apply to guests using this payment method.
- Choose the Surcharge Type:
- Percent: The surcharge will be calculated as a percentage of the total amount.
- Amount: A fixed amount will be added to the payment.
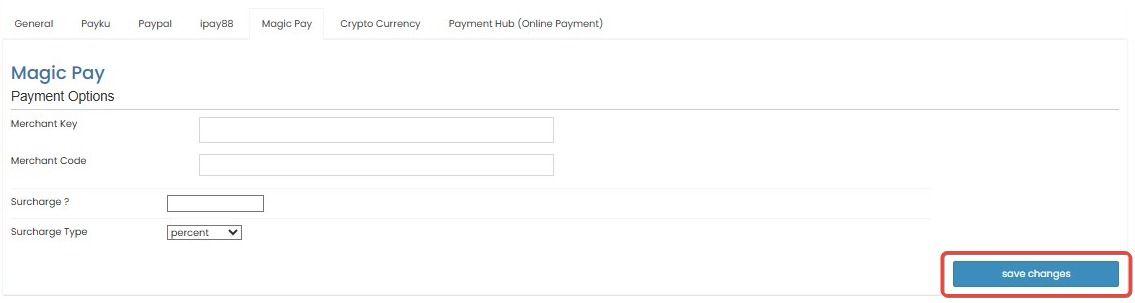
- Click Save Changes to apply and activate the configuration.
[!NOTE]
Troubleshooting Magic Pay Configuration
Failed to save Magic Pay credentials
- Ensure both Merchant Key and Merchant Code are filled in and valid.
- Check for extra spaces or incorrect characters when copying the credentials from the Magic Pay portal.
Magic Pay option not visible during guest checkout
- Verify that valid credentials were saved under the Magic Pay tab.
- Confirm that the Magic Pay account is active and approved for production/live use.
Surcharge not appearing on Magic Pay transactions
- Make sure a Surcharge value is provided and a Surcharge Type (Percent or Amount) is selected.
- Re-save the settings after entering surcharge details to apply changes.
Transaction errors during payment via Magic Pay
- Confirm that your Magic Pay account is not under maintenance or facing restrictions.
- Check with Magic Pay support if specific domain whitelisting or IP configuration is required.
Guest receives 'Invalid Merchant' or similar error
- Ensure the Merchant Key and Merchant Code match the correct account details provided by Magic Pay.
- Contact Magic Pay support to verify account activation or permission issues.
Crypto Currency
The Crypto Currency tab under the Payment Gateway settings allows you to configure online payment acceptance via supported cryptocurrencies such as USDT. This integration enables secure digital payments with surcharge customization.
How to Configure Crypto Currency Payment Settings
- On the Payment Gateway page, click the Crypto Currency tab.
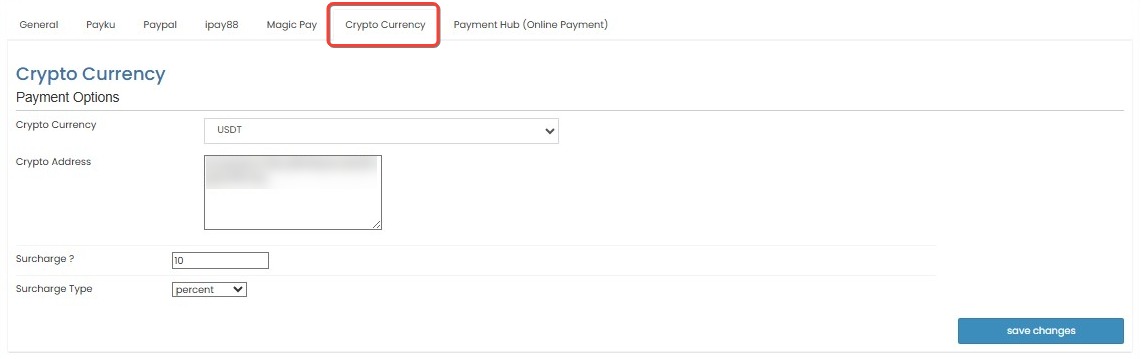
- Select the Crypto Currency:
Choose the supported digital currency from the Crypto Currency dropdown (BTC or USDT). - Enter the Crypto Address:
Fill in your wallet's Crypto Address where payments will be sent.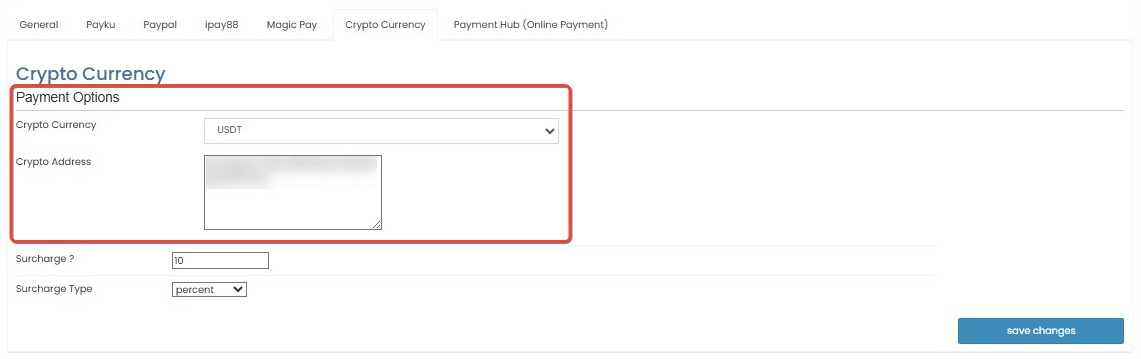
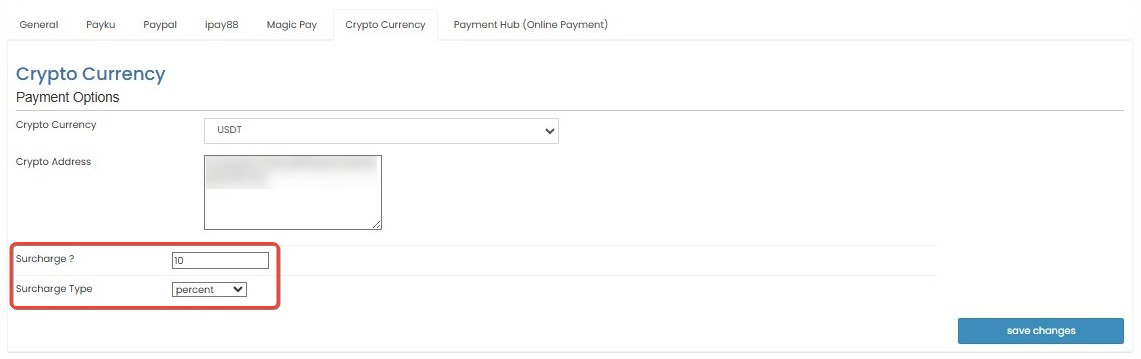
- Surcharge Settings:
- Input the Surcharge amount (e.g., 10).
- Choose the Surcharge Type:
- Percent: The surcharge will be calculated as a percentage of the payment.
- Amount: A fixed amount will be added to the payment.
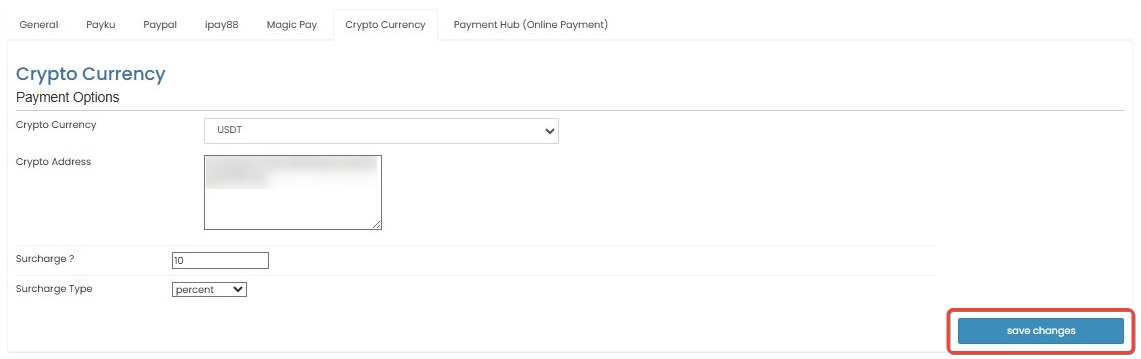
- Click Save Changes to activate the crypto payment configuration.
[!NOTE]
Troubleshooting Crypto Currency Configuration
Failed to save crypto settings
- Ensure you have selected a crypto currency (BTC or USDT) and filled in the Crypto Address.
- Double-check the address format—use the correct format based on the selected crypto type.
Crypto option not available during guest checkout
- Make sure valid information has been saved under the Crypto Currency tab.
- Verify that the system supports crypto transactions in your current environment (e.g., production vs. staging).
Surcharge not appearing for crypto payments
- Confirm a Surcharge value is entered and a Surcharge Type is selected.
- Try re-saving the form after filling out all fields completely.
Guest sends crypto but payment is not confirmed
- Double-check that the Crypto Address belongs to your valid wallet.
- Check for network confirmation delays on the blockchain—payment may need more time to be validated.
Received payment does not match the invoice
- Confirm if exchange rate fluctuations are accounted for, especially with percentage-based surcharges.
- Consider integrating with a third-party rate stabilizer if accuracy is critical.
Payment Hub (Online Payment)
The Payment Hub tab allows you to configure an online payment gateway using third-party vendors such as Doku, Omise, Reddot, Stripe, and Xendit. This setup ensures secure online transactions with surcharge settings.
How to Configure Payment Hub
- On the Payment Gateway page, click the Payment Hub (Online Payment) tab.
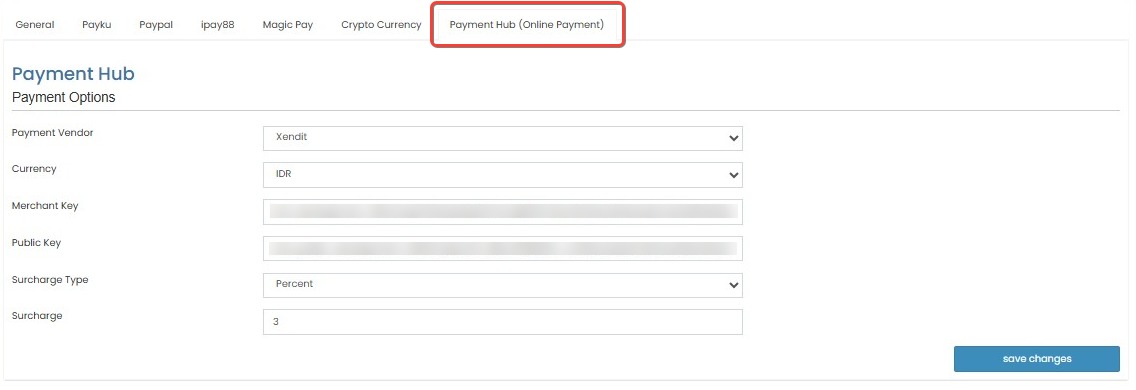
- Select the Payment Vendor:
Choose one of the available vendors from the dropdown: Doku, Omise, Reddot, Stripe, Xendit. - Set the Currency:
Select the supported currency (e.g., IDR). - Enter the Merchant Key:
Input the unique Merchant Key provided by your selected vendor. - Enter the Public Key:
Fill in the Public Key for authentication purposes.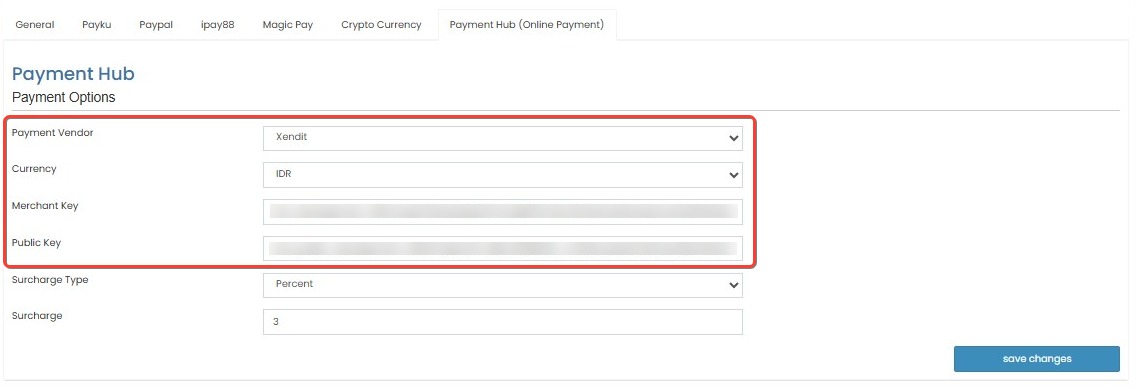
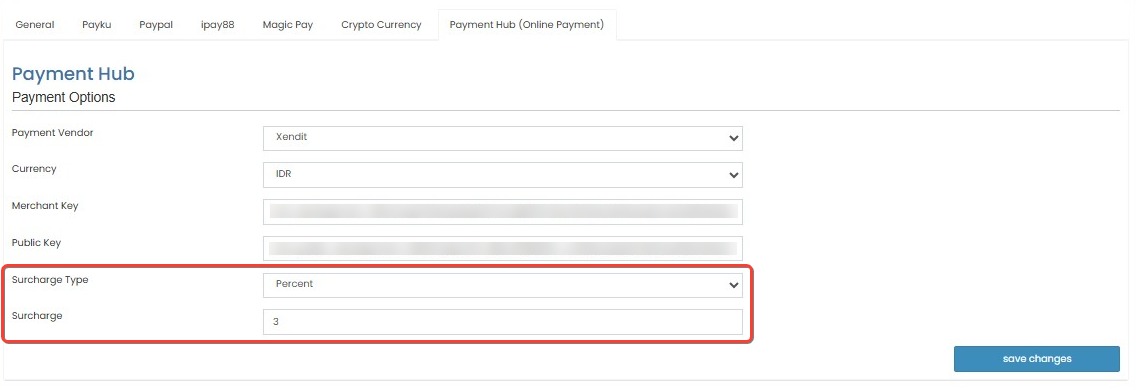
- Surcharge Settings:
- Choose the Surcharge Type:
- Percent: The surcharge will be calculated as a percentage of the payment.
- Amount: A fixed amount will be added to the payment.
- Input the Surcharge (e.g., 3).
- Choose the Surcharge Type:
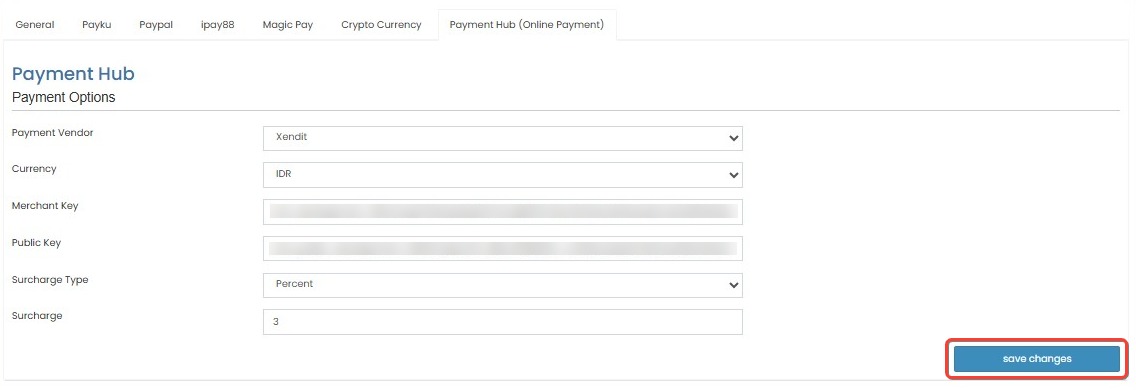
- Click Save Changes to apply the configuration.
[!NOTE]
Troubleshooting Payment Hub Configuration
Failed to save Payment Hub settings
- Ensure that all mandatory fields are filled: Vendor, Currency, Merchant Key, and Public Key.
- Verify there are no copy-paste errors in key values—avoid extra spaces or invalid characters.
Payment Hub vendor not appearing at checkout
- Confirm that you’ve selected a vendor and saved the configuration correctly.
- Ensure that your account with the selected vendor is active and not in sandbox/test mode if using a live environment.
Surcharge not applied for Payment Hub transactions
- Ensure both Surcharge and Surcharge Type have been properly set.
- Click Save Changes after updating any surcharge information.
Transaction fails or shows an authentication error
- Double-check the Public Key and Merchant Key are correct and valid for the selected vendor.
- If using a new vendor, confirm integration compatibility or API version requirements.
Payment not reflecting on dashboard after guest completes payment
- Verify webhook or callback settings with your selected vendor.
- Check if firewall or domain whitelisting is required to allow communication from the vendor to your system.