How To Create and Set Up Room & Rate Plan
Before using PayKu Payment, you must create and set up the room rate plan. We'll share with you on how you can create and set the room rate plan.
Settings
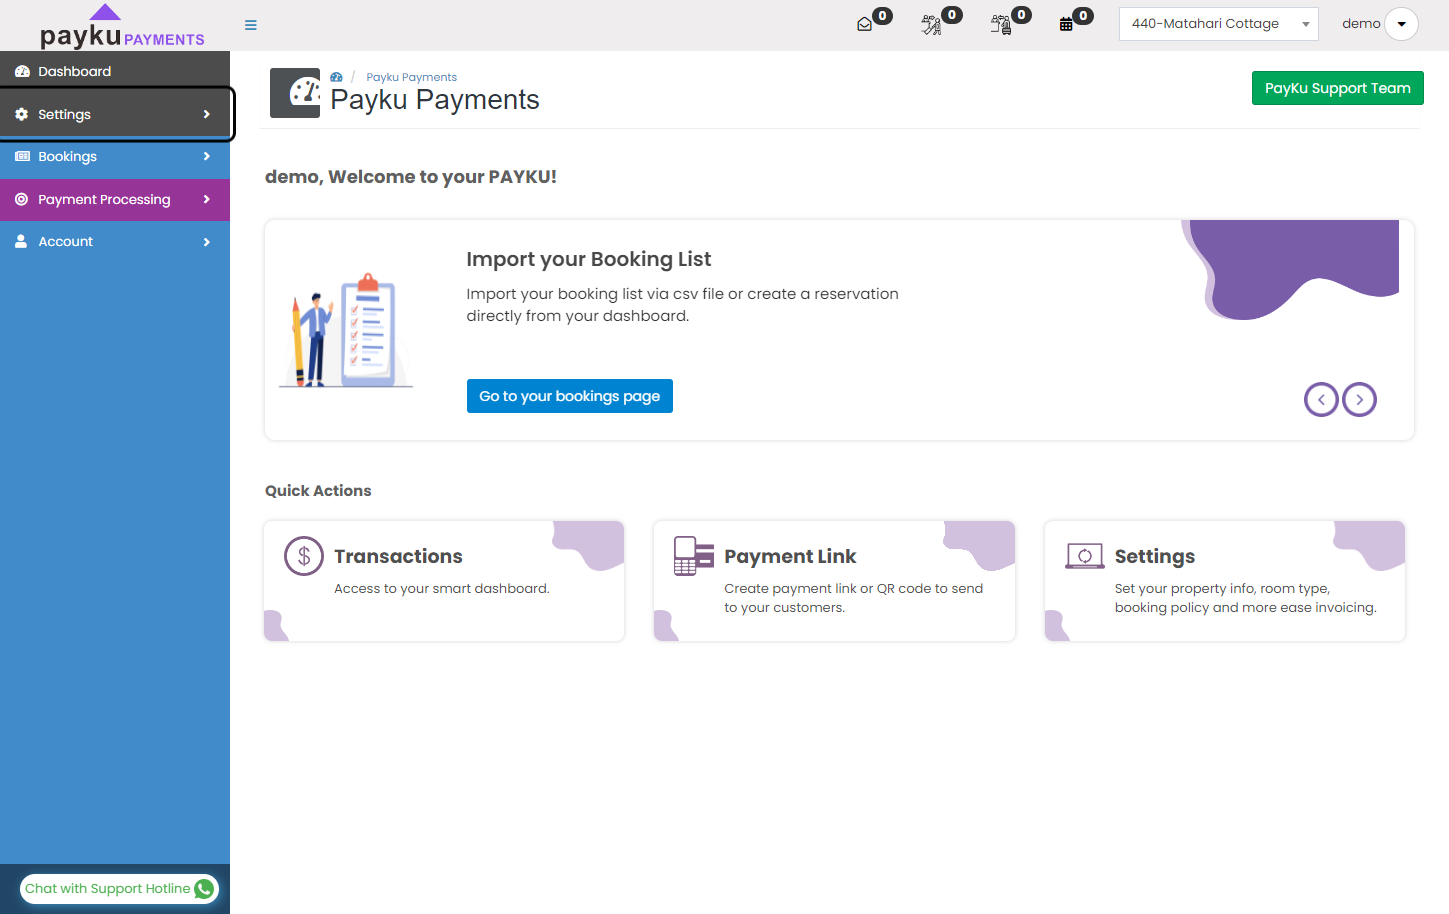
In the main page, click on "Settings"
Rooms
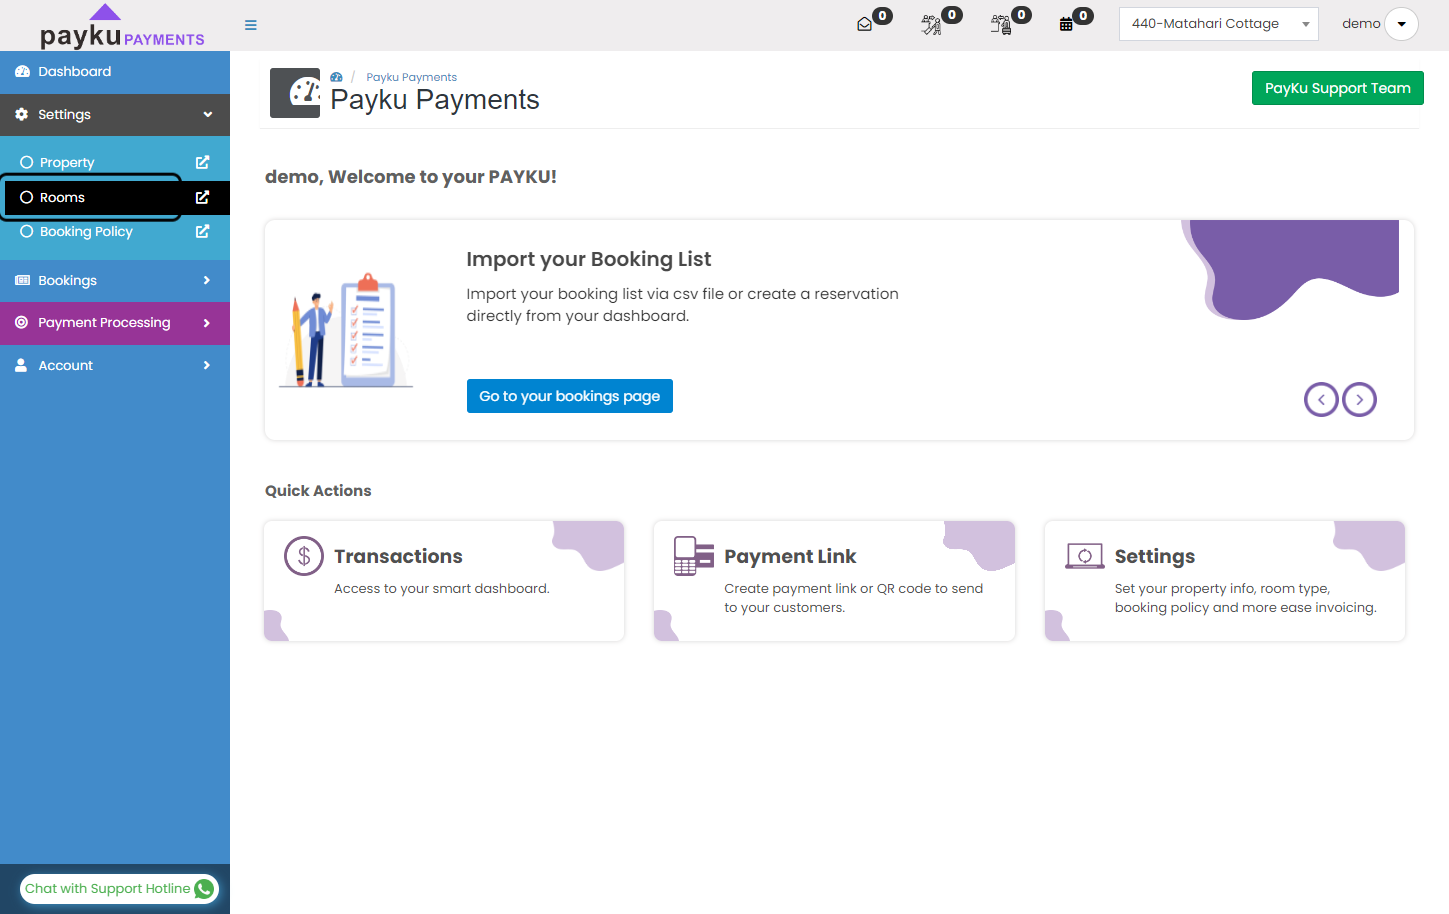
On dropdown sub menu, click on "Rooms"
Create room type
Click on "CREATE ROOM TYPE"
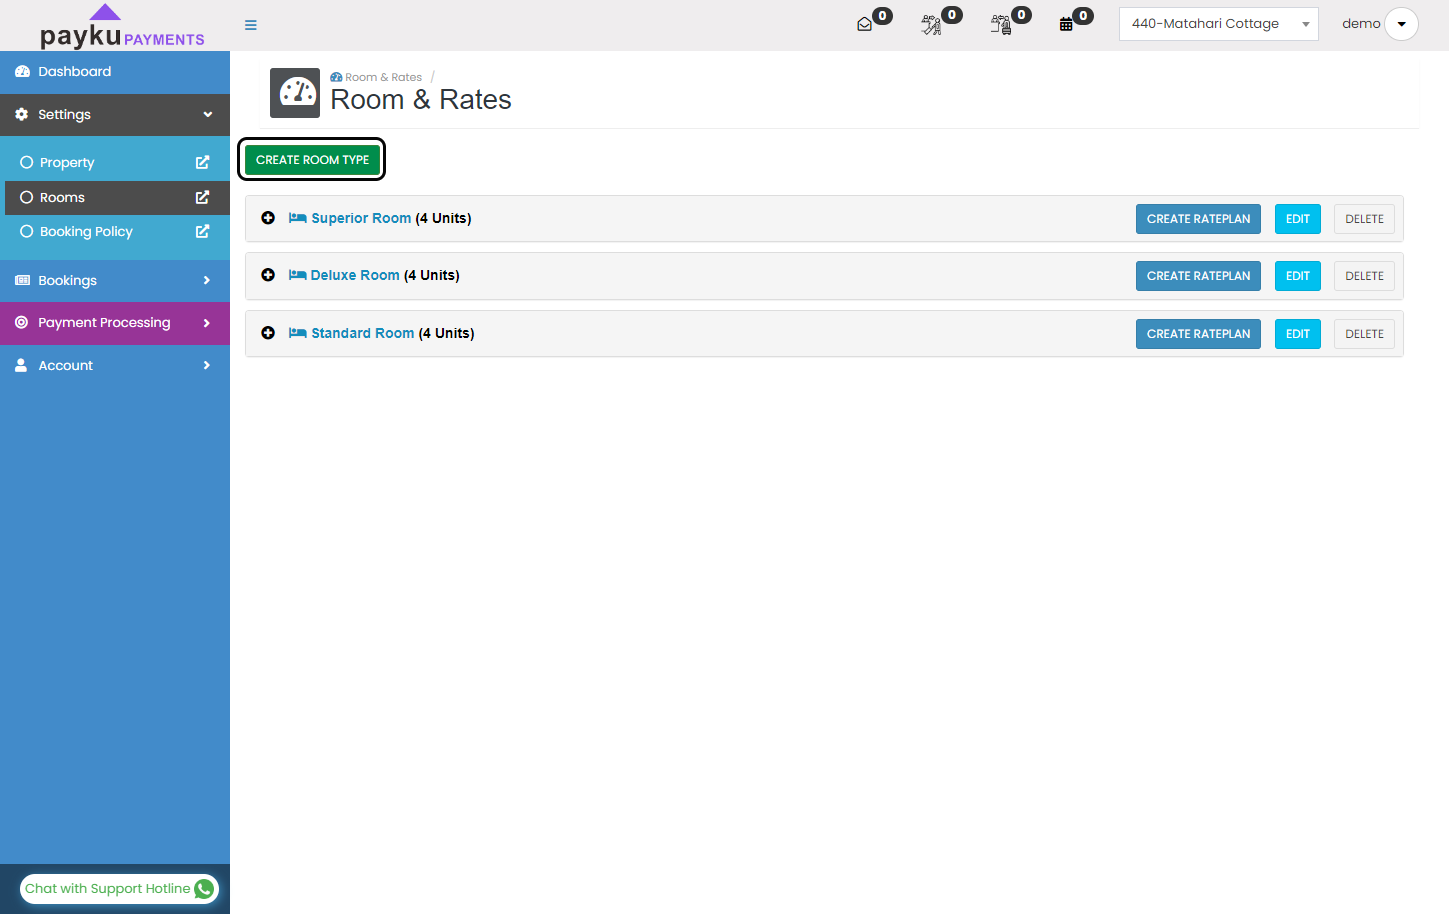
Type your room name
Type your room name. In here we are using example as "Superior Double"
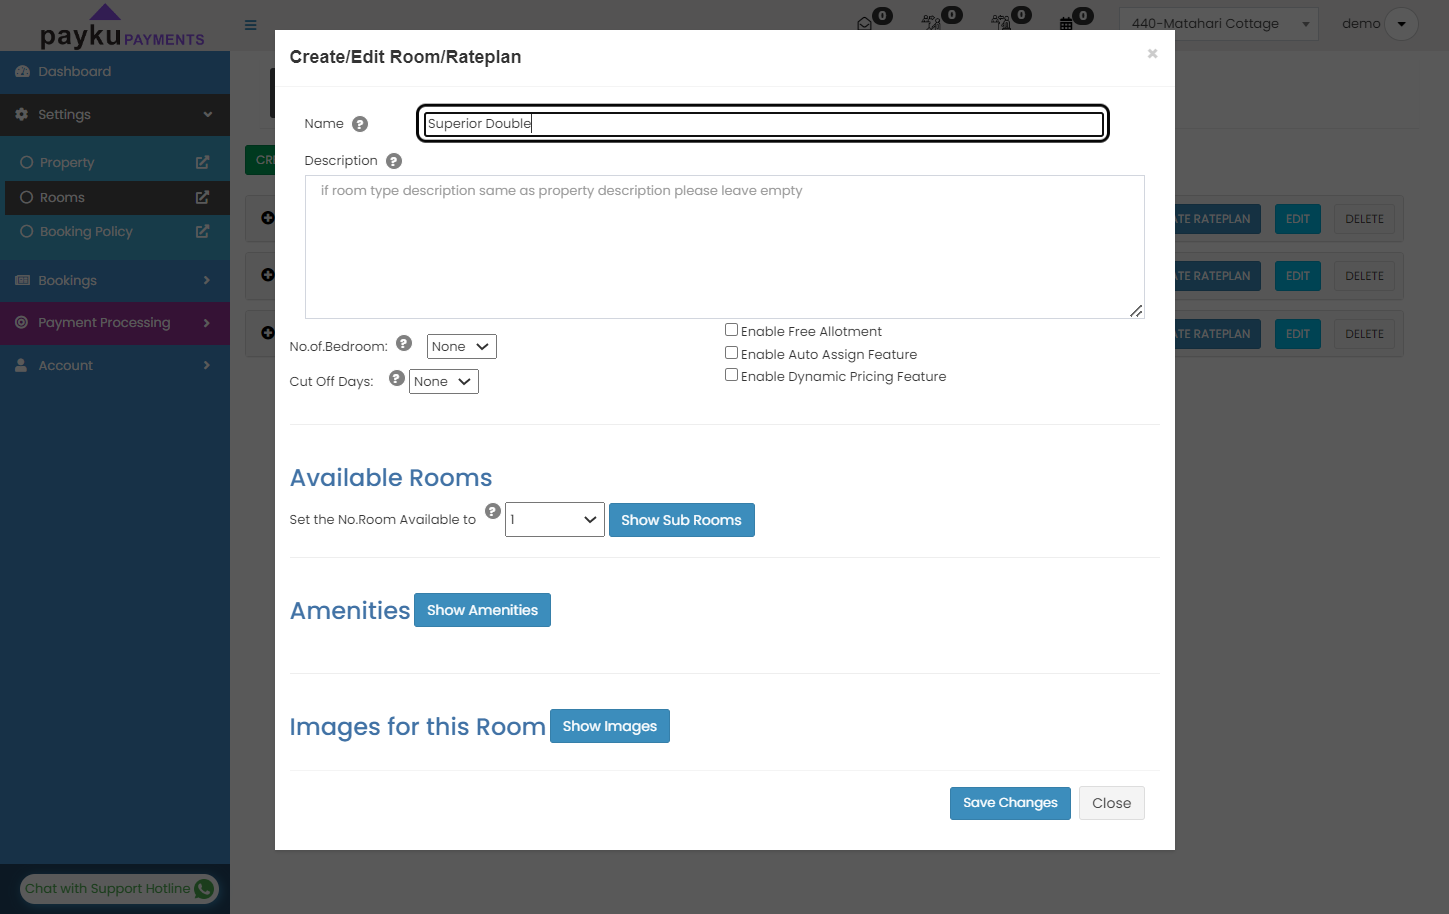
Set rooms
Set how many rooms that you have in your hotel for this room type.
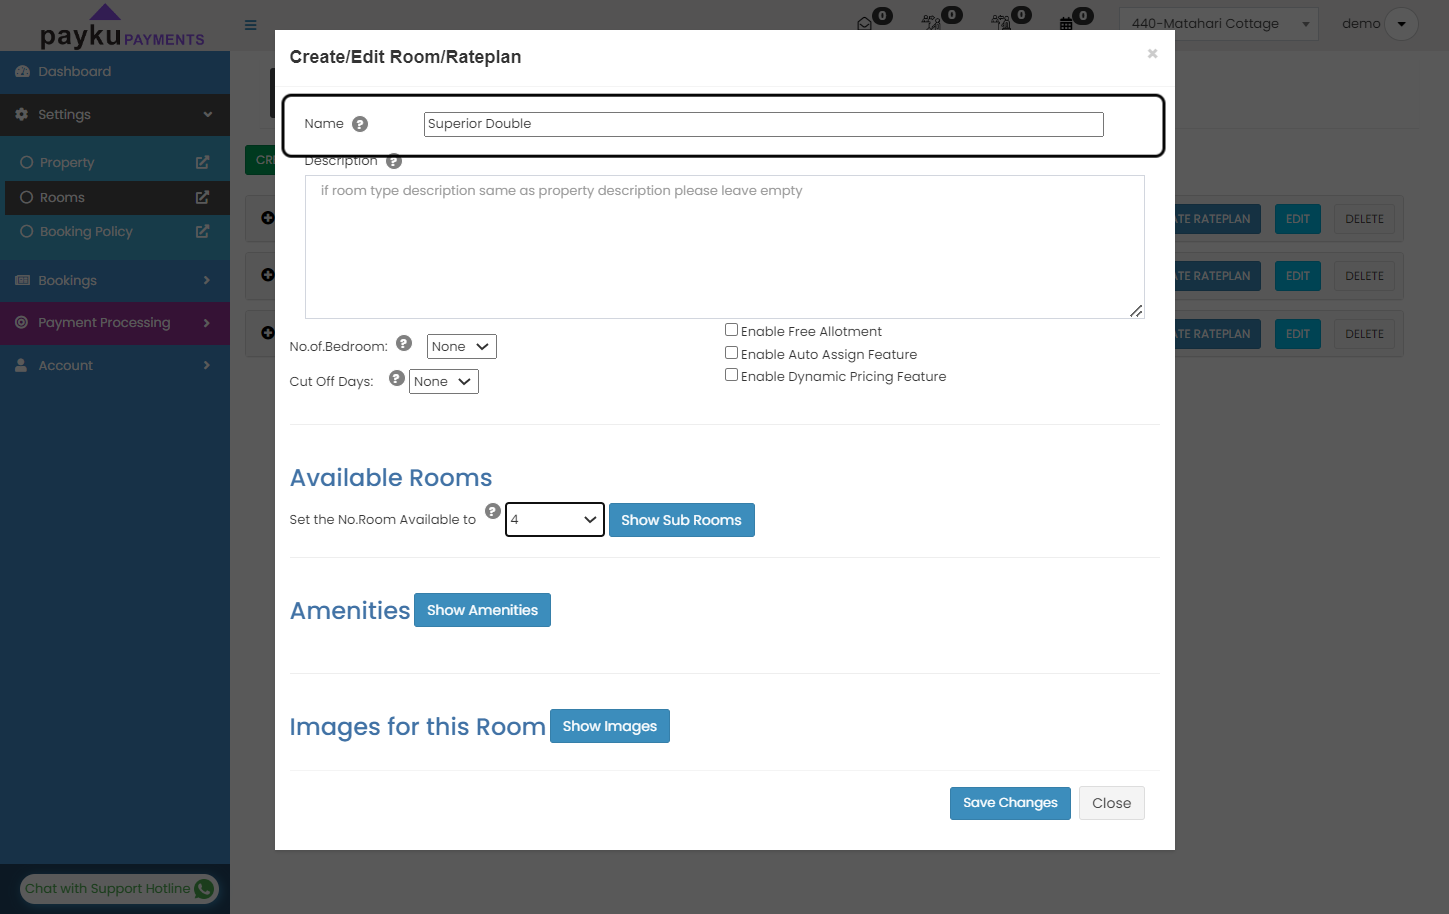
Save Changes
After that you need to click "Save Changes"
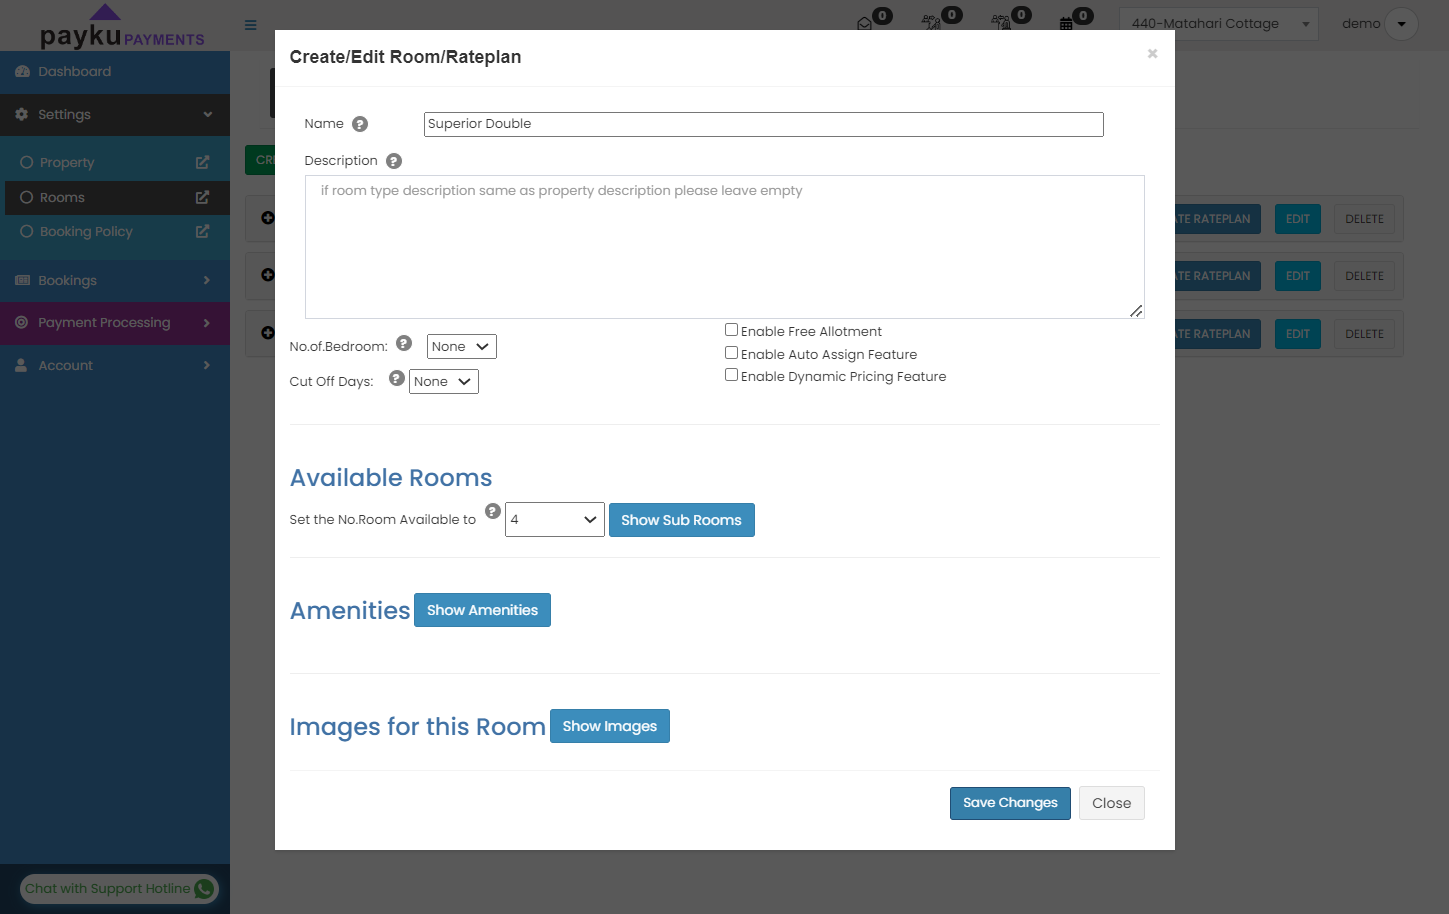
Create Rateplan
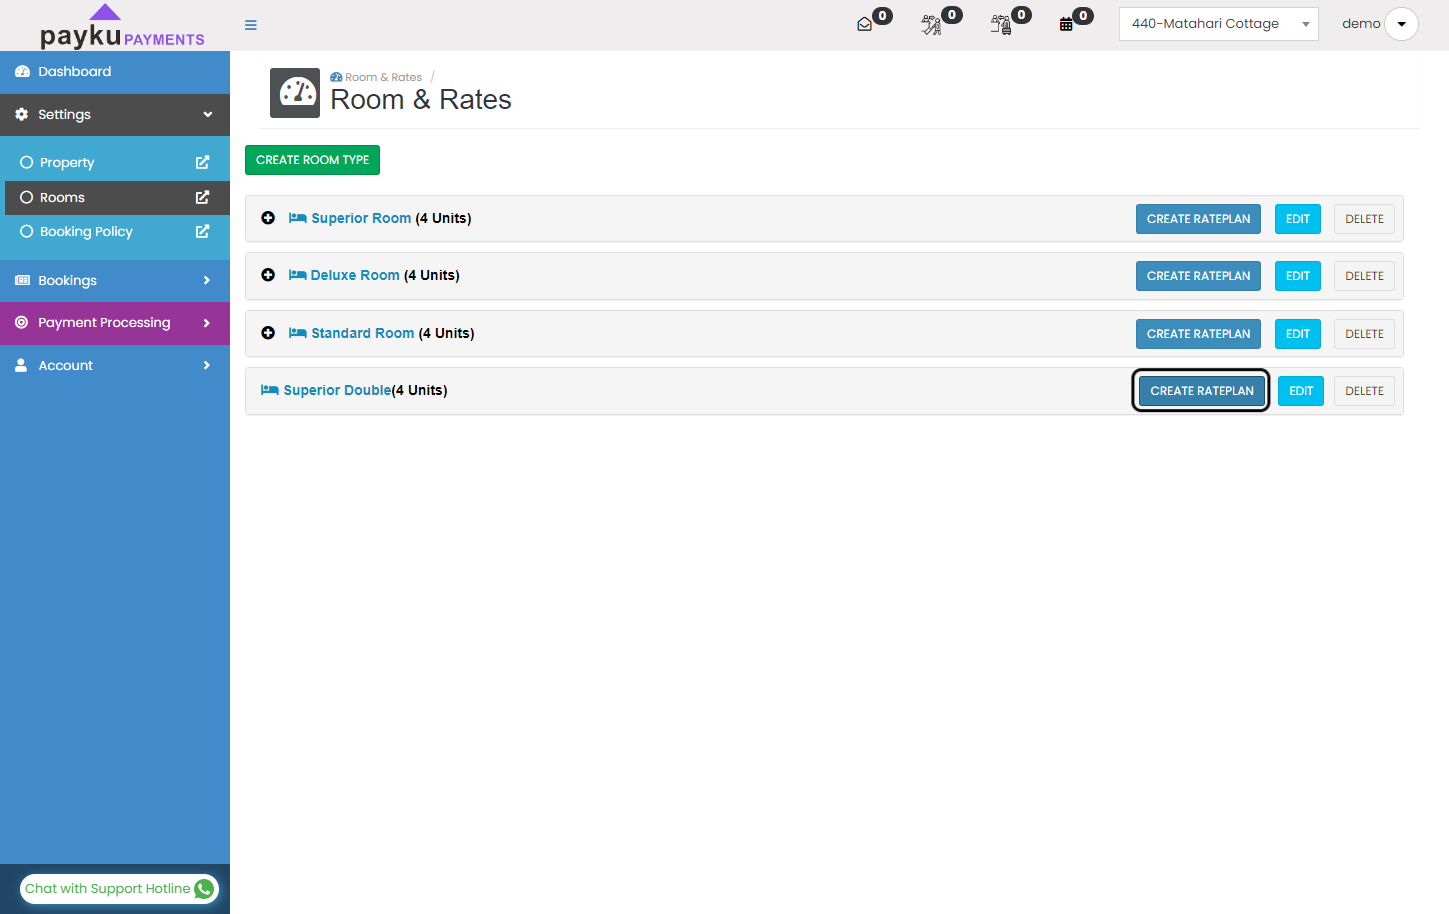
After you are finish set up your room, then you need to create rate plan. Click the "Create Rateplan" button.
Set rateplan name
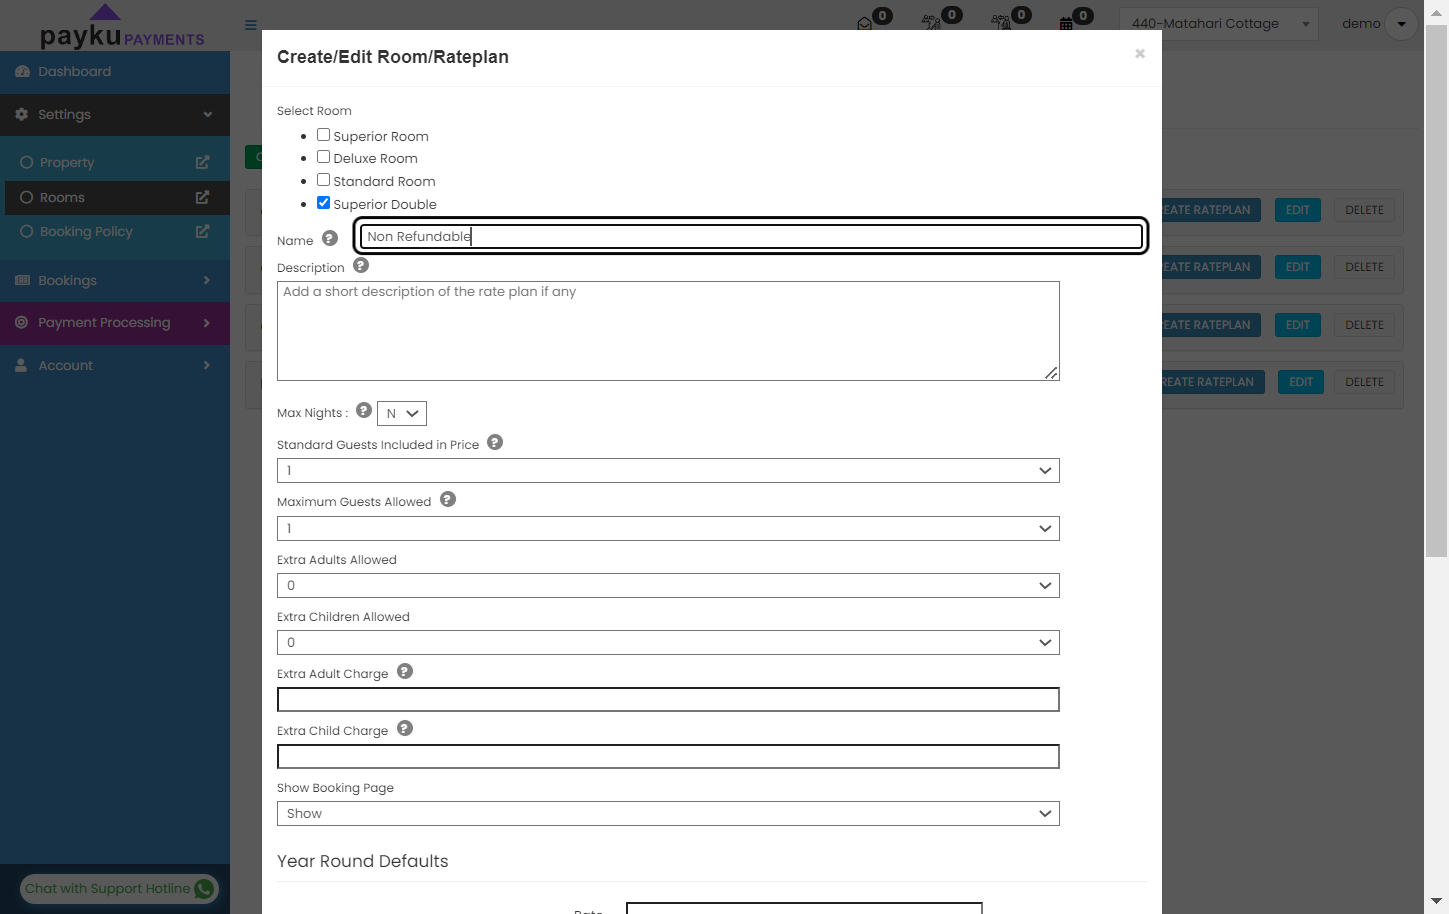
On this case, we are creating Non Refundable room rateplan. Fill the rateplan name column with "Non Refundable".
Set how many guests.
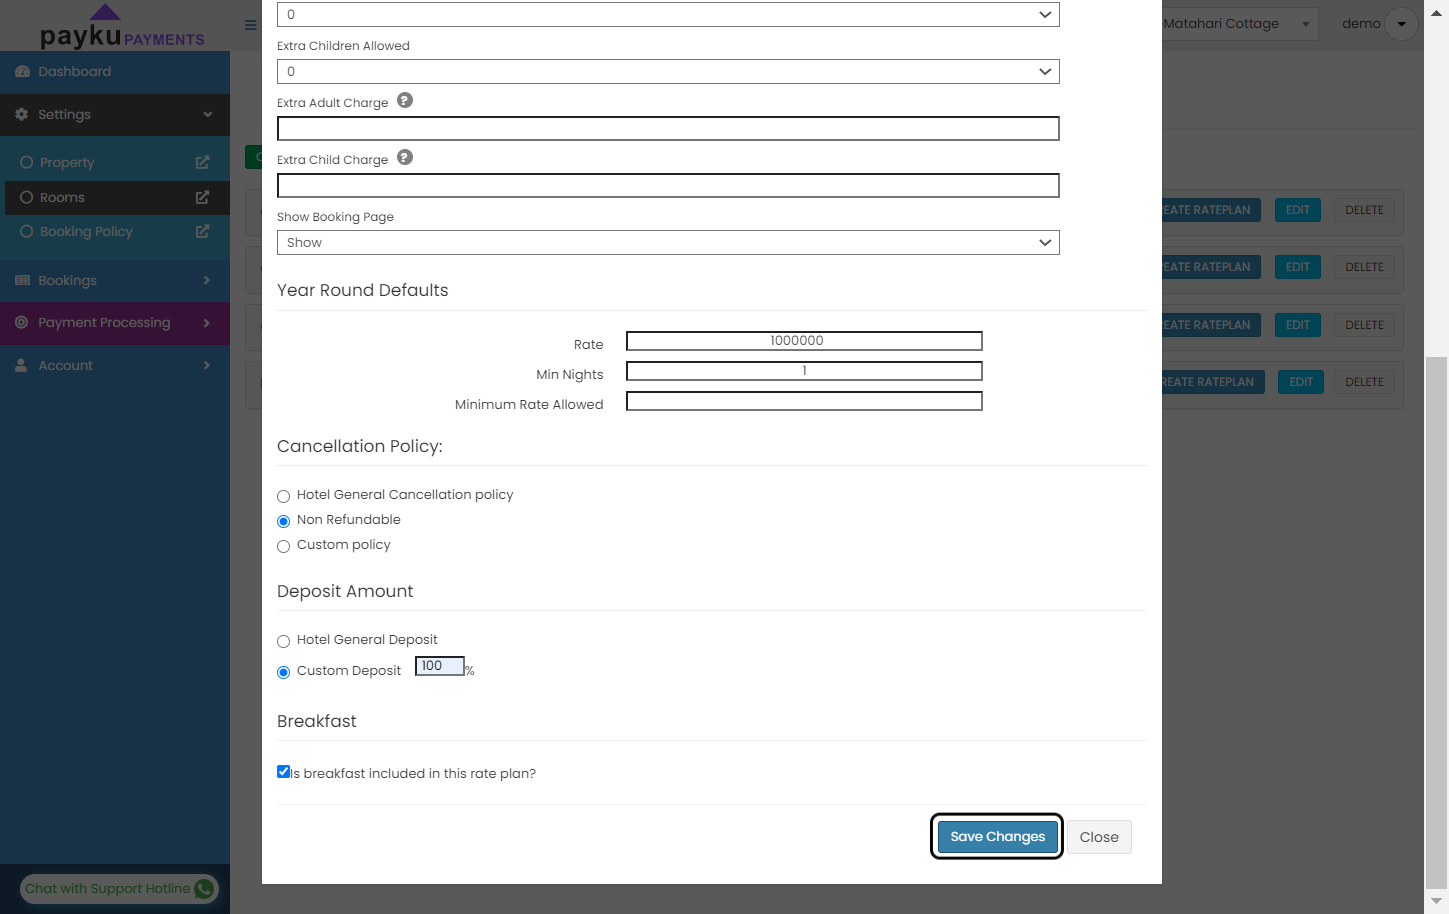
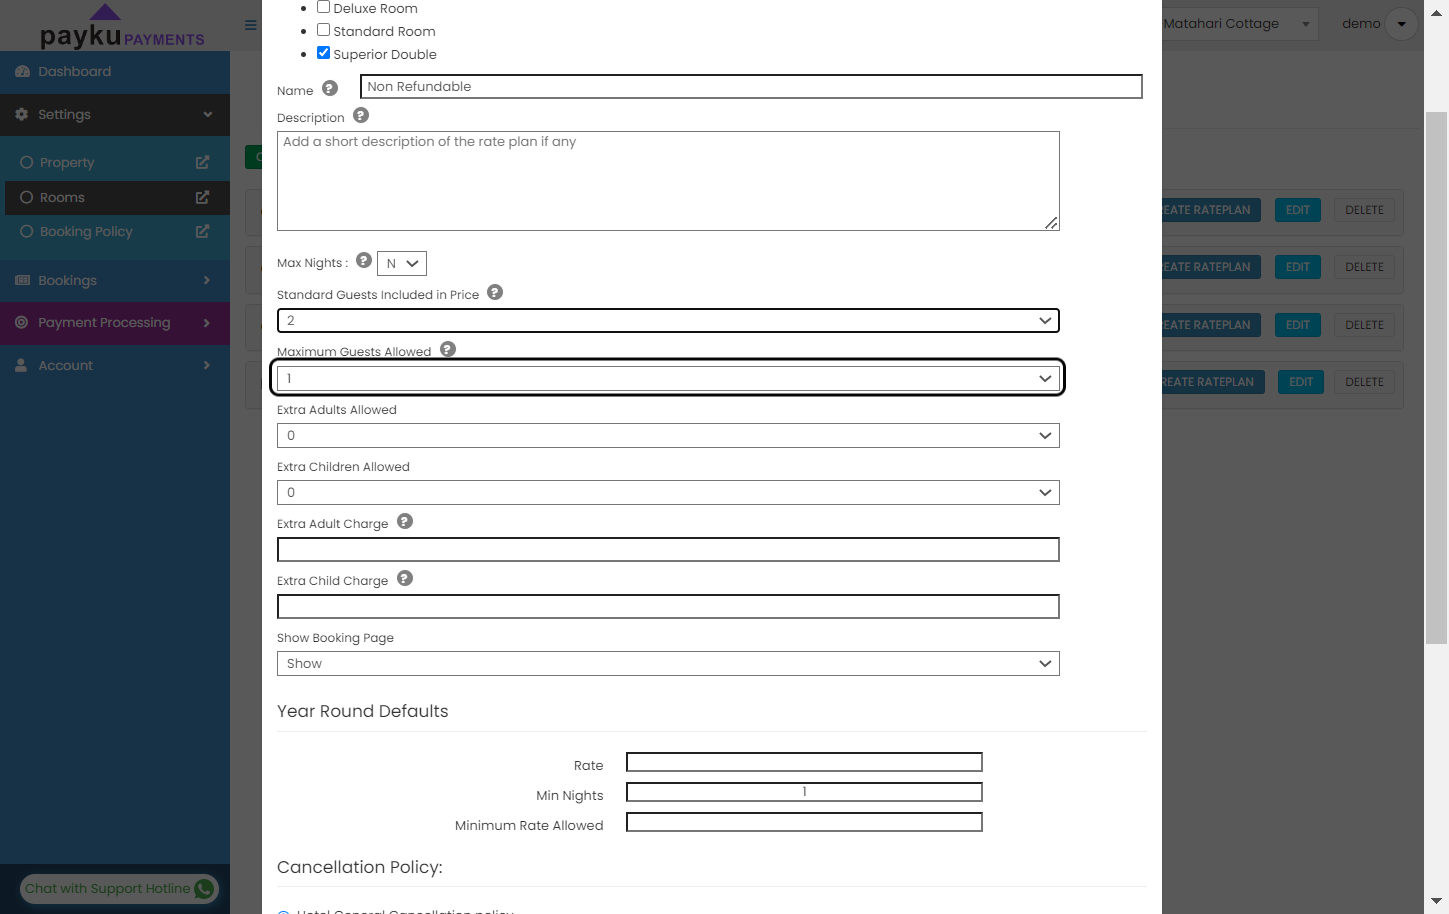
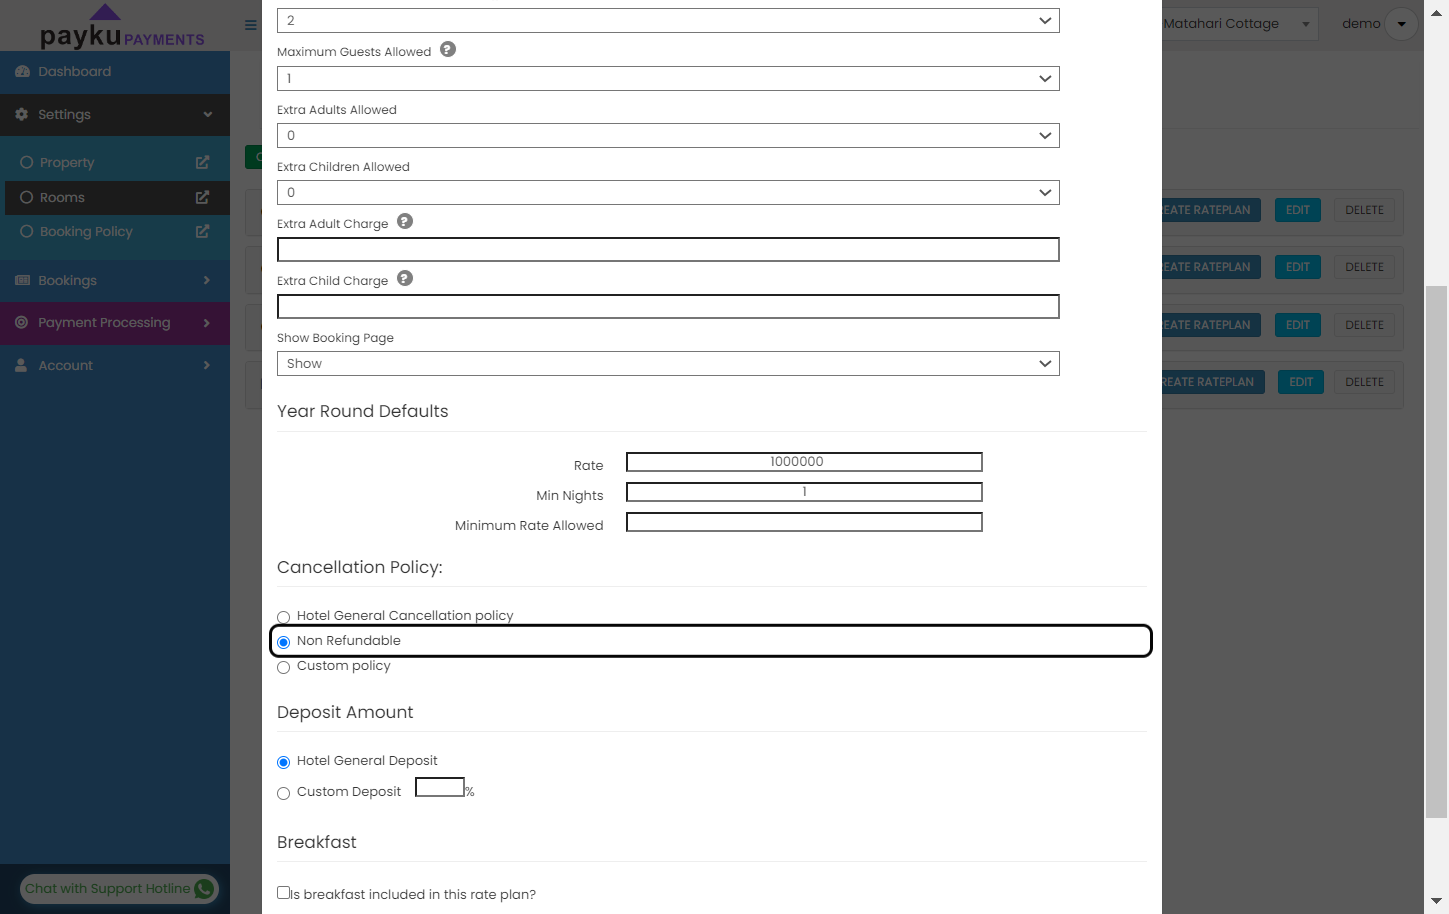
Make sure you put how many the guests are included in the price and how many guests allowed in one room.
Input price.
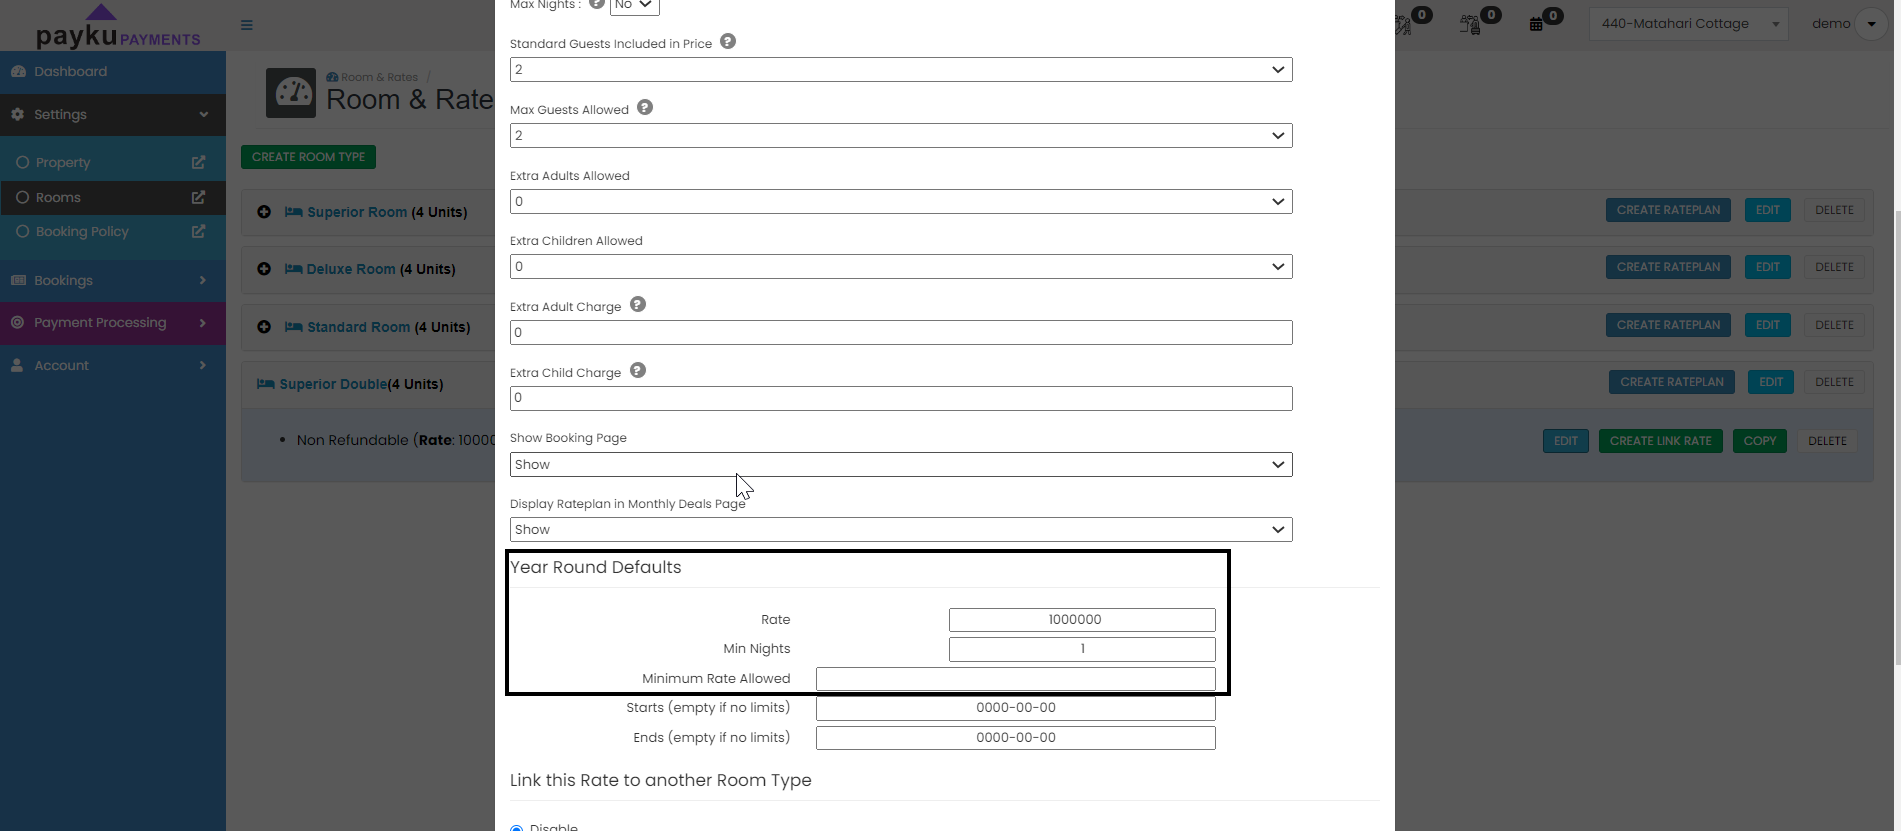
Input your highest BAR in the year round defaults
Set cancellation policy
On cancellation policy choose: "Non Refundable"
Setup deposit amount
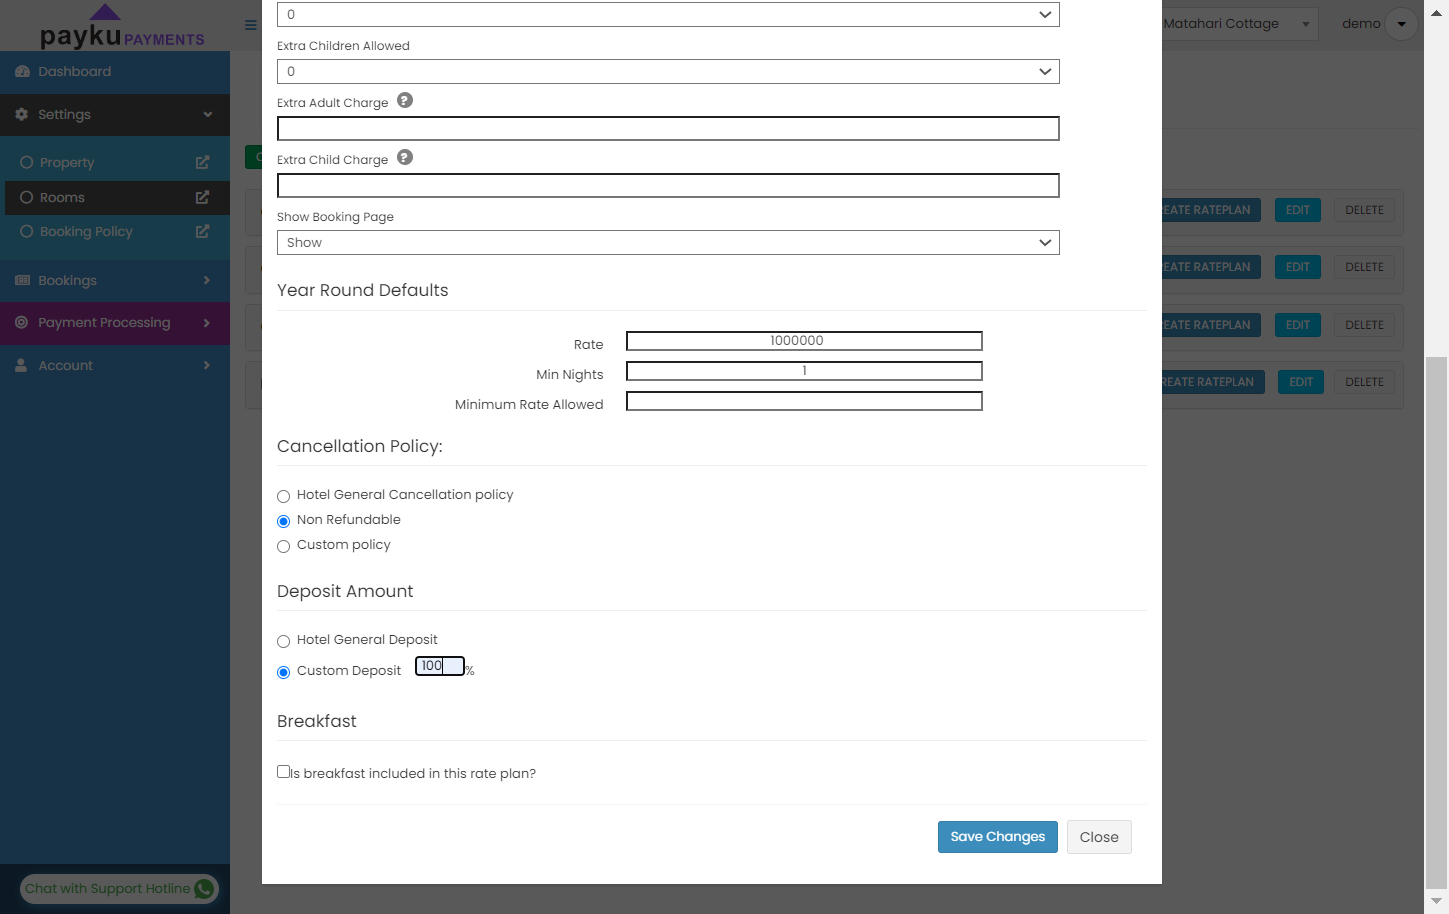
For the deposit amount, input 100%
Save Changes
After all finish, then click on "Save Changes". You can edit anytime if needed.
